Unified Routing
Grant Required Permissions
For working with cases, make sure the agent has the Standard User profile or sufficient permissions in the assigned permission set.
Modify Lightning App
- Go to Apps, App Manager, and find the Lightning App you created in Setup Messaging.
- Choose the arrow in the rightmost column, then select Edit.
- Choose Navigation Items in the left-hand side column. Search for Cases, then choose the right arrow to move it to the Selected Items column.
- Choose Save and then the back arrow in the top left corner to navigate back to setup.
Configure Omni-Channel
- Go to Feature Settings, Service, Omni-Channel, and then Service Channels
- Choose New.
- Enter Case (or any name you like) in the Service Channel Name field.
- In Salesforce Object select Case.
- Choose Save.
- Go to Feature Settings, Service, Omni-Channel, and then Presence Statuses.
- Find the status you created when setting up messaging and choose Edit.
- Make sure Online is selected in Status Options.
- Under Service Channels, choose Case and then choose the right arrow so it appears under Selected Channels and choose Save.
- Go to Users and then Queues.
- Find the queue you created when setting up messaging and choose Edit.
- In Supported Objects, select Case under Available Objects, choose the right arrow and Add so it appears under Selected Objects.
- Make sure required agents are listed under Queue Members.
Configure Amazon Connect Flow
- Navigate to Amazon Connect service on your AWS console and choose your Amazon Connect account’s instance alias.
- Choose Log in for emergency access.
- Once your Amazon Connect instance opens, navigate to Flows under Routing menu on the left sidebar.
- Search for the provisioned sample contact flow name SCCAC - Sample Omni-Channel Subflow - Task Routing - {ContactCenterId} and choose it.
- Once the contact flow is opened, on the bottom right of the screen, find the dropdown section with title About this flow. Expand it and choose the View ARN button. Copy and save the contact flow’s ARN.
- Back on the SCC-AC Guided Setup page in Salesforce, under the Setup Unified Routing section, choose Provide Contact Flow ARN For Unified Routing and enter the contact flow’s ARN copied in the previous step.
- If you’d like to assign another personalized contact flow to set up Unified Routing, choose Provide Contact Flow ARN For Unified Routing and provide your own contact flow’s ARN.
Enable and Disable
By default, Unified Routing is disabled. Completing Configure Amazon Connect Flow Configure Amazon Connect Flow section above will automatically enable Unified Routing feature.
To disable,
-
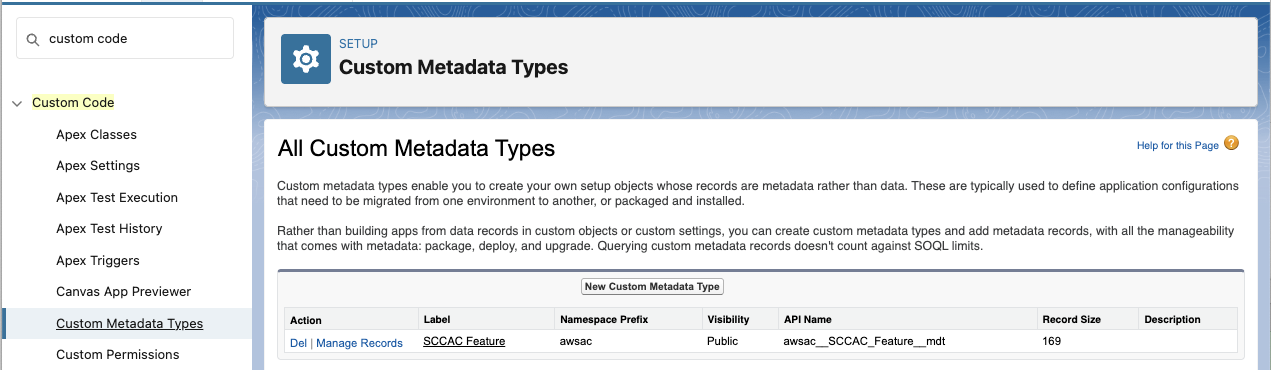
Go to Custom Code > Custom Metadata Types.
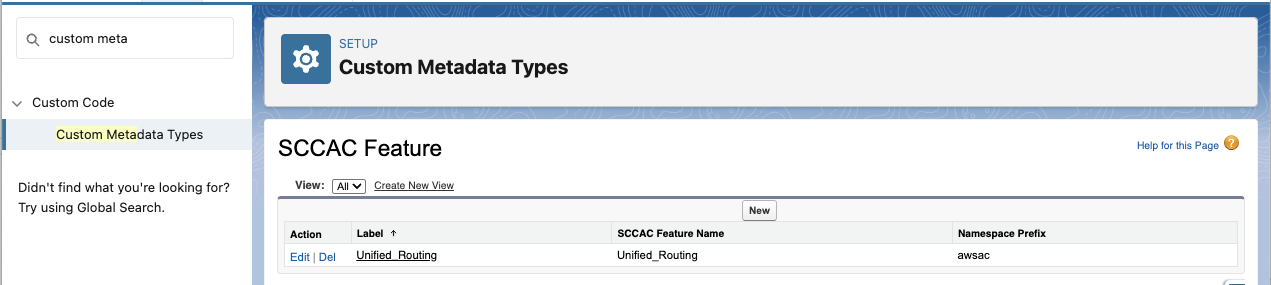
- Select SCCAC Feature and choose Manage SCCAC Feature.
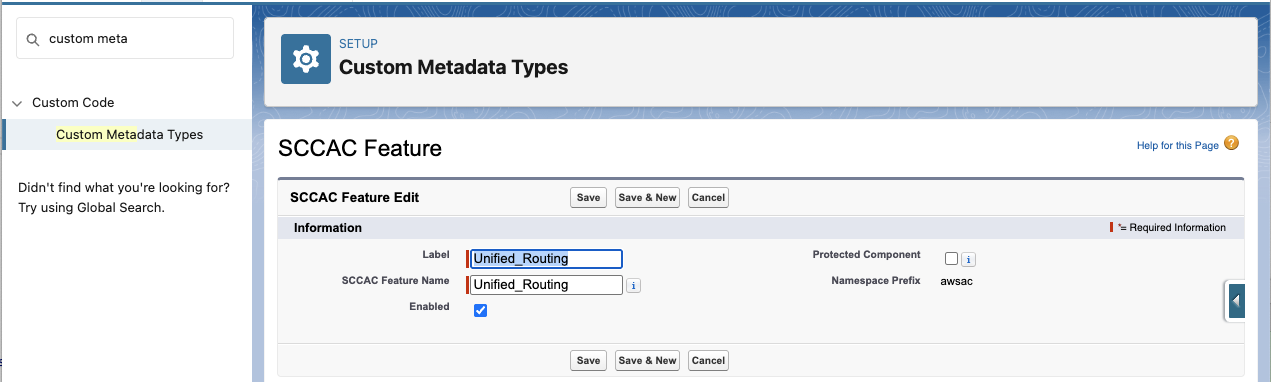
- Select Unified_Routing and choose Edit.
- Uncheck Enabled and choose Save.
Test Your Omni-Channel Implementation
By default, the case will be routed to Amazon Connect agents assigned to the queue SCC-BasicQueue, as this is the default queue for SCC-AC unified routing contact flow SCCAC - Sample Omni-Channel Subflow - Task Routing - {ContactCenterId}.
If the case is assigned to an Omni-Queue which has been mapped to an Amazon Connect queue in this contact center, the case will be routed using the mapped Amazon Connect queue instead of SCC-BasicQueue. For more information please refer to Map Your Salesforce Queues to Telephony Provider Queues.
Before testing, make sure the agent is added in Salesforce to the same contact center as the unified routing contact flow, and that their routing profile in Amazon Connect includes either SCC-BasicQueue or the targeted mapped queue. For more information, please refer to Set Up Contact Center Users.