Post-Contact Summarization Setup
Important: Post-contact Summarization is retrieved in SCC-AC using Salesforce's Apex Queueable after a contact ends or becomes inactive. This is a Salesforce Asynchronous process. Before enabling this feature, first check on your Salesforce org's Asynchronous limits.
-
Choose Setup and Permission sets and select your SCC Administrator permission set.
-
Choose Object Settings, Message Session, and Edit.
-
Under Field Permissions and Edit access, check the following fields:
awsac__PostContactSummary__cawsac__PostContactSummaryDateTime__cawsac__PostContactSummaryStatus__c
-
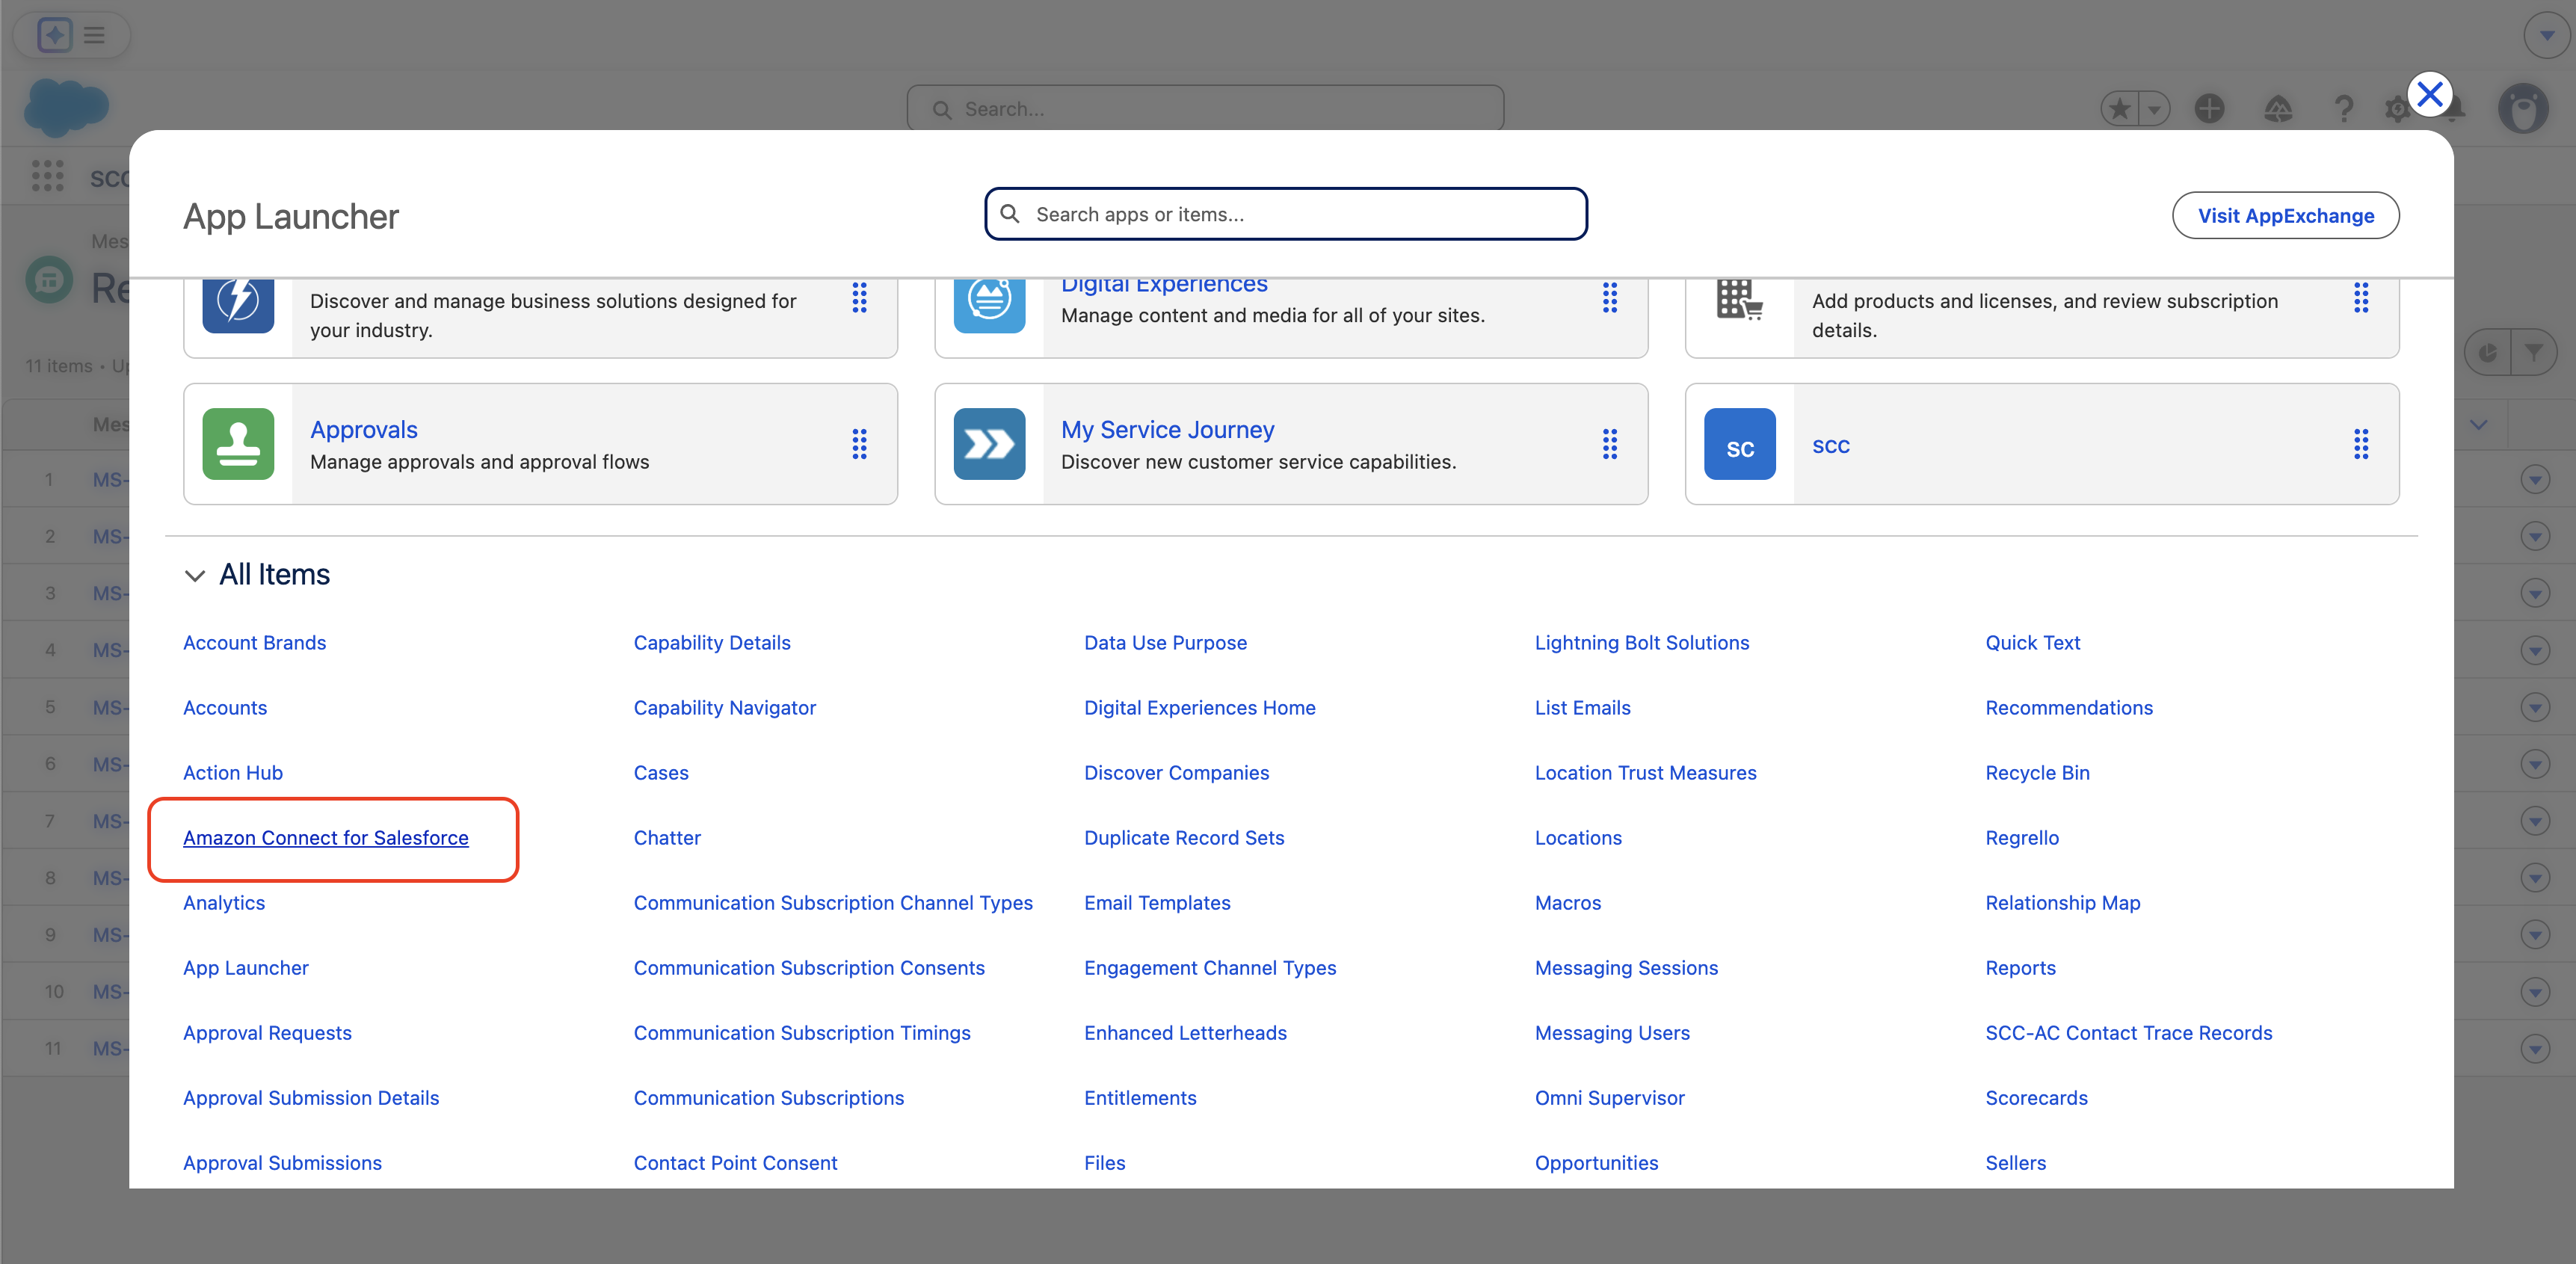
Go to your contact center guided setup by navigating to App Launcher and choosing Amazon Connect for Salesforce.
- Select the contact center you want to enable post contact summaries in your Salesforce org.
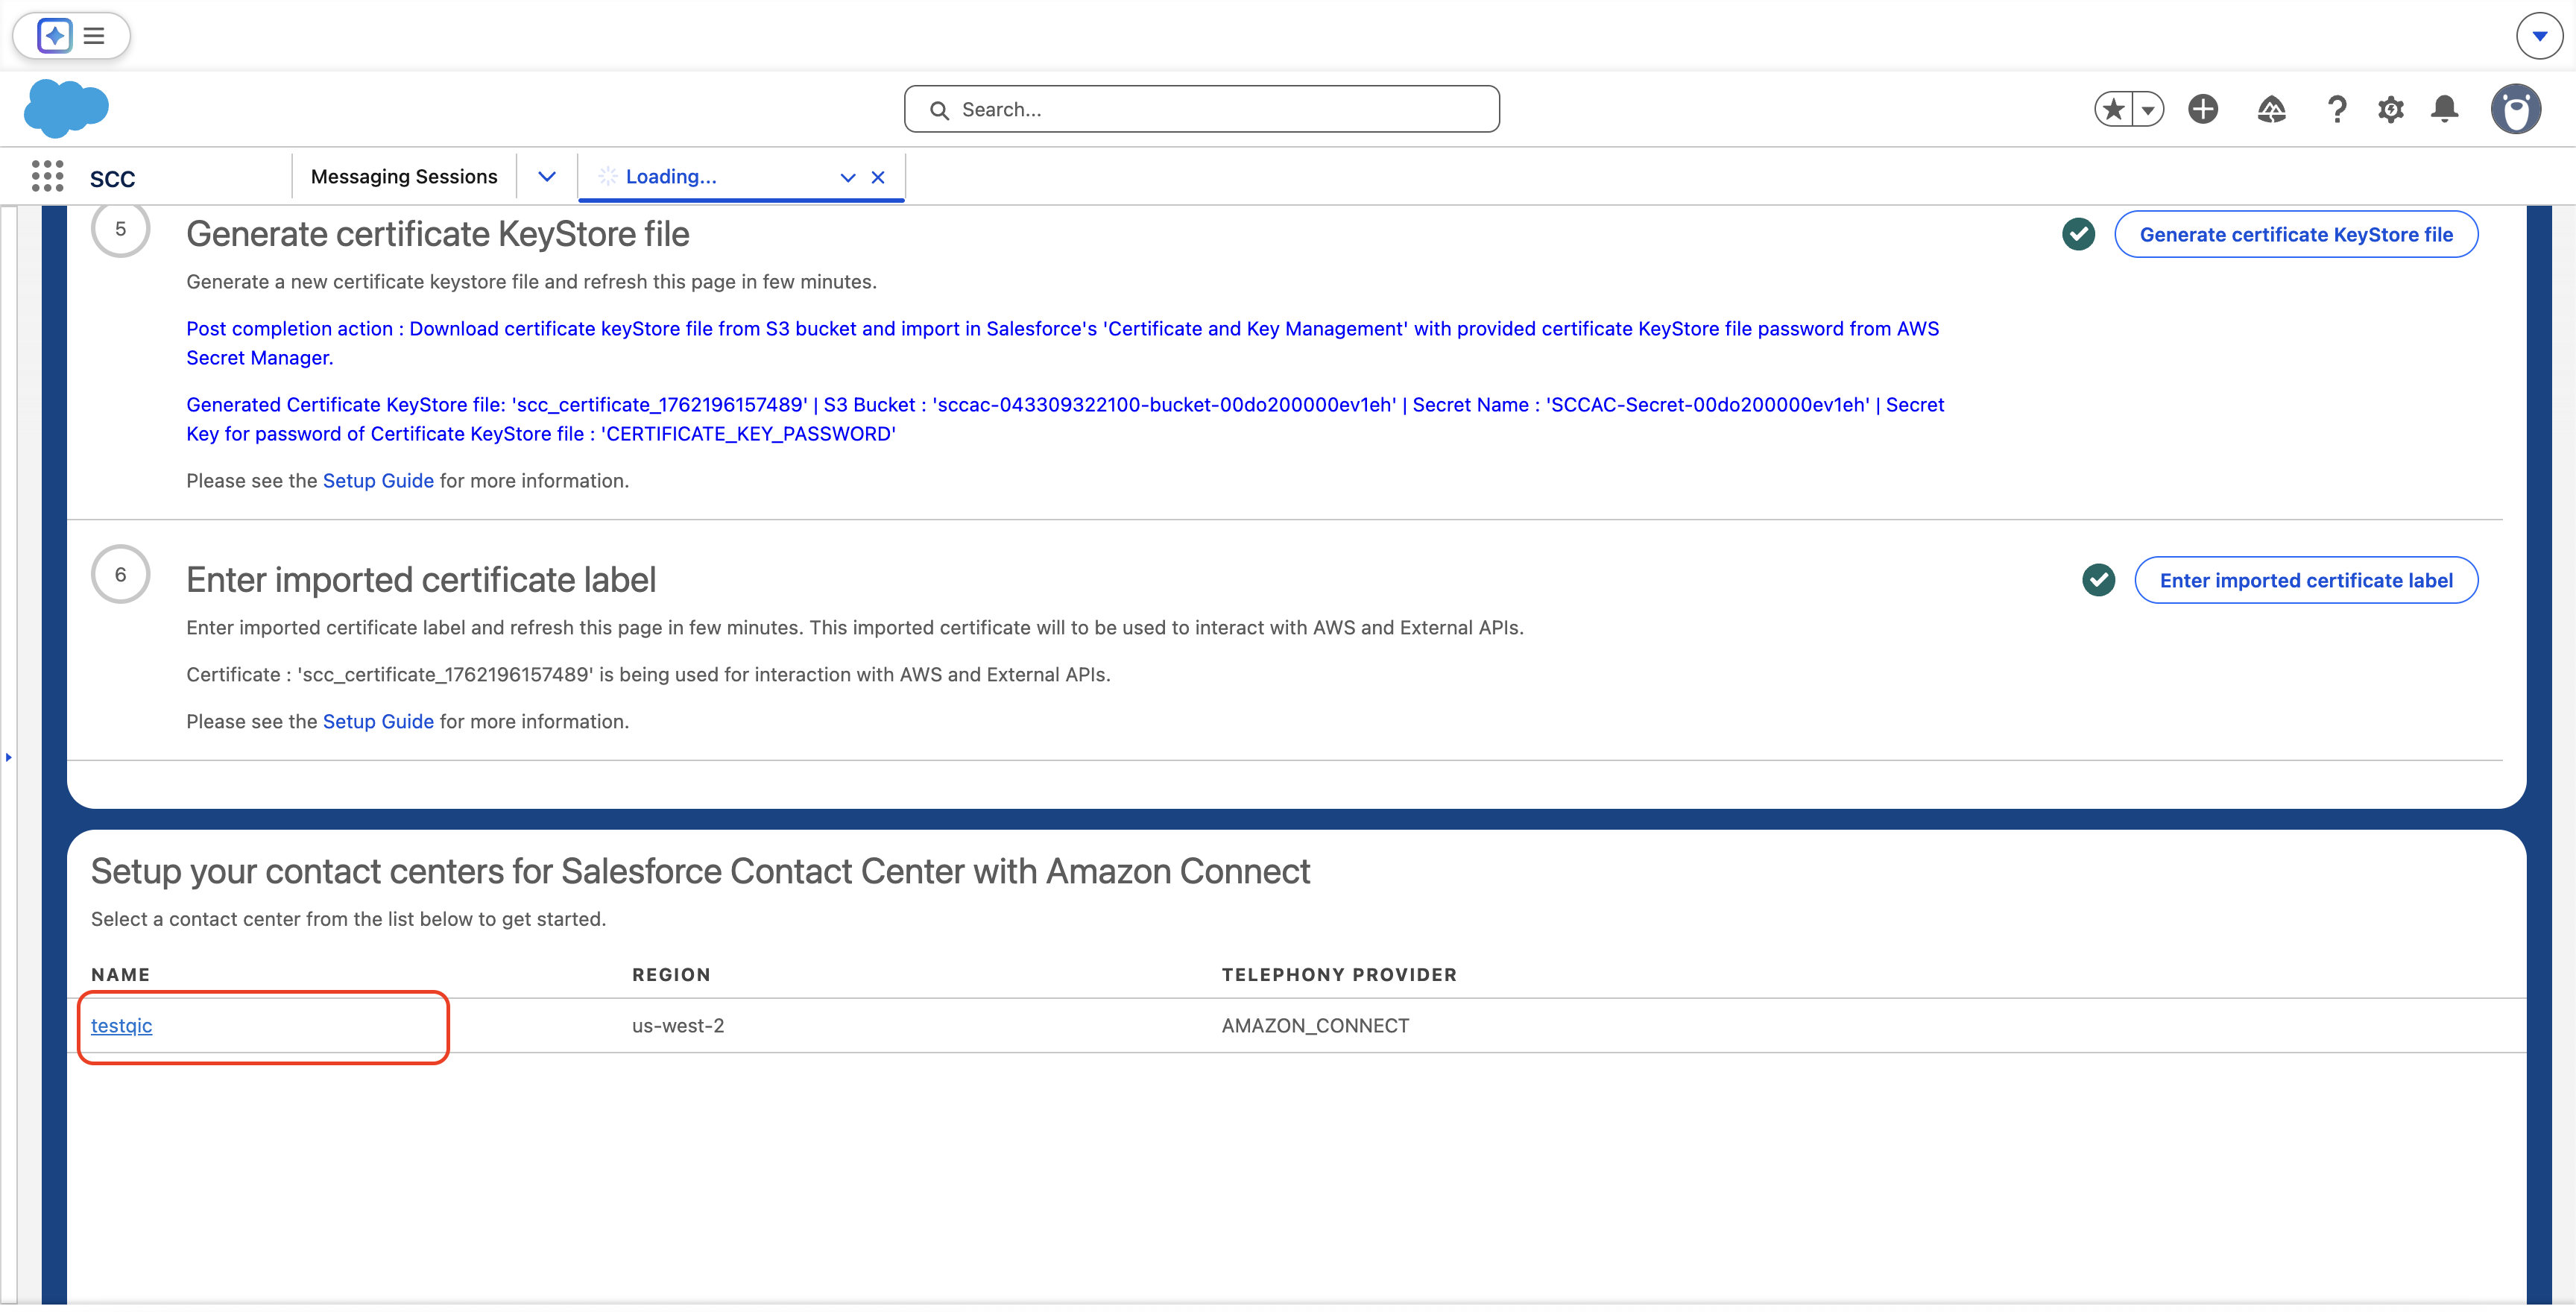
- Scroll down and select the toggle to enable Post-Contact Summarization.
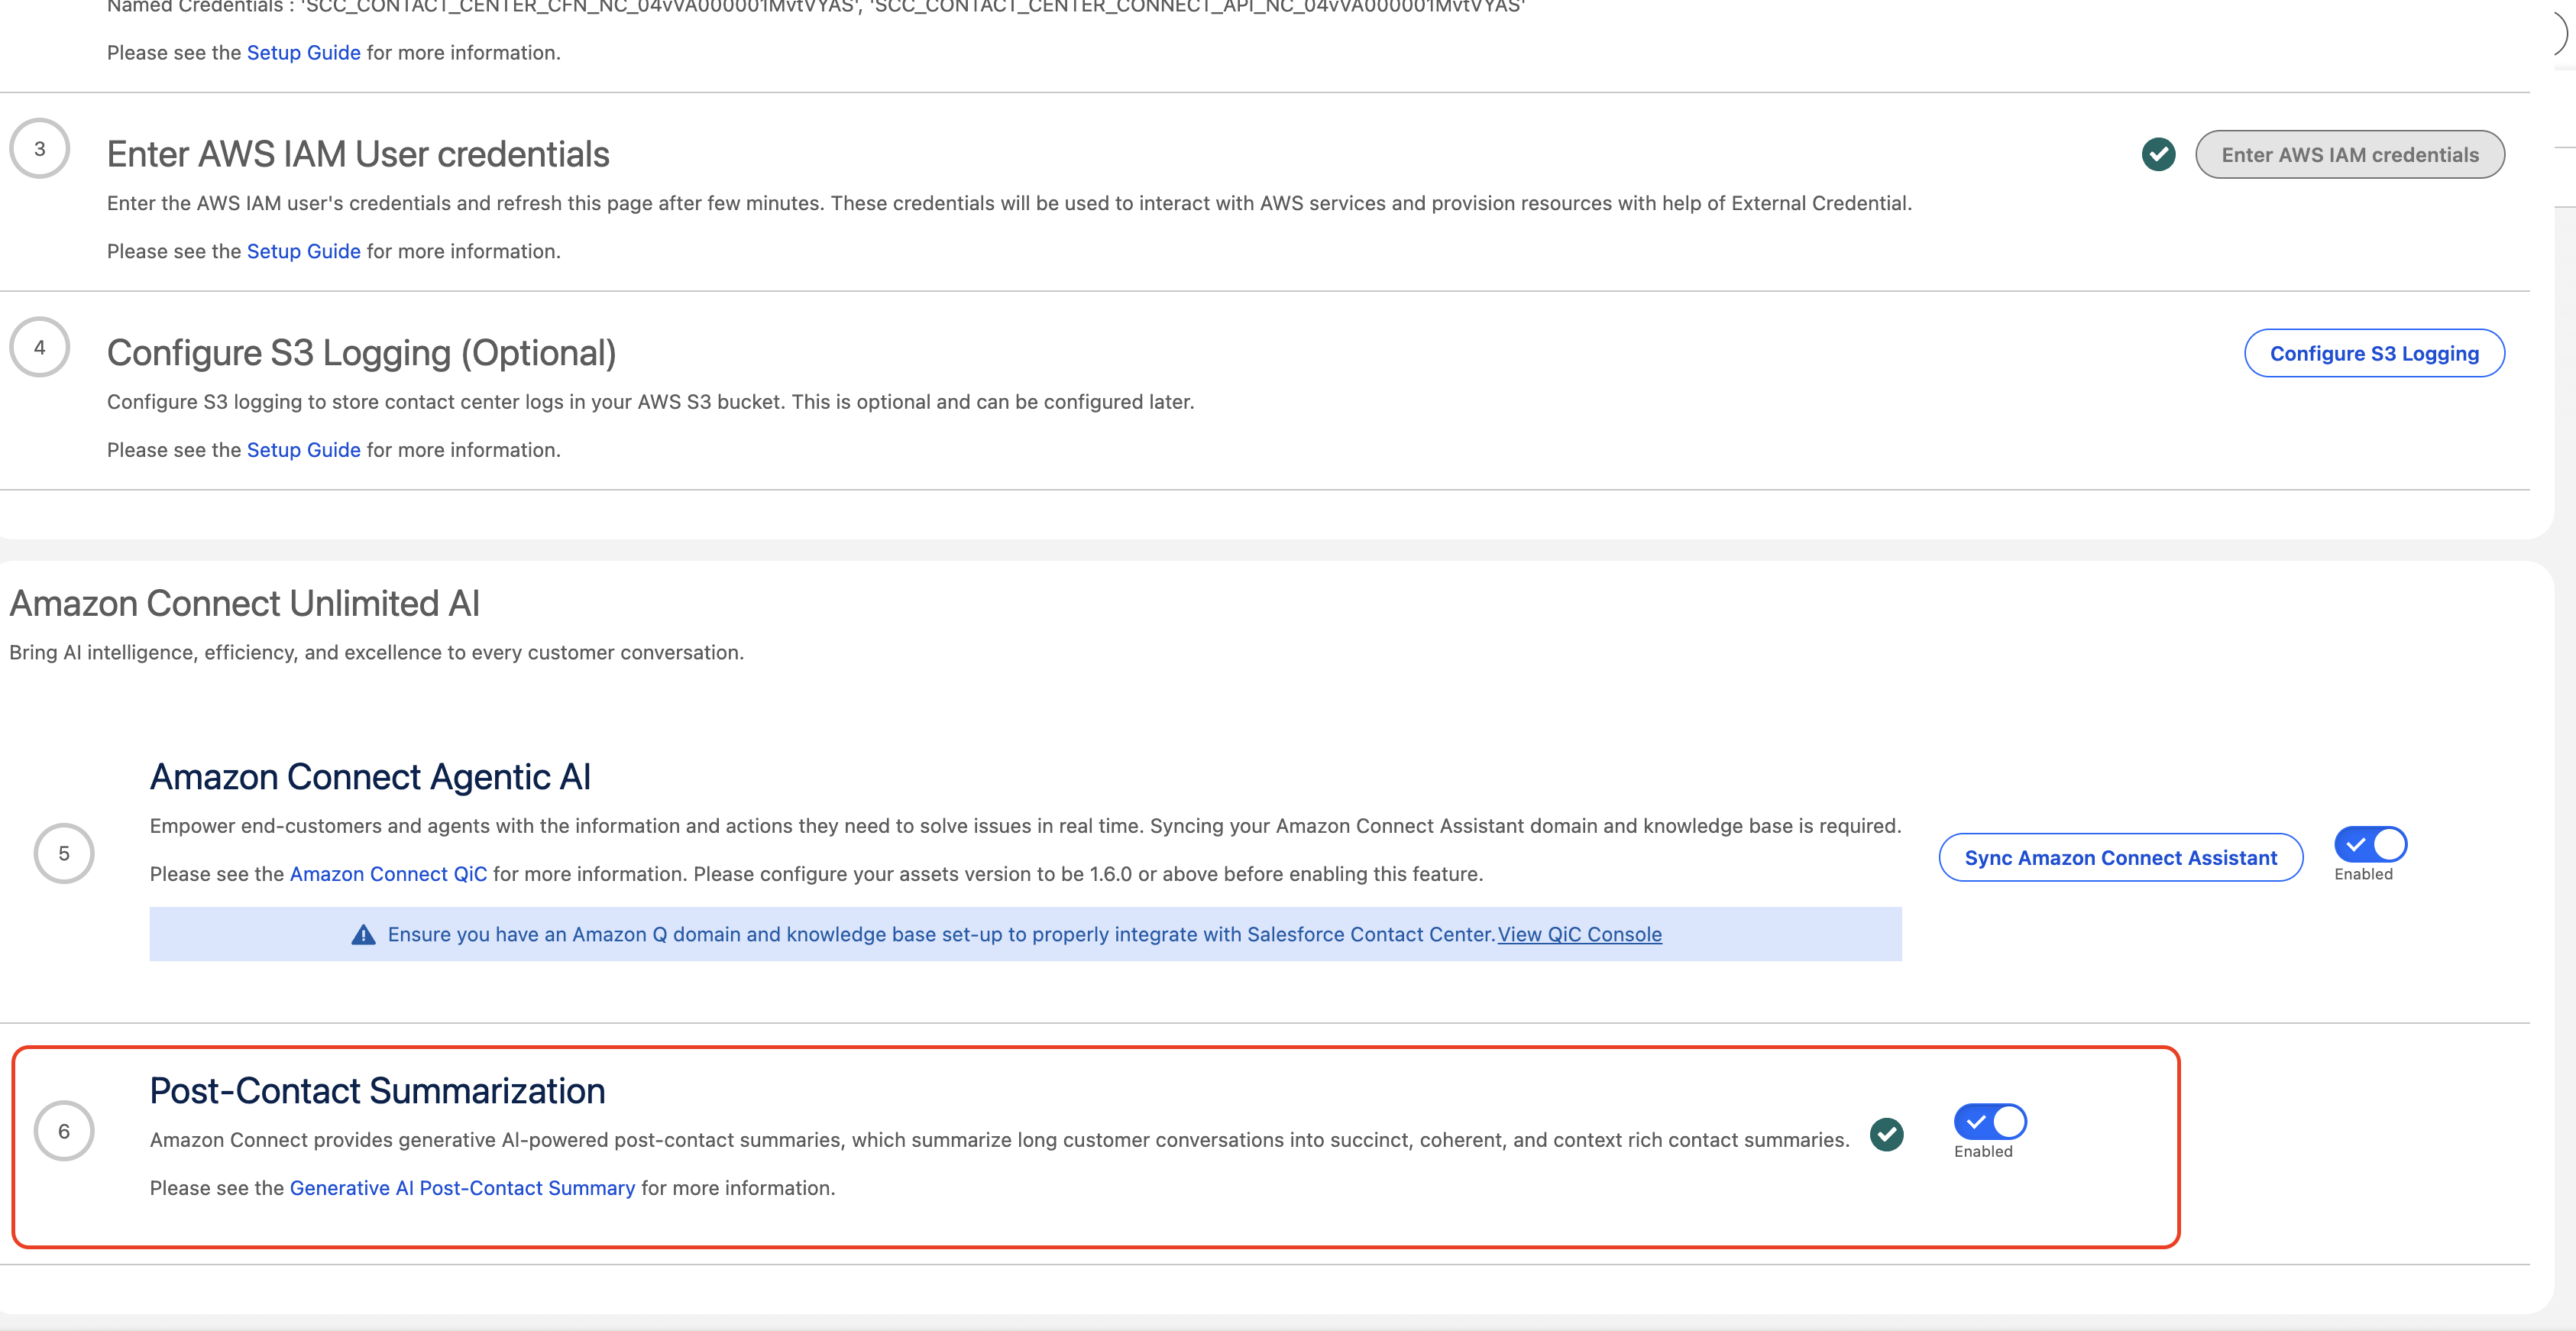
- Select the contact center you want to enable post contact summaries in your Salesforce org.
-
Go to the SCC Lightning App in Setup and App Manger, created from this step.
-
Go to the Message record page.
-
Add the SCC Post Contact Summary component and drag it to the desired location in your Messaging Session record page.
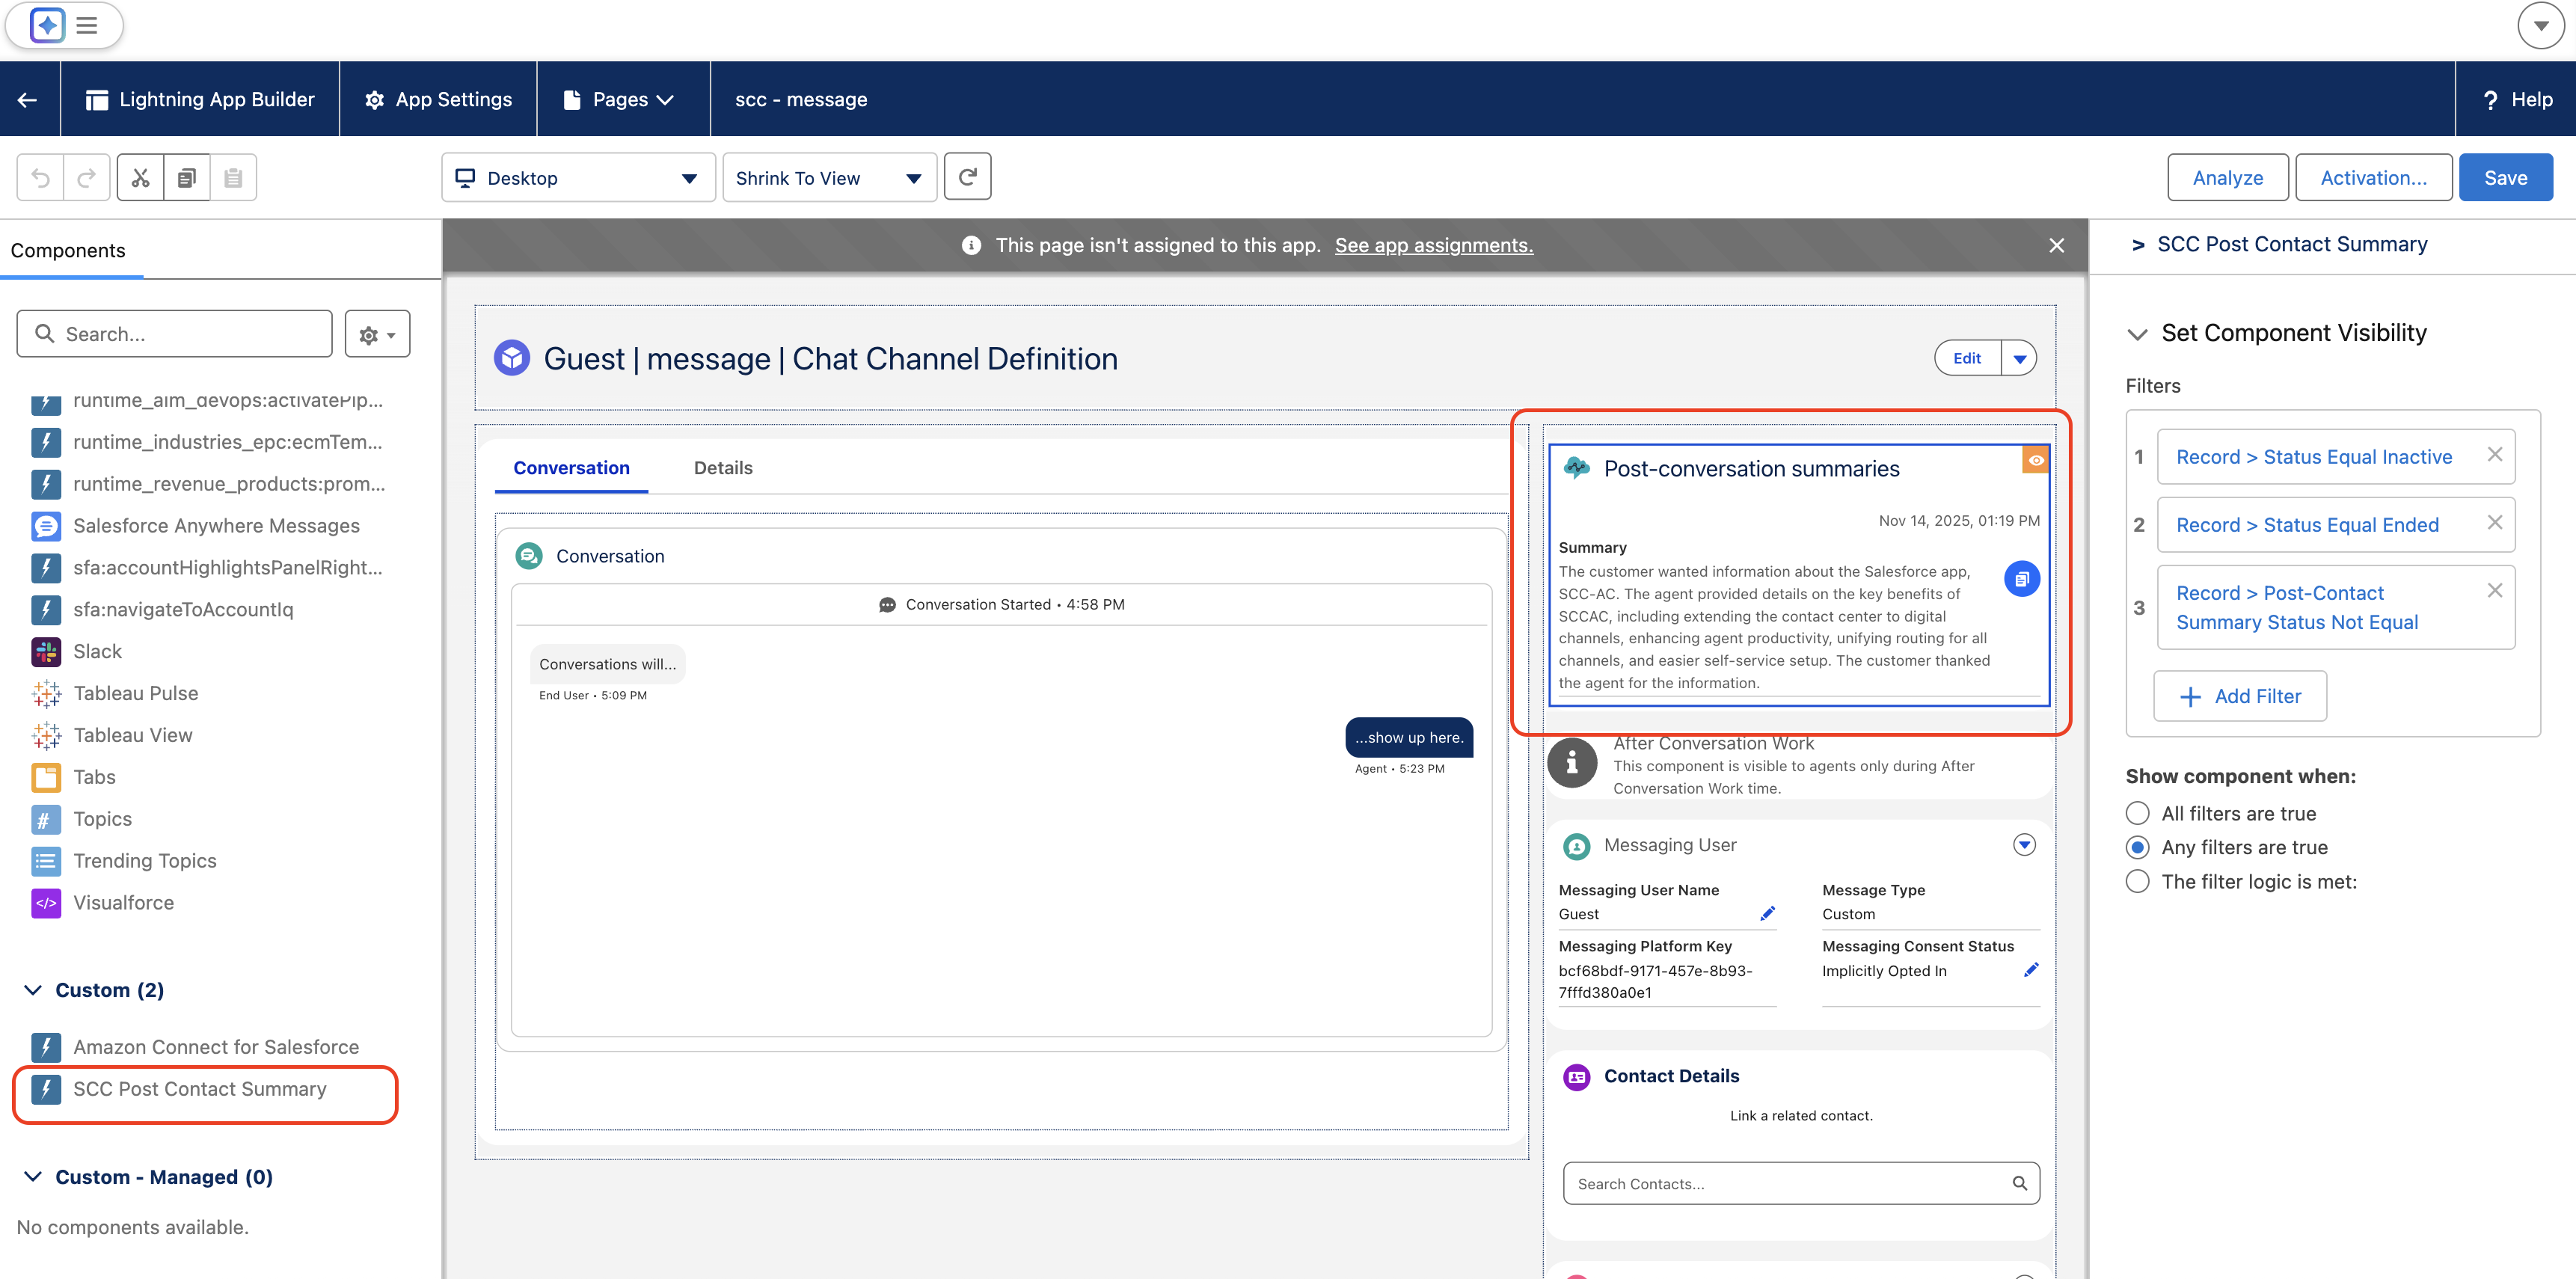
- Important: Set a filter on the component on the side, such as above. On Set Component Visibility, add a filter for Status Equals Ended and Status Equals Inactive, and select Any filters are true on the Show component when section.
- Choose Save.
-
To setup Post-Contact Summarization for Voice Calls, complete the following additional steps:
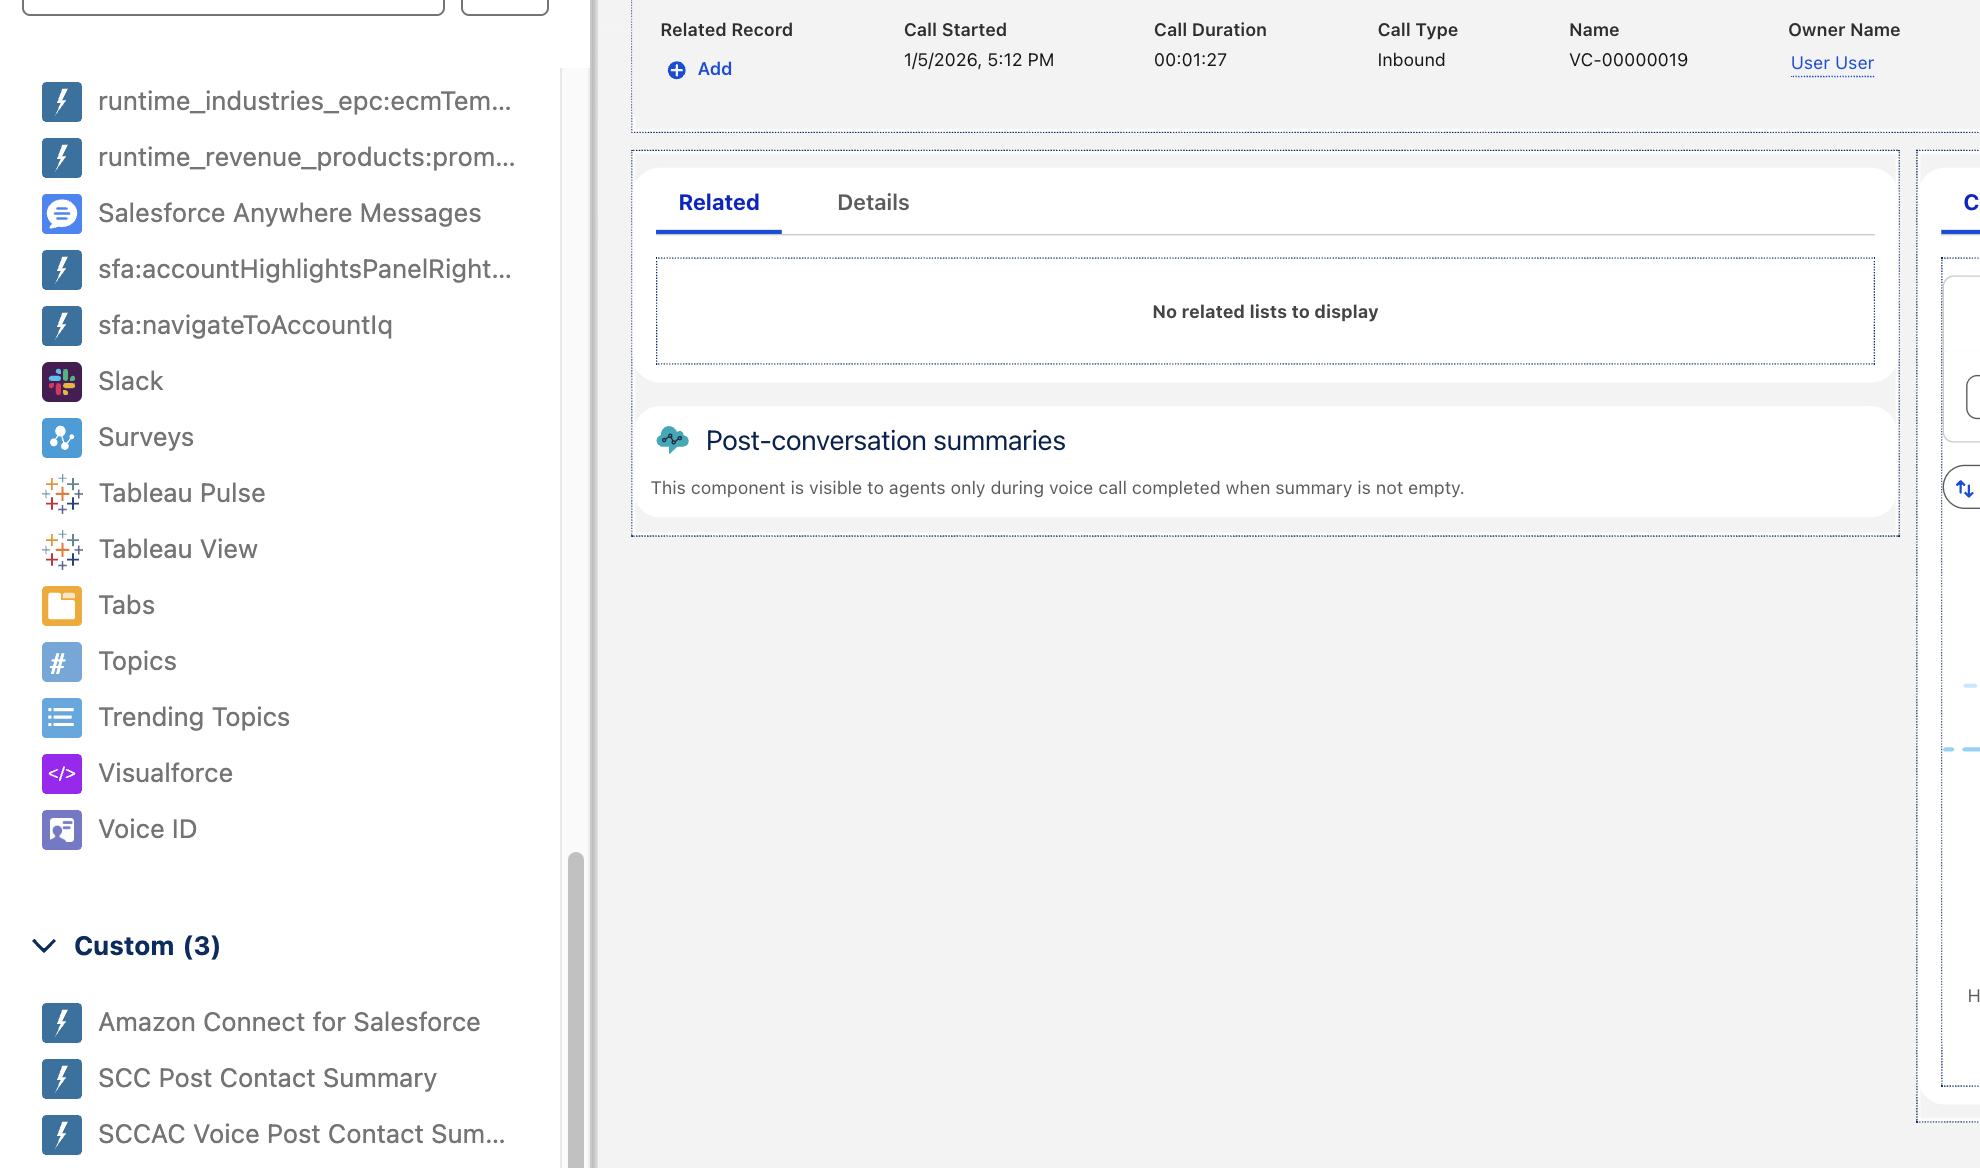
- Go to the Voice Call record page.
- Add the SCCAC Voice Post Contact Summary component and drag it to the desired location in your Voice Call record page. Component will popup within 1 minute after call ended. Customer should not set any visibility filters.
- Configure ContactLens API credentials for voice call summarization:
- Go to Setup > Security > Named Credentials.
- Locate SCC_CONTACT_CENTER_CONTACTLENS_API_NC_{ContactCenterId} and choose Edit.
- Turn on the Enabled for Callouts flag and choose Save.
- Go to Setup, Security, and then Named Credentials. Then, go to the External Credentials tab.
- Access SCC_CONTACT_CENTER_CONTACTLENS_API_EC_{ContactCenterId}.
- On a different tab or browser, go to your AWS Account's IAM Console and configure an IAM user with the policy (*Note: Replace
AWS_ACCOUNT_IDwith your AWS Account ID):{
"Version": "2012-10-17",
"Statement": [
{
"Effect": "Allow",
"Action": [
"connect:ListRealtimeContactAnalysisSegments"
],
"Resource": [
"arn:aws:connect:*:\{AWS_ACCOUNT_ID\}:instance/*"
]
}
]
} - Once you have created the user, retrieve the IAM credentials by going to your created user and navigating to the Security Credentials tab.
- On the Access Keys section, select Create access key > Other > Create access key. Next page will have your access key and secret access key. Store these credentials to be used later (i.e. Notepad, Notes).
- Go back Salesforce tab where you have SCC_CONTACT_CENTER_CONTACTLENS_API_EC_{ContactCenterId}. Navigate to the Principals section. On IAM Credential, under Actions, hit the arrow and select Edit.
- Enter the IAM credentials you have saved before from step 8 on Access key and Access secret and hit Save.
-
Add the Set recording and analytics behavior flow block to your inbound flows:
- For messaging sessions: Add to your cloned SCCAC Inbound flow
- For voice calls: Add to your SCV Inbound flow for Voice
The block should have the following configured:
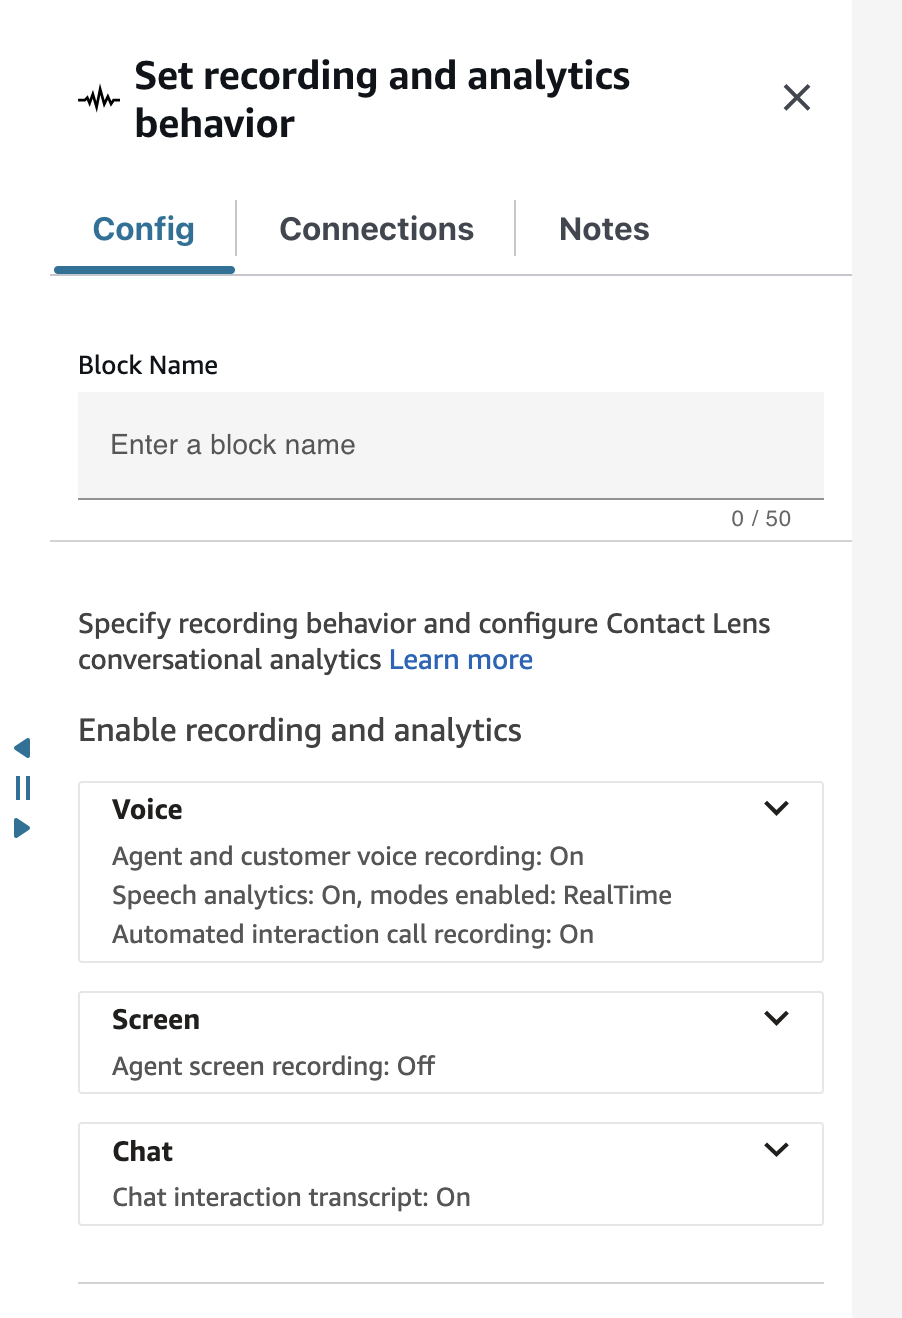
- Choose Enable recording and analytics, Voice, Agent and customer voice recording, and On for Agent and customer.
- Choose Enable recording and analytics, Voice, Automated interaction call recording, and On.
- Choose Enable recording and analytics, Voice, Contact Lens speech analytics, check Enable speech analytics on agent and customer interactions, and select Real-time and post-call analytics.
- If you want post contact summaries on automated interactions, choose Enable recording and analytics, Voice, Contact Lens speech analytics, and check Enable speech analytics on automated interactions.
- Choose Enable recording and analytics, Chat, and check Enable chat analytics.
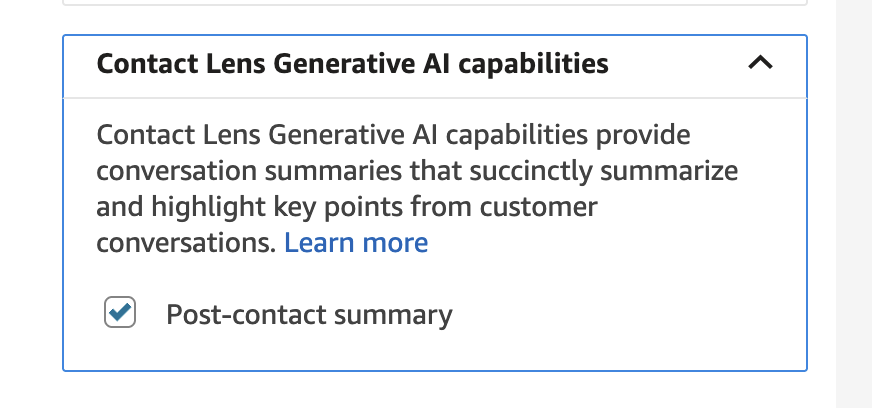
- On the bottom of the block, under Configure analytics settings and Contact Lens Generative AI capabilities, check Agent Interaction summary (formerly Post-contact summary).
- Choose Save on the block and Publish the contact flow.
-
Clone SCCAC Post Contact Summary Agent Placeholder permission set as SCCAC Post Contact Summary Agent and add users you want to have access to the summaries in the cloned permission set.
Outbound Voice Call
-
To set-up post-contact summary for outbound calls, copy the 2 blocks shown below from your SCV Inbound Flow to the SCV outbound flow you are using.
-
On your SCV outbound flow, make sure you have the Set recording and analytics behavior block with the following settings:
On Enable recording and analytics section:
- Voice > Agent and customer voice recording > On > Select Agent and customer
- Voice > Contact Lens speech analytics > Check Enable speech analytics on agent and customer interactions > Select Real-time and post-call analytics
On Configure analytics settings section:
- Contact Lens Generative AI capabilities > Check Agent Interaction summary (formerly Post-contact summary)
-
Confirm the block to save the settings.
-
Publish the flow.
Notes:
- Post-contact summary is only available to messaging sessions and voice calls that are incoming/to be made after the feature is enabled from the guided setup.
- The post-contact summary is not available on messaging sessions that were previously made before the feature is enabled from the guided setup.
- For transfer message sessions, or message sessions that were previously Active, only the latest contact interactions will be the scope of the newly generated summary after the contact ends. The previous summary though will be available for the agent while the message session is Active.
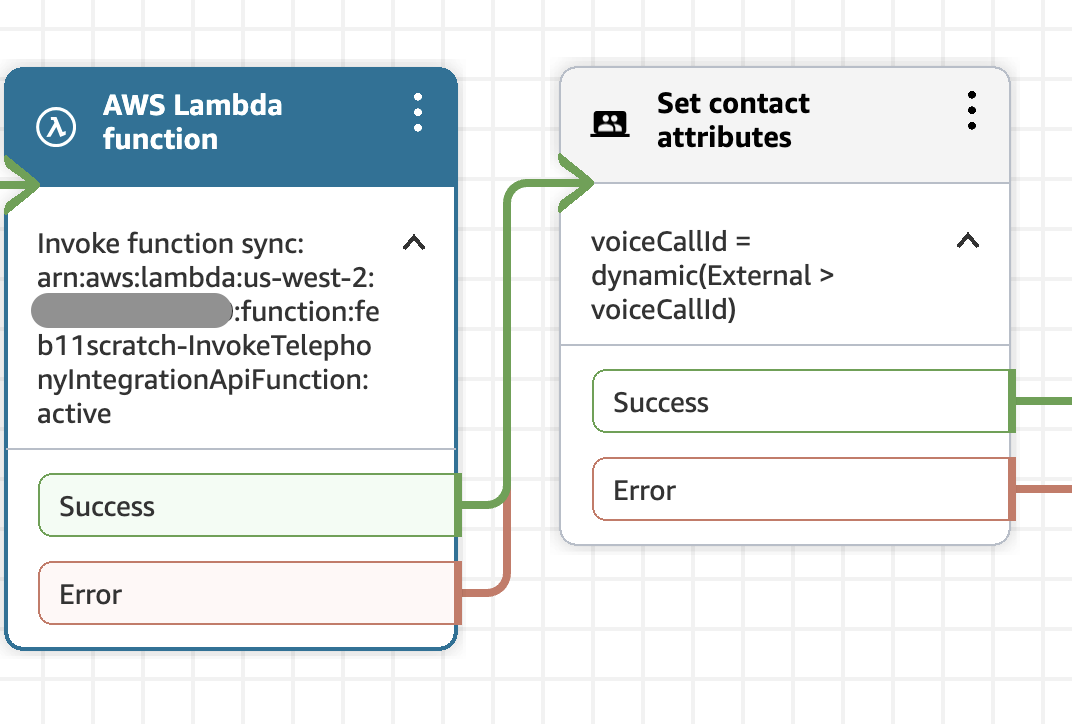
- Post-contact summary is only available to voice call that has voiceCallId as contact attribute.