Contact Attributes Display
Amazon Connect allows for user defined Contact Attributes to be attached to a phone call within Contact Flows. This can be used to track caller inputs, IVR selections, outcomes of an interaction with Amazon Lex, or data lookup from backend systems through Lambda. Some of those values can be useful to be displayed to the agent to speed up data input or skip processes such as authenticating the customer.
Amazon Connect allows data classifications for contact\'s attributes. The classification engines scans configured metadata and identifies text and links attributes to display in Attributes and Links sections respectively.
To configure a contact attribute for display within embedded CCP:
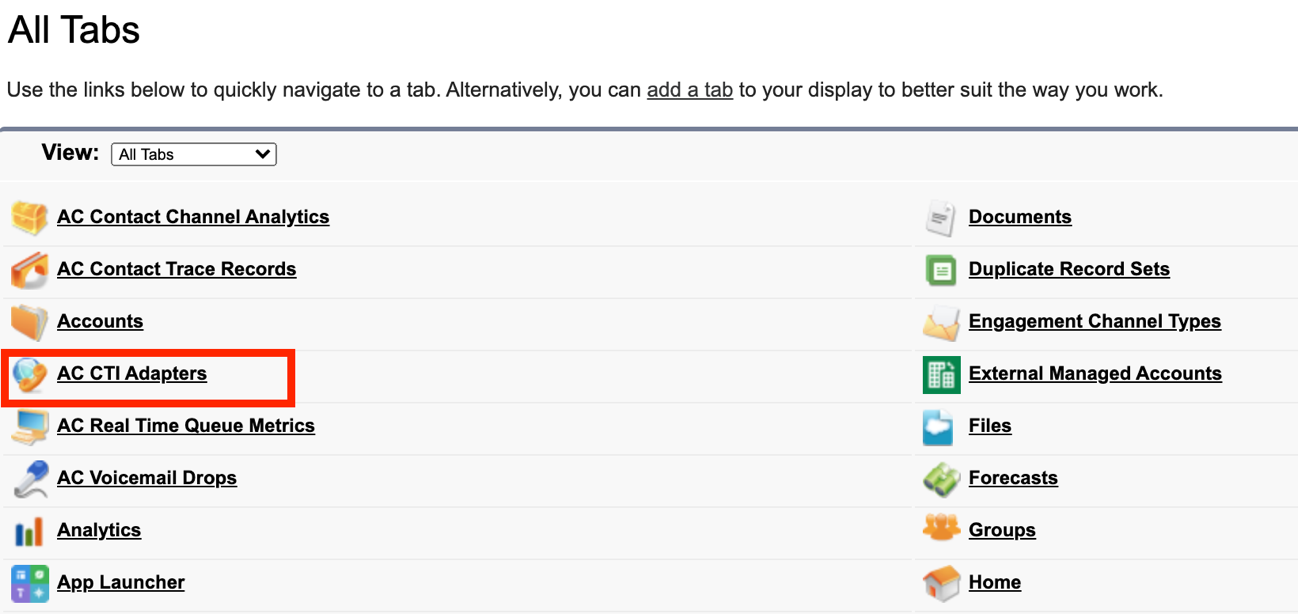
In the top navigation bar, select the "+" icon.

Select "AC CTI Adapters"
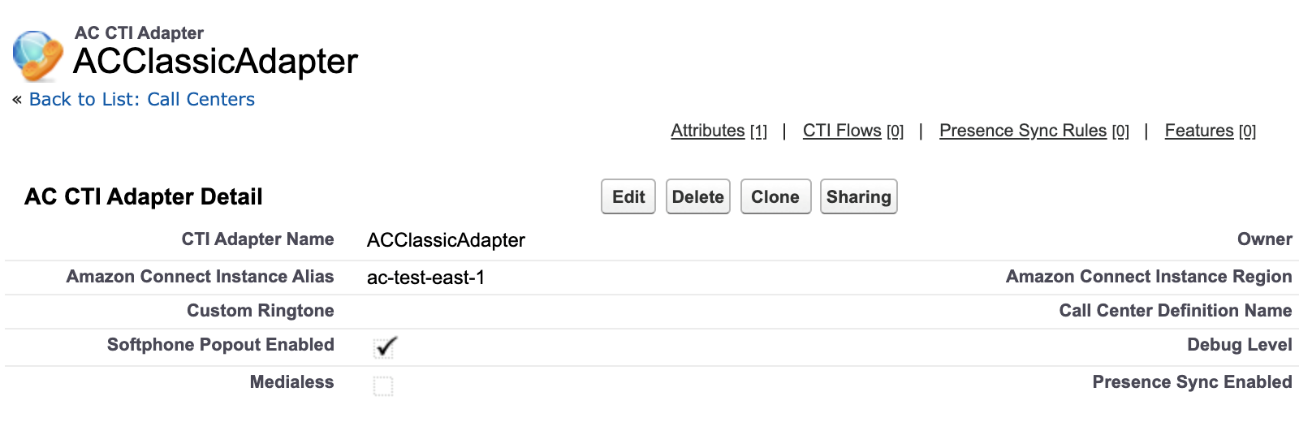
Create a new adapter. Fill in the CTI Adapter Name, and Amazon Connect Instance Alias. For the Call Center Definition Name, type in ACConsoleAdapter. Select Save.
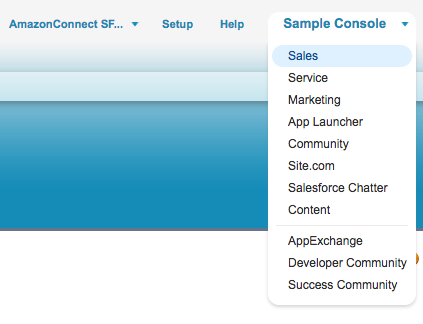
Log in to your Salesforce Org.
From the top right corner, select the Sales application.
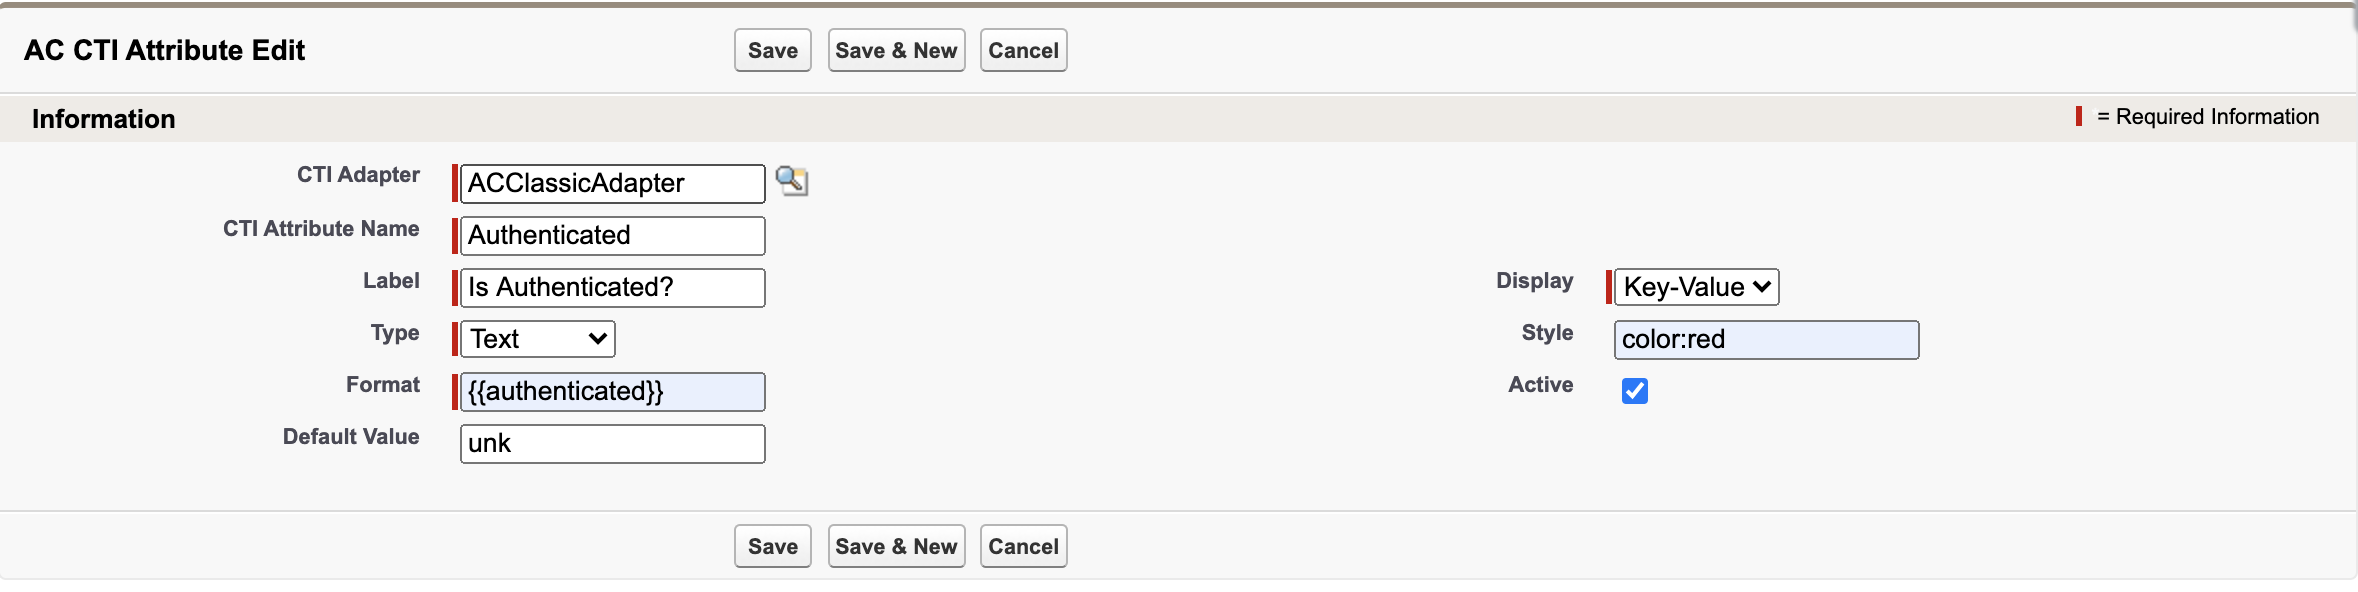
 3. Select **AC CTI Adapters** and select your adapter
- Scroll down to the attributes section and select New AC CTI Attribute

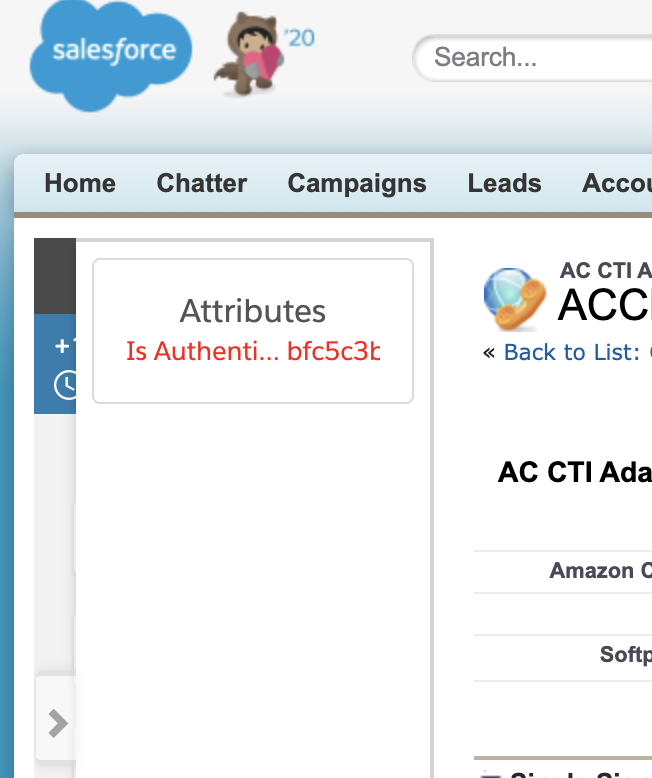
Provide a CTI Attribute Name, for example: authenticated
Provide the Label name, for example:
Select the Display option, in this case: Key-Value
Select Text as the Type
For Style, enter the following: color: red
In the Format field, enter {{phone_number}} to reference the incoming contact attribute
Set Default Value to unk
Choose Save
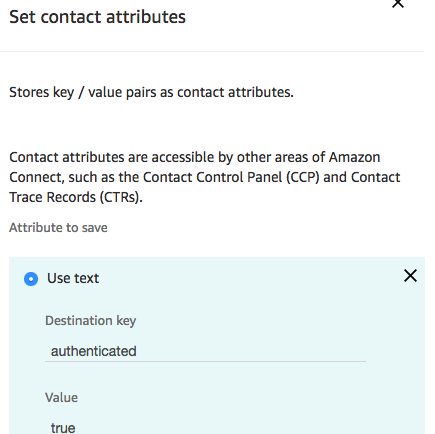
- Open the Amazon Connect Contact Flow Designer and drop Set > Set Contact Attributes block to your Contact Flow. Set the attribute based on your business logic. For example:
- Place and inbound call and ask to speak with an agent. Accept the incoming call and check if Contact Attribute is displayed in the embedded CCP.
There are additional features that can be used to further customize CTI attributes.
- In the Sales application, navigate to your CTI Adapter your CTI Adapter

Scroll down to the Features section. Select New AC Feature.
Set the AC Feature Name to FEATURE_CTI_ATTRIBUTES
Fill the value text box to contain the following settings:
a. ShowAttributesIfEmpty (Boolean, default true): show attributes text box when contact has no attributes
b. ShowAllAttributes (Boolean, default false): show all attributes, including attributes with no value
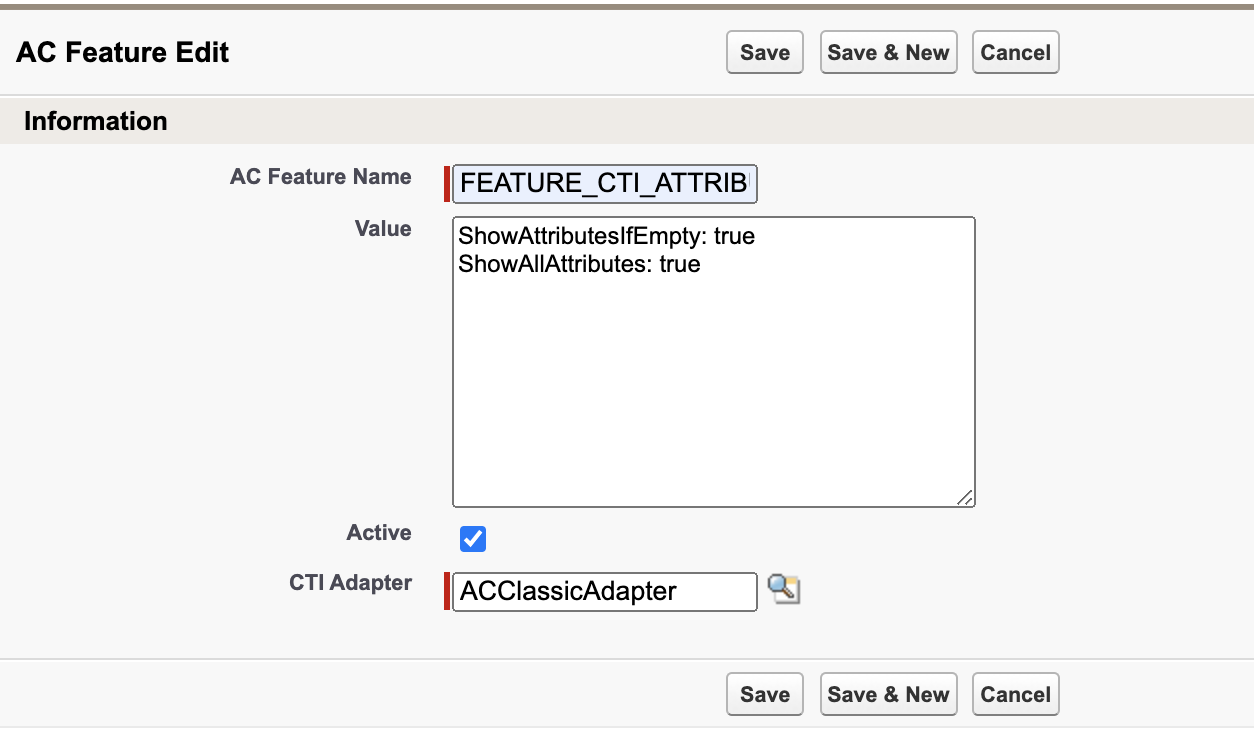
- Select Save