Setting Up The CTI Adapter Using Guided Setup
In order to navigate to the Guided Setup feature, perform the following steps (NOTE: If you are not an admin user then you must first add yourself to the AC_Administrator permission set, see here for more details):
Navigate to the Setup section in your Salesforce instance.
Search for Visualforce Pages, and select AC_GuidedSetup.
Select Preview.
Guided Setup Prerequisites
The below sections are linked to from the Guided Setup feature. Only perform the below steps when the Guided Setup feature links to them.
Create Named Credential
See here for instructions on setting up the Named Credential.
Create Connected App
The Lambda function access Salesforce using the Salesforce REST API. To get access to the environment, a Connected App must be configured with OAuth settings enabled.
Log in to Salesforce
Navigate to Setup > Create > Apps
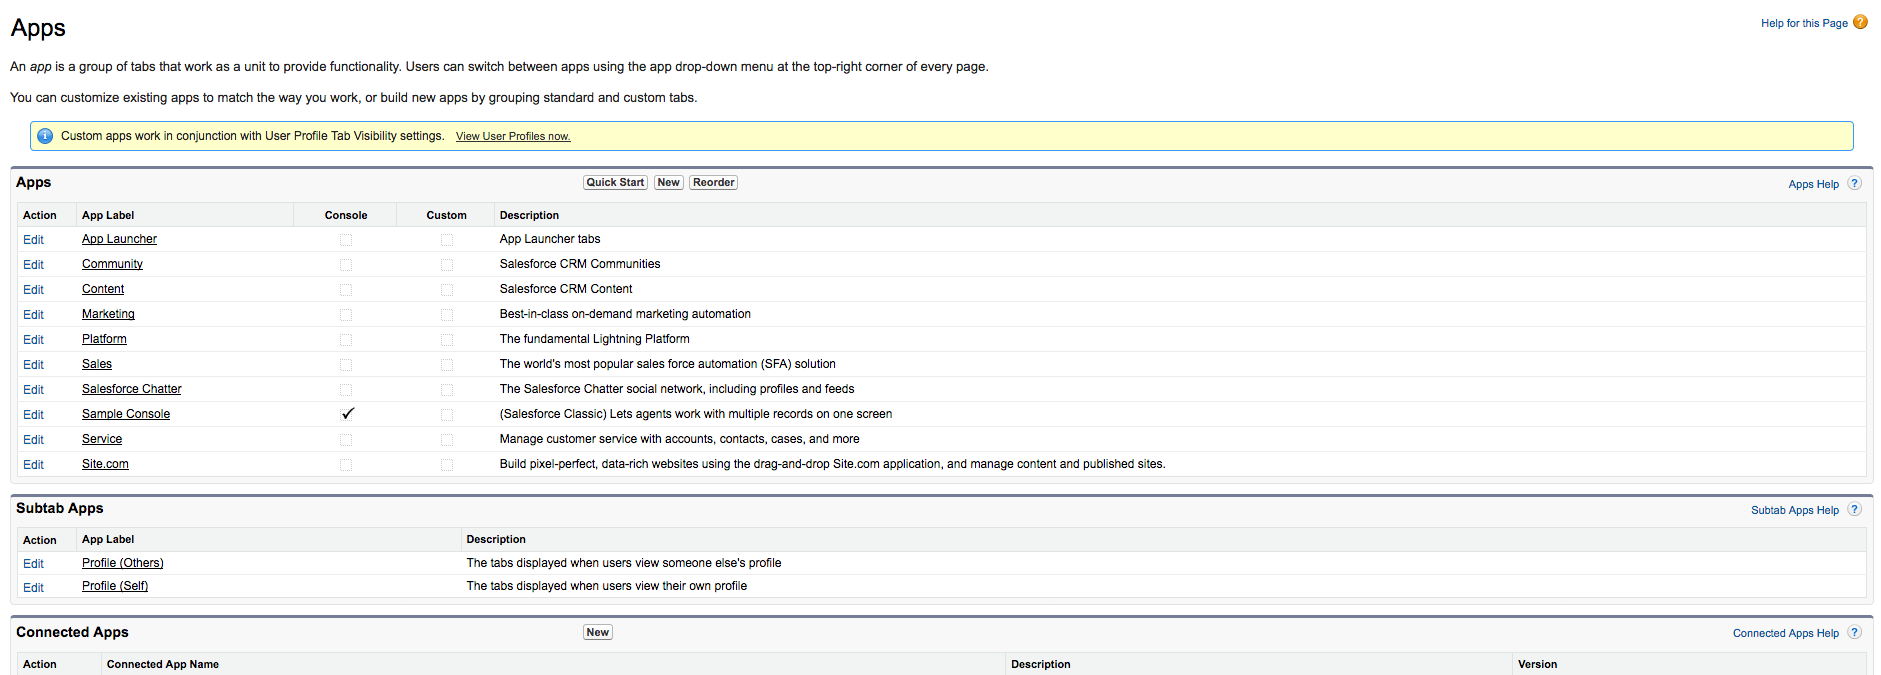
Click on the "New" button for the Connected Apps at the bottom of the page
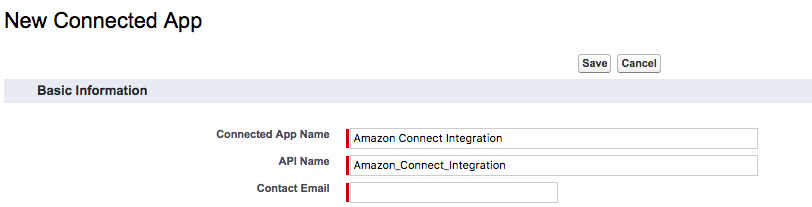
In the following form, fill out the Connected App Name, API Name and Contact Email with values of your choice. We recommend "Amazon Connect Integration" as the Connected App Name and the default value for the API name.
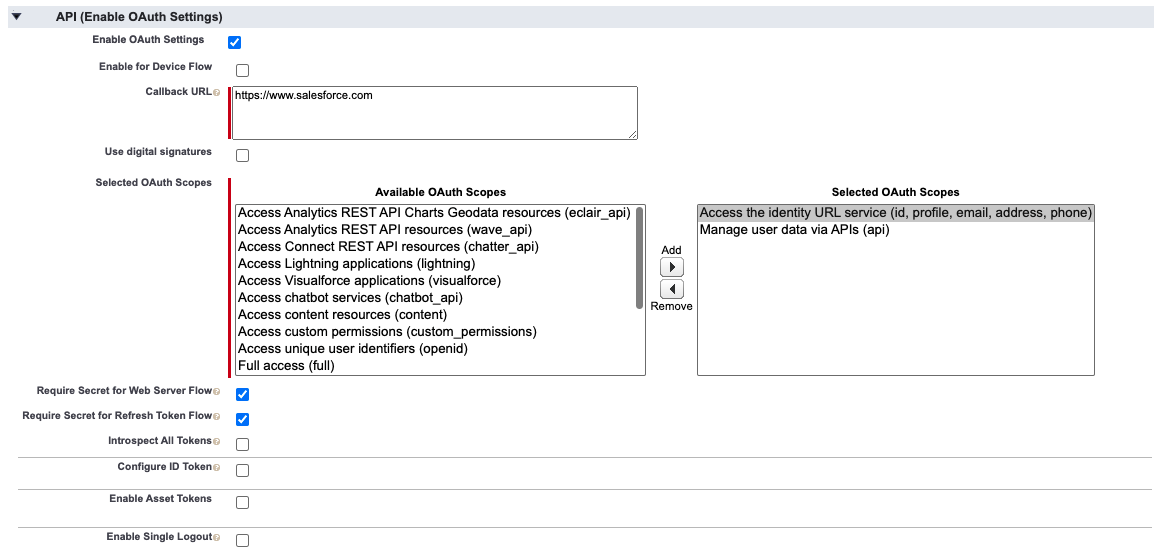
- Select the checkbox next to "Enable OAuth Settings" as shown below.

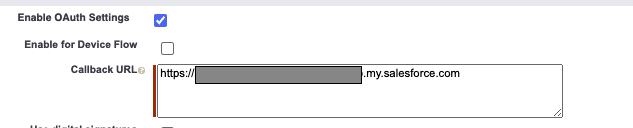
- Set the Callback URL to your domain url. Find the domain at Setup -> My Domain.
- Ensure Selected OAuth Scopes has the following values selected:
a. Access the identity URL service (id, profile, email, address, phone)
b. Manage user data via APIs (api)
- Select the checkbox "Require Secret for Web Server Flow", and the checkbox "Require Secret For Refresh Token Flow"
Click "Save" at the bottom of the screen.
Click "Continue" on the next screen

- Once the app has been created, on the app's detail screen, please copy the "Consumer Key" value to your installation notes

Select "Click to reveal" next to Consumer Secret and record this value to "Consumer Secret" in your installation notes.
Click "Manage" at the top of the page

On the page that appears, click "Edit Policies"
Set "Permitted Users" to "Admin approved users are pre-authorizes"

- Click "OK" on the pop-up dialog:

- Set "IP Relaxation" to "Relax IP restrictions"

- Click "Save"
Guided Setup Additional Instructions
The below sections are linked to from the Guided Setup feature. Only perform the below steps when the Guided Setup feature links to them.
Retrieve Amazon Connect Instance Url
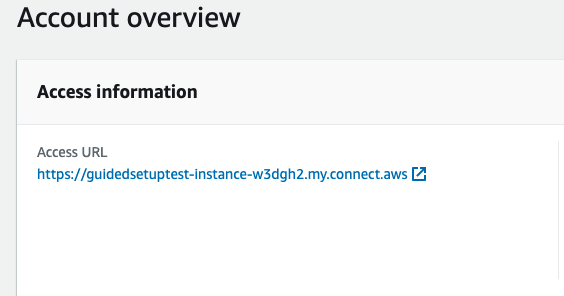
Navigate to the Amazon Connect Console
Select your Instance Alias
On the Overview page for your instance, copy the Login URL (if your Amazon Connect instance uses the
https://(instancename).awsapps.com/connect/logindomain, then remove everything after ".com"):
Add users to the Call Center
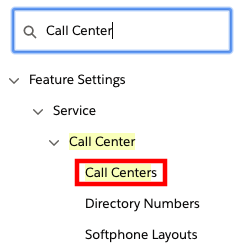
Log in into your Salesforce org and go to Setup
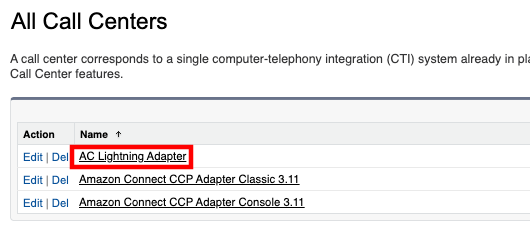
In the Quick Find field, enter Call Center, then select Call Centers from the result list
If you see the Say Hello to Salesforce Call Center page, select Continue
Select AC Lightning Adapter
On the AC Lightning Adapter detail page, select Edit
On the AC Lightning Adapter: Manage Users page, select Add More Users.
Set filters (if desired) and then choose Find.
Select the checkbox next to the user to add, then choose Add to Call Center.

- Repeat the steps to add more users.
Add users to a Permission Set
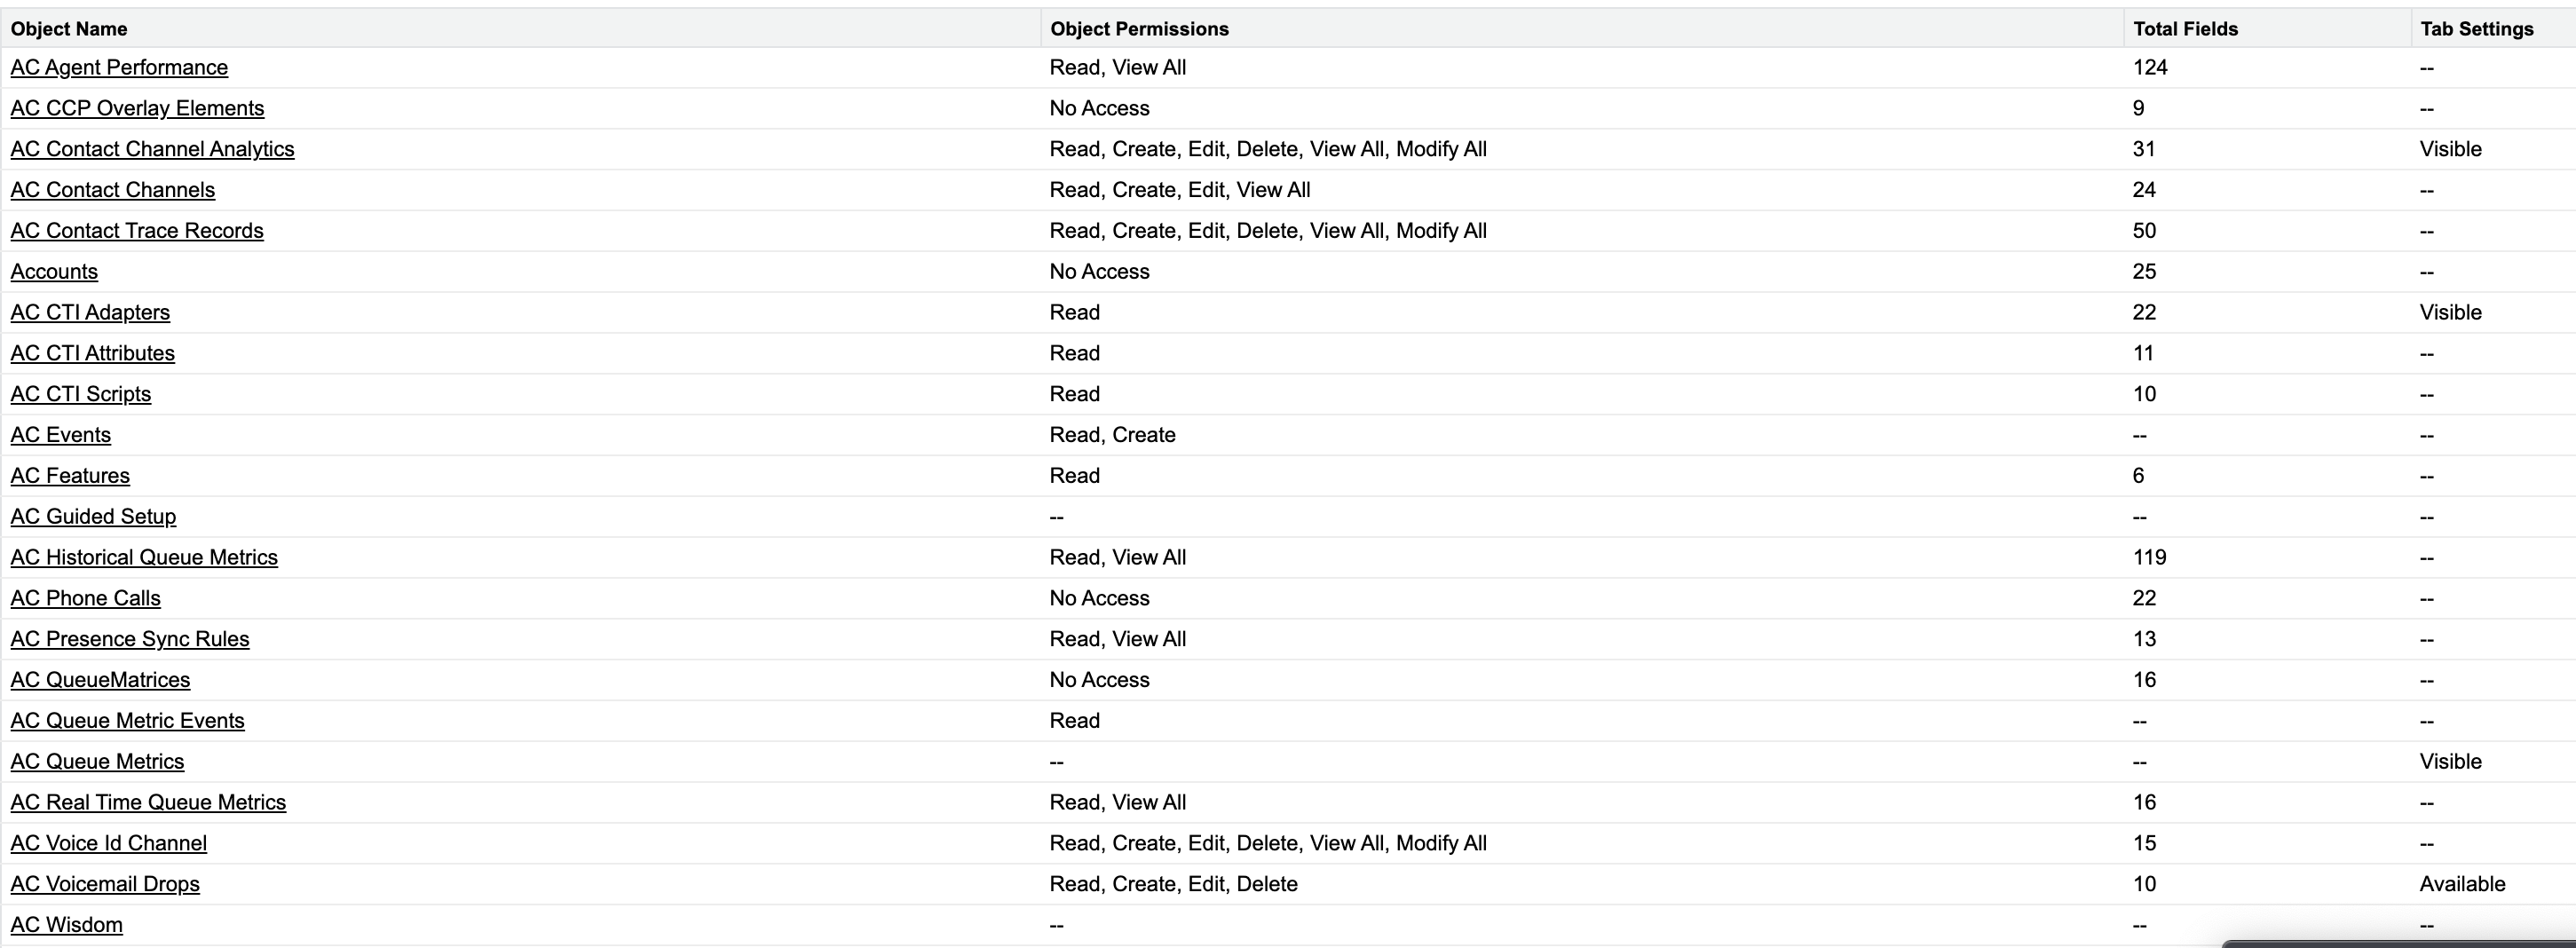
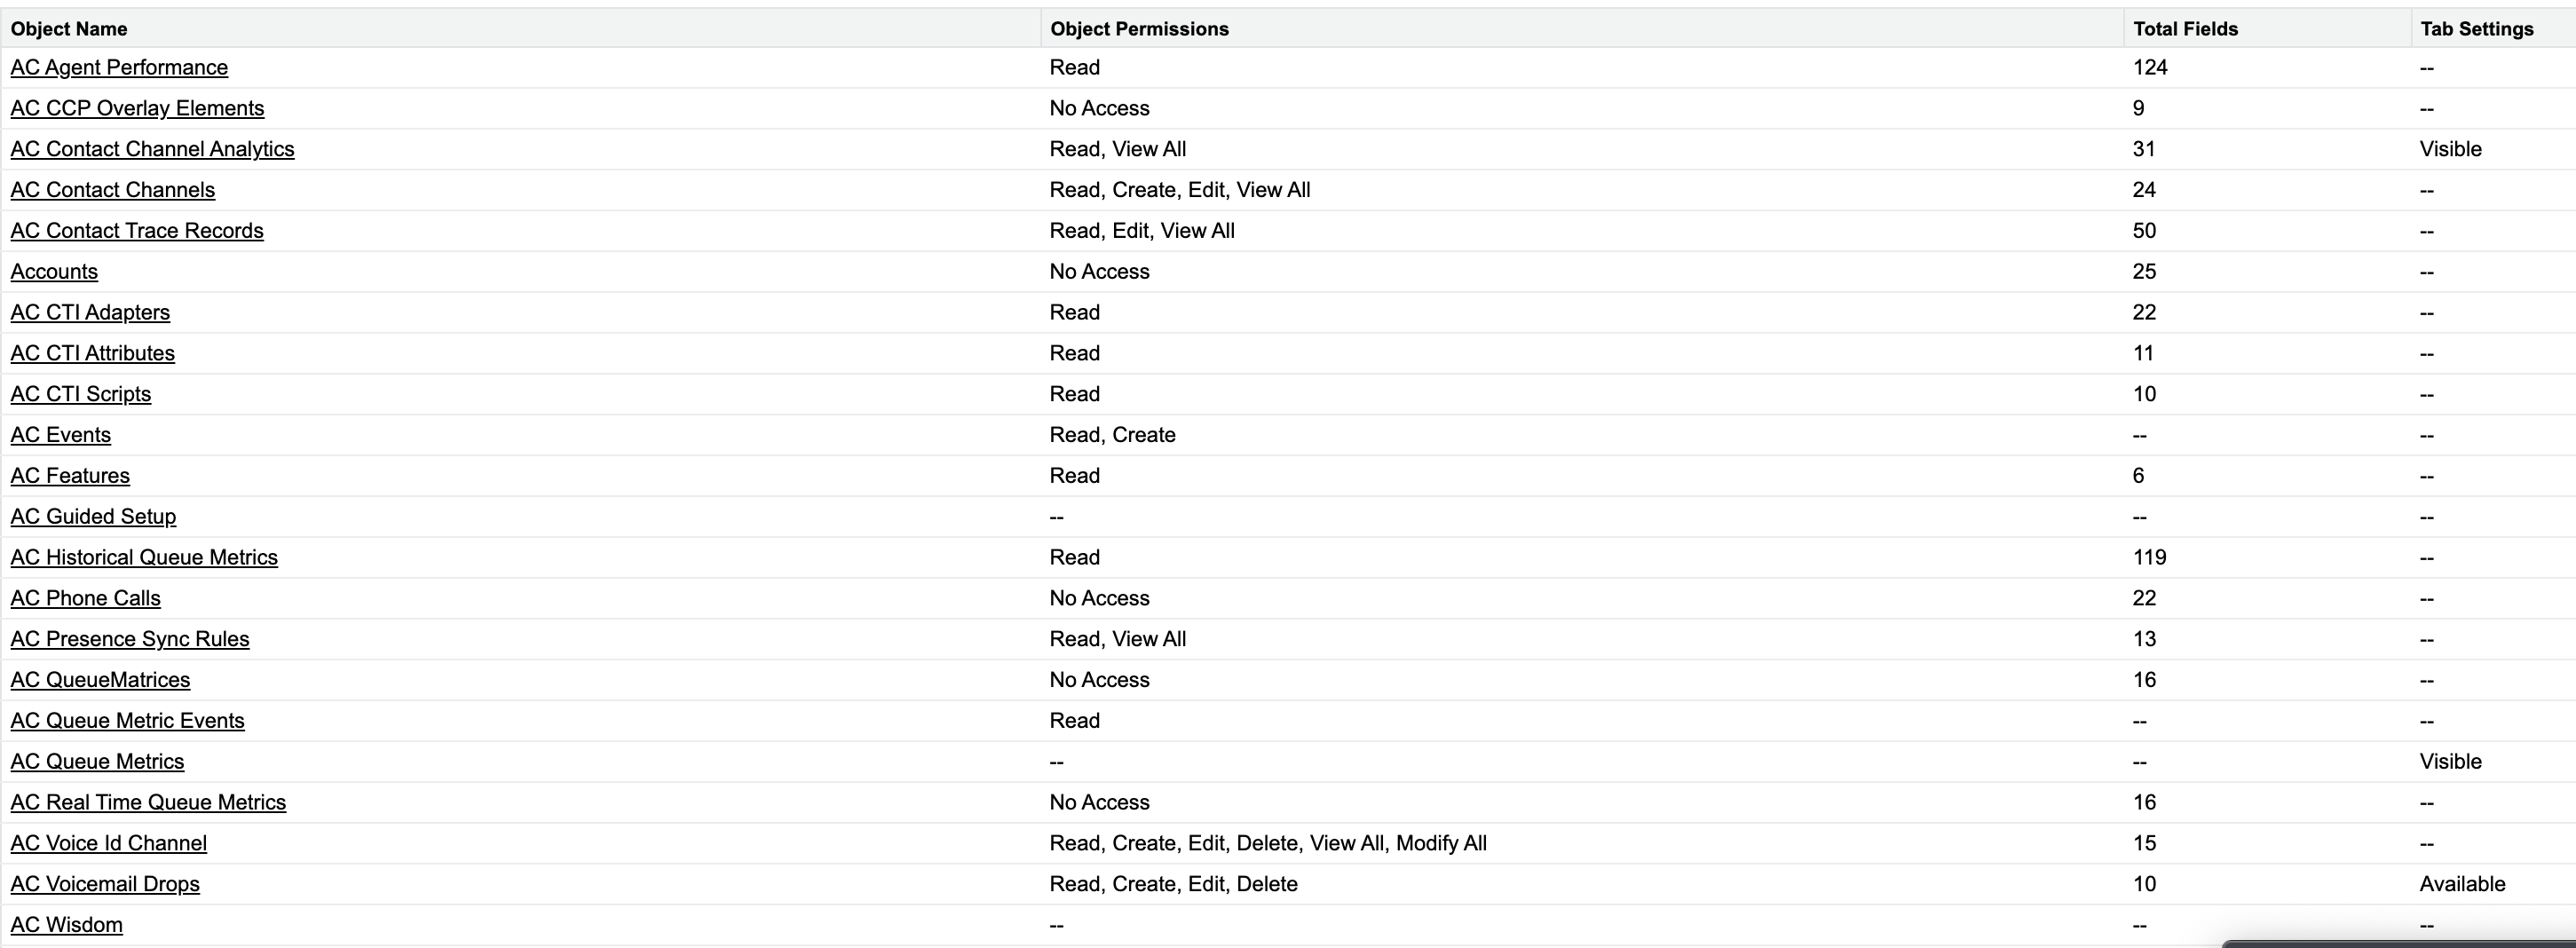
All users must be assigned the required permission set to access Salesforce metadata. The Amazon Connect CTI Adapter includes Permission Sets-- one for agents, one for managers, one for administrators, and a few for specific features, that grant users the appropriate access for their role. More information on assigning user permissions can be found in the Salesforce help documentation.
Log in into your Salesforce Org.
Navigate to Setup > Manage Users > Permission Sets.
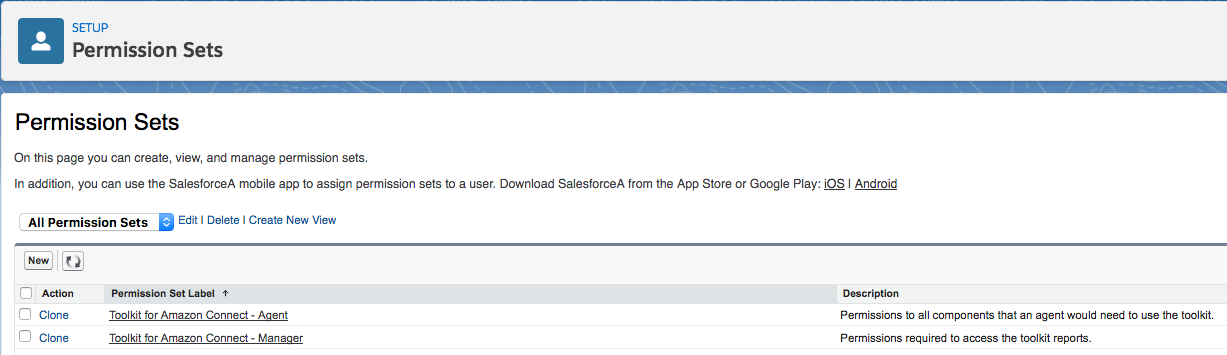
- Choose AC_Manager.
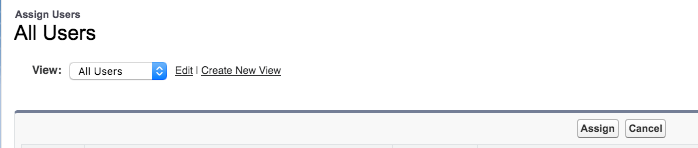
Choose Manage Assignments.
Choose Add Assignments.
Select the users to assign the permissions, then choose Assign. More information on assigning user permissions can be found at: https://help.salesforce.com/articleView?id=perm_sets_mass_assign.htm&type=5
AC_Administrator
AC_Manager
AC_Agent
Create the Softphone Layout
Next, we need to create a softphone layout for the solution.
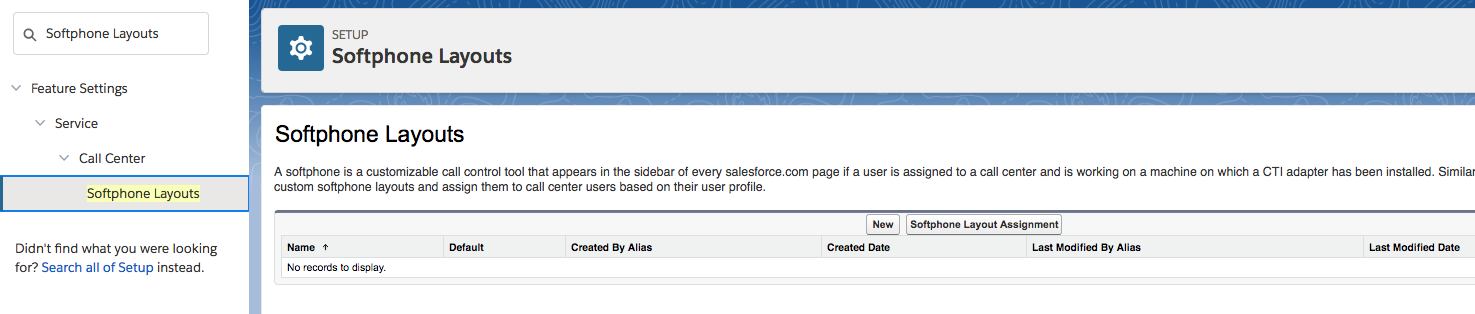
In the Quick Find box, type Softphone Layouts, then choose Softphone Layouts.
Choose New.
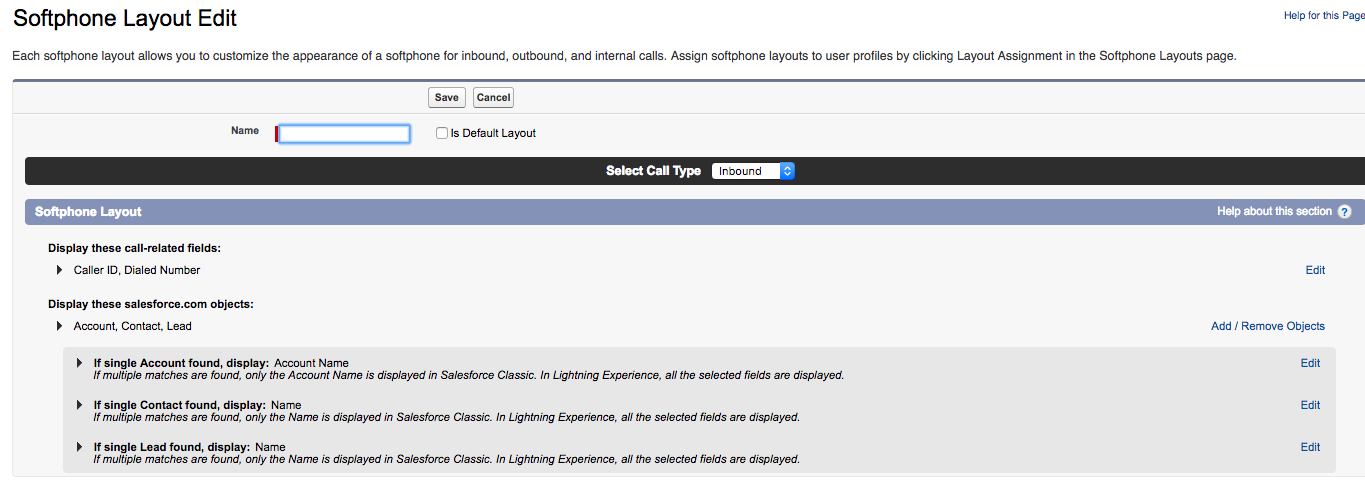
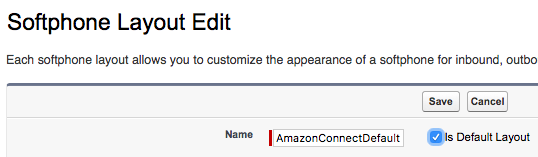
- Enter a name for the layout, such as AmazonConnectDefault, then select the Is Default Layout checkbox.
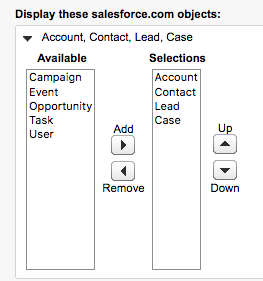
- Expand "Display these salesforce.com objects" and select objects that CTI Connector should be able to search, for a screen-pop query. In this example, besides default selection, I'm adding "Case", as I want to search and screen-pop by CaseID.
- If necessary, configure the search behavior in the case that one or multiple records are found upon CTI search.

- In this example, keep the default configuration, then choose Save.

Retrieve the Salesforce API Version
Log in into your Salesforce org and go to Setup
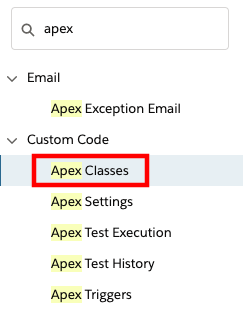
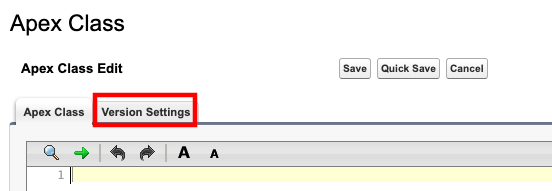
In the Quick Find field, type apex, then select Apex Classes from the results
- Select New

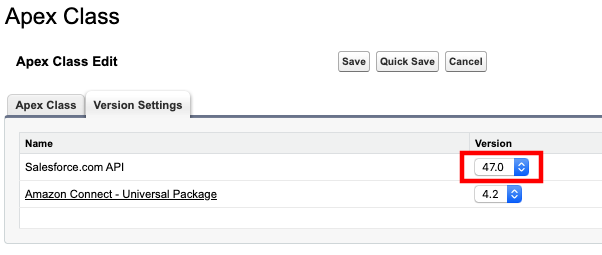
- Select the Version Settings tab
- Note the Salesforce.com API version in your notepad. The pattern of this value is
vXX.X.
Setting up the Salesforce API User
The Lambda functions authenticate with Salesforce via user credentials. It is a common practice to create an API user account for this purpose.
Log in to Salesforce
Navigate to Setup > Manage Users > Profiles
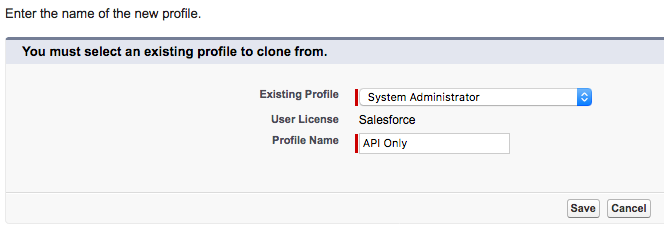
Click "New Profile"
Enter the Profile Name (i.e. "API Only")
Select the existing profile to clone (The integration user\'s access to just those objects required for the integration)
NOTE: You\'re advised to use a full Salesforce License for the user to be able to set the below permissions and have full access to avoid any other errors.
- Click "Save". A New Profile is created:

- Once the new profile page opens, select the System Permissions button

- If the Lightning Experience User checkbox is selected, clear it

Save the system permissions, then go back to Profile Overview
Select the Password Policies link, click edit

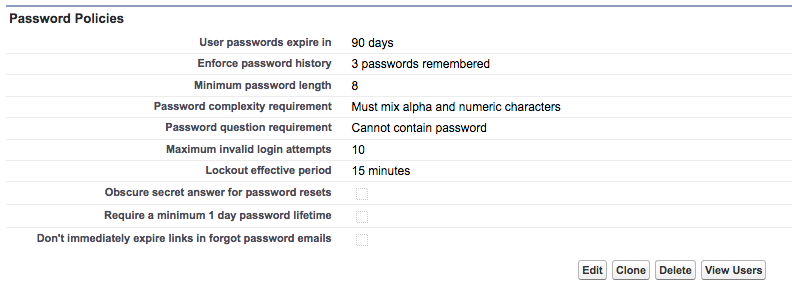
- Set User password expire in to Never expires NOTE: Failure to this may lead to production outages.
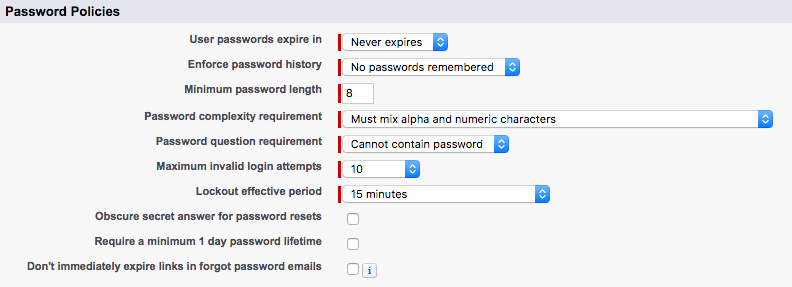
Select Save
Navigate to Setup > Manage Apps > Connected Apps
Select the app you have created in the previous step (i.e. Amazon Connect Integration)

- Click "Manage Profiles"

- Ensure the "API Only" profile is selected:

Click "Save" at the bottom of the page
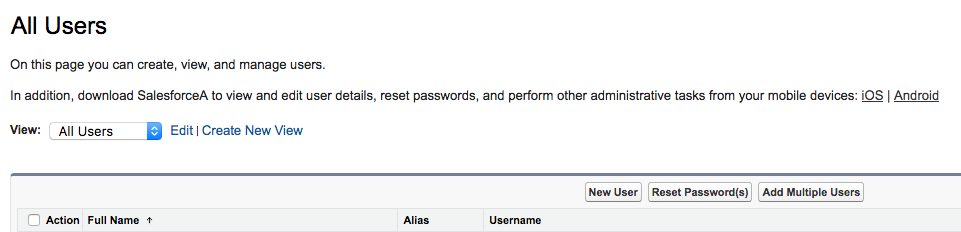
Navigate to Setup > Manage Users > Users
Click "New User"
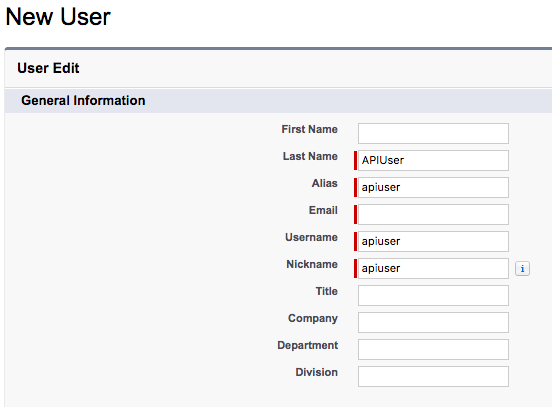
- Set necessary fields: Last Name, Alias, Email, Username, Nickname
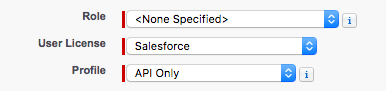
- On the right-hand side, set the User License and Profile
Click "Save"
In Quick Find, search for "Permission Sets". Select the AC_Administrator permission set.
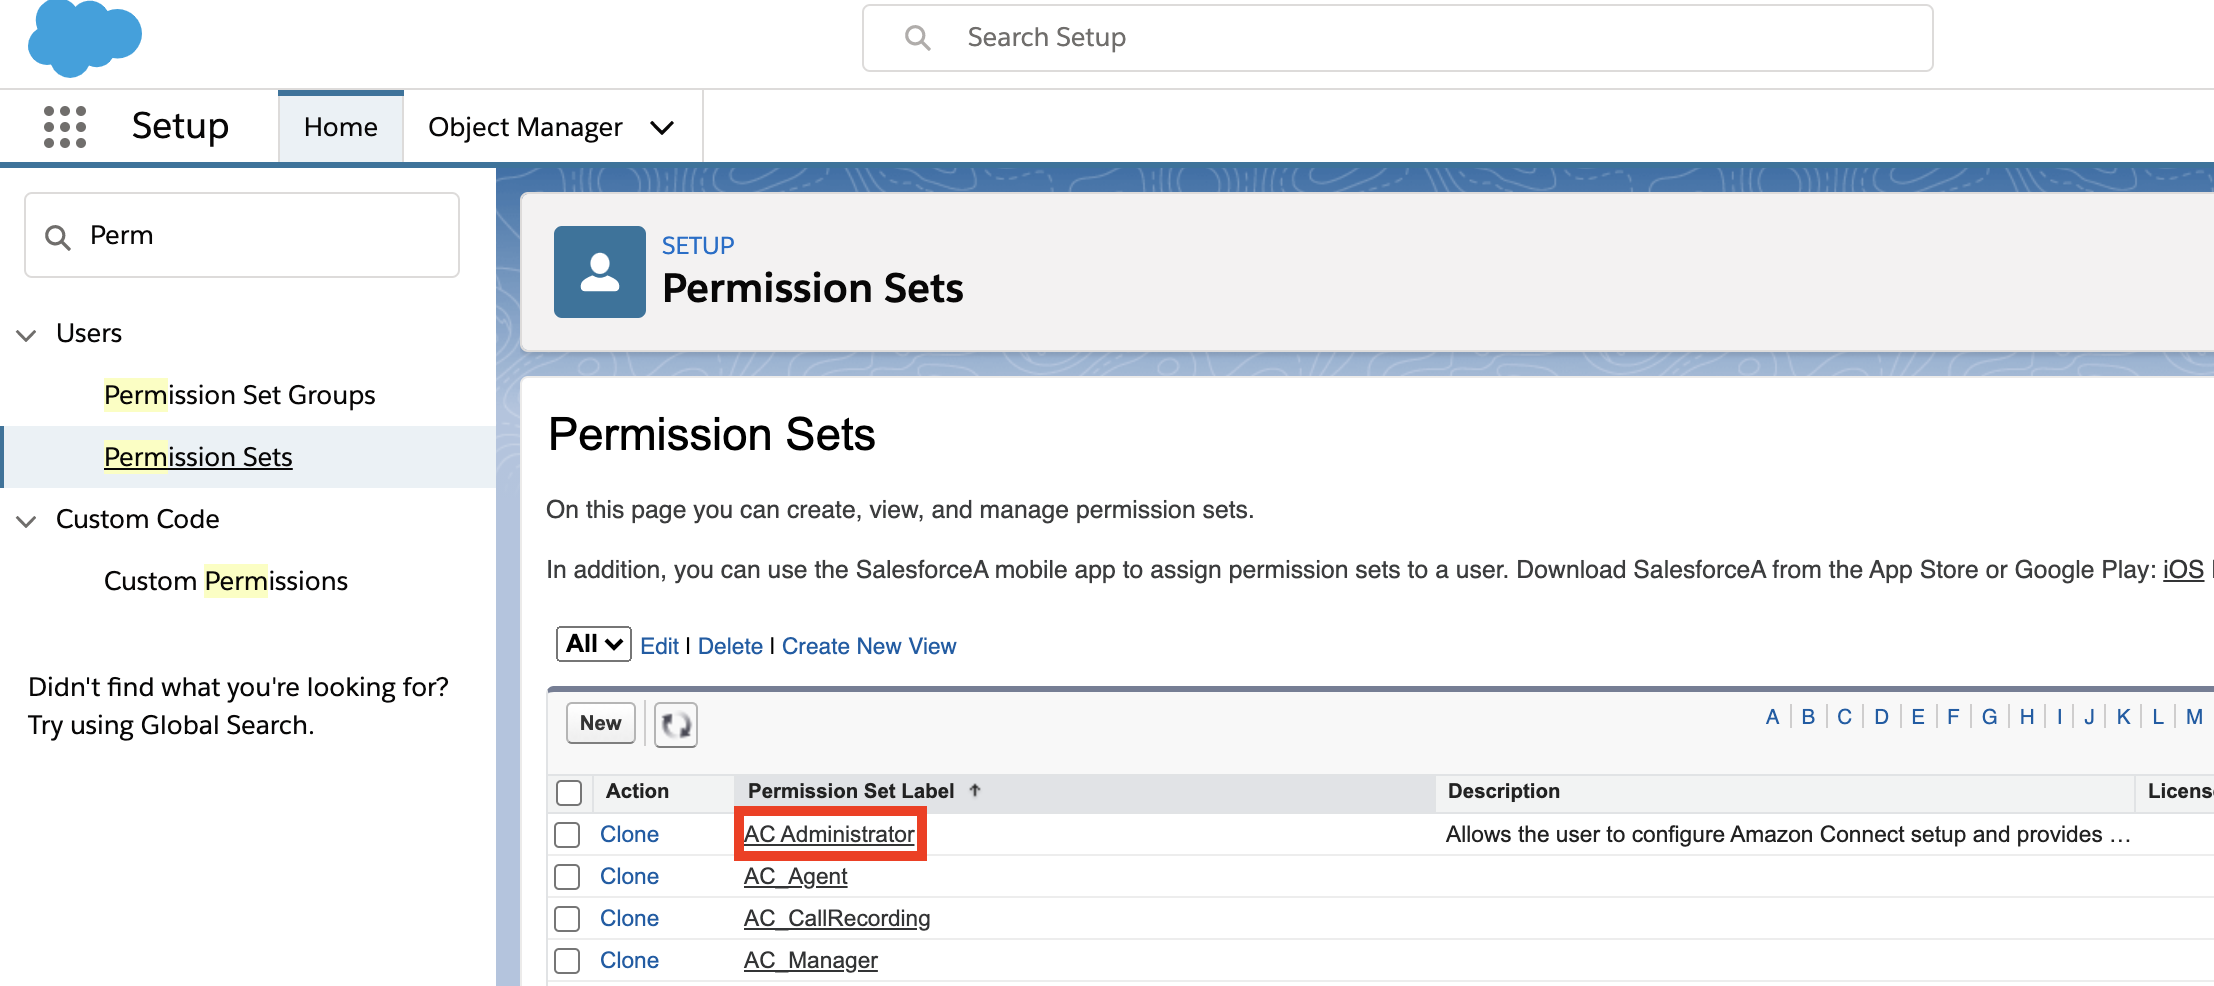
Select Manage Assignments. Add the apiuser you just created to the permission set.
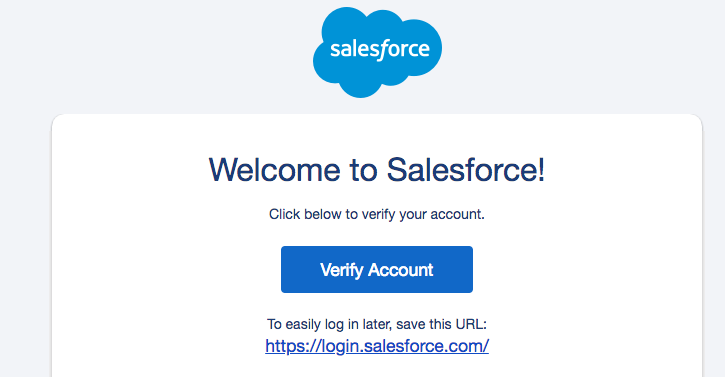
A confirmation email will be sent, with an activation link. Click the link to activate your user.
Change (set) a password for apiuser (Considered a strong that contains at least 20 random characters):
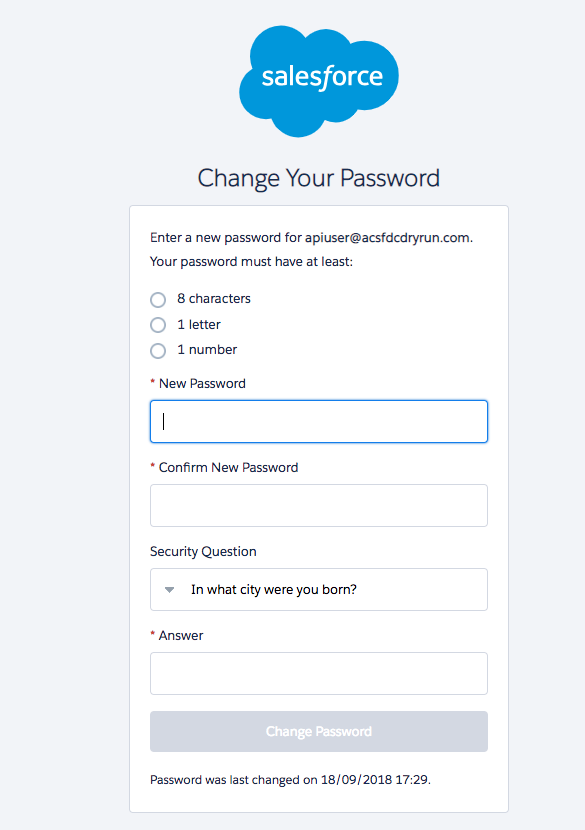
Click "Change Password"
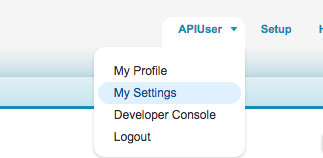
Access the apiuser personal settings by selecting the username in the top right corner, then "My Settings".
- Type "Security Token" in the Quick Find box and click "Reset My Security Token".

- Your security token will be emailed to you
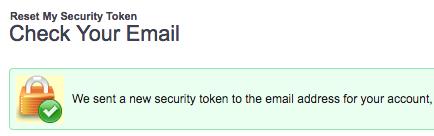
- Copy the security token from the email in to your installation notes for the "Access Token" value.
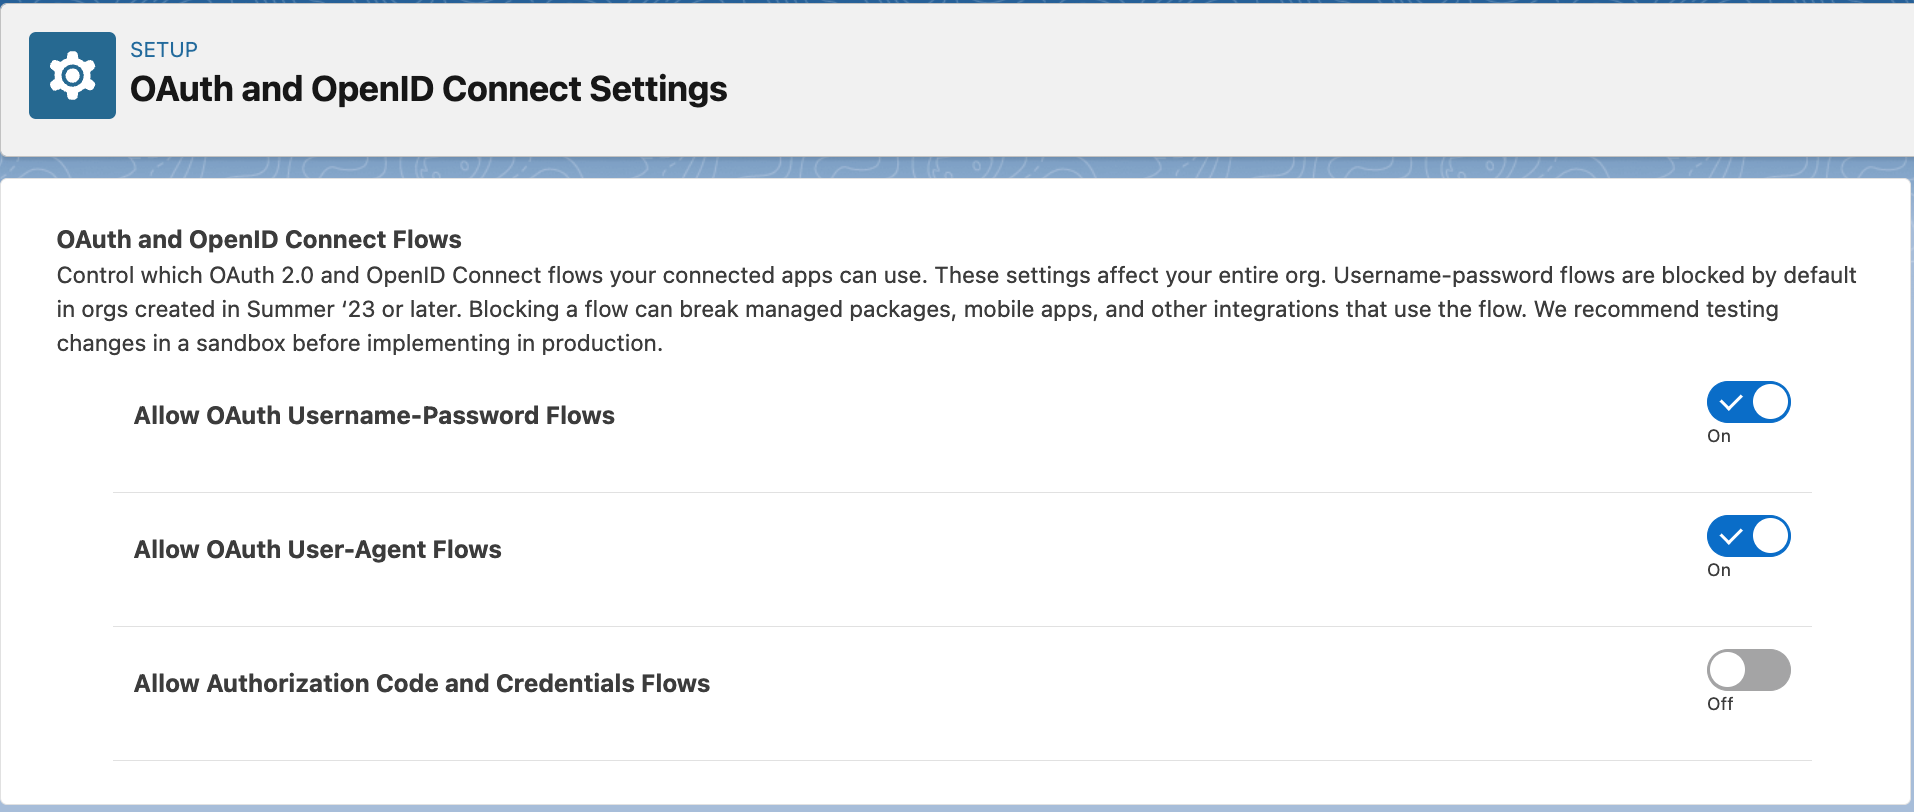
Allowing the API user to authenticate using password
The api user created above authenticates using username-password flow in Salesforce. This flow needs to be unblocked and to do that, go to Setup and in the Quick Find box, search for OAuth and OpenID Connect Settings. After that, make sure that the toggles for Allow OAuth Username-Password Flows and Allow OAuth User-Agent Flows are turned ON, as shown in below image.
Setting up the SecretsManager Secret
To ensure that your Salesforce credentials are secure, the Lambdas require that the credentials are stored in AWS Secrets Manager. AWS Secrets Manager is a highly secure service that helps you store and retrieve secrets.
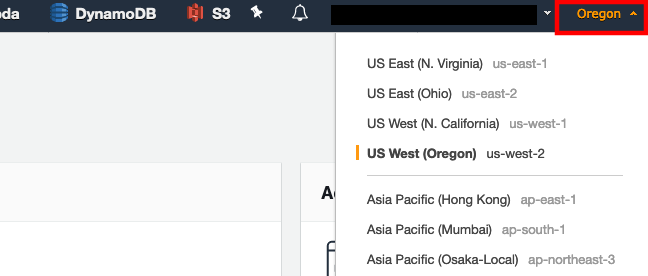
In a new browser tab, login to the AWS console
Make sure you are in the same region as your Amazon Connect instance. You can set the region by expanding the region selector in the upper right and choosing the region
Navigate to the Secrets Manager console
Select Secrets
Select Store a new secret
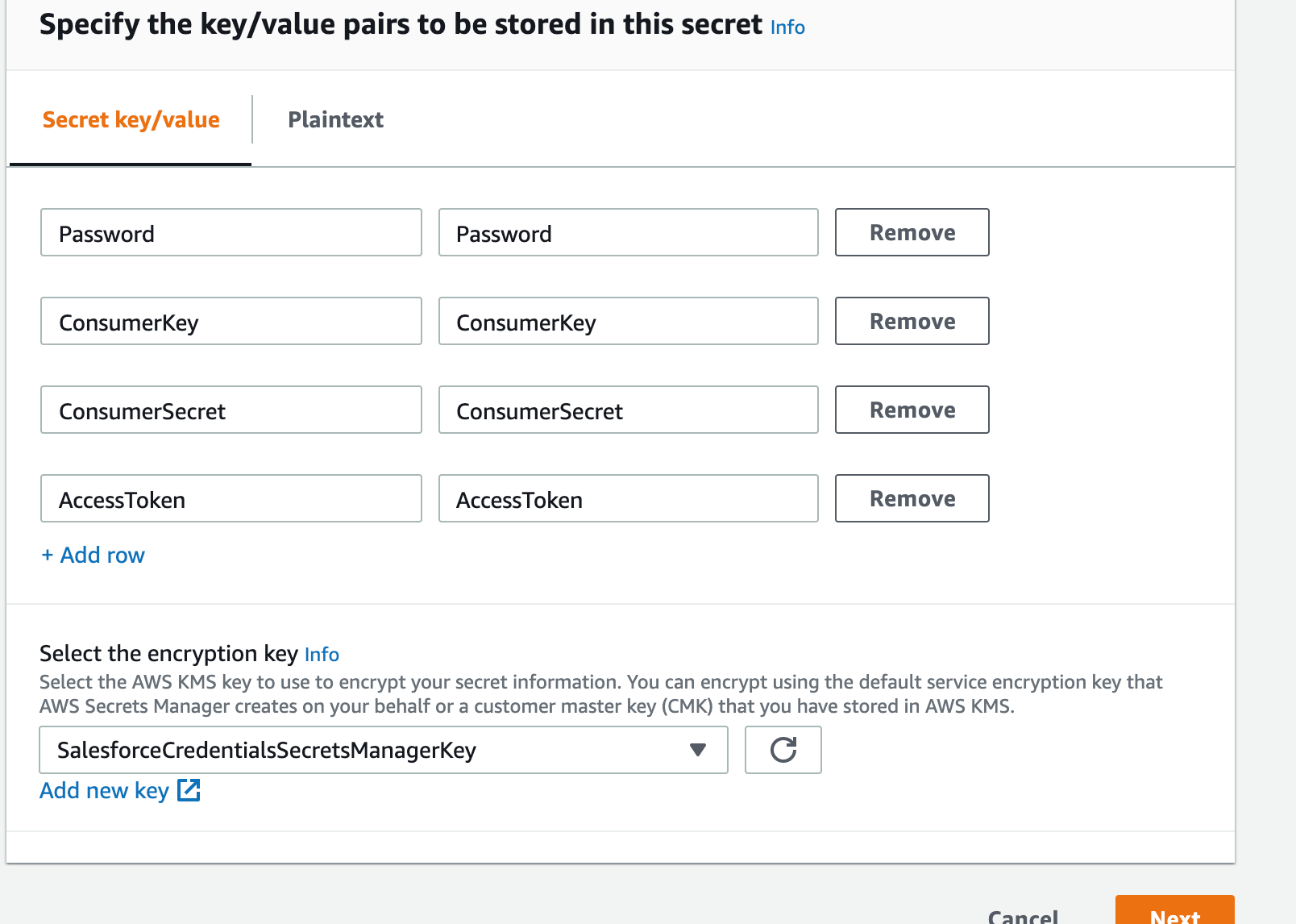
Select Other types of secrets
Make sure Secret key/value is selected
Enter key value pairs that match the following:
a. Key: Password, Value: the password for the API user that you configured in the previous section
b. Key: ConsumerKey, Value: the Consumer Key for the Connected App you created in the previous section
c. Key: ConsumerSecret, Value: the Consumer Secret for the Connected App you created in the previous section
d. Key: AccessToken, Value: this is the access token for the API user that you configured in the previous section
For the encryption key, click Add new key
Select Create Key
Make sure key type is set to symmetric
Give your key an alias, like SalesforceCredentialsSecretsManagerKey
Click Next
Select administrators you want to have access permission to change the key policy. Make sure you are being as restrictive as possible
Click Next
Select the users and roles you want to have access to the Salesforce credentials in Secrets Manager. Make sure you are being as restrictive as possible
Click Next
Click Finish
Click on the managed key that you just created (which is SalesforceCredentialsSecretsManagerKey in this case).
Note down the ARN. This is SalesforceCredentialsKMSKeyARN that will be used later when installing the Amazon Connect Salesforce Lambda package.
Navigate back to the Secrets Manager setup tab
Select the key you just created
Click Next
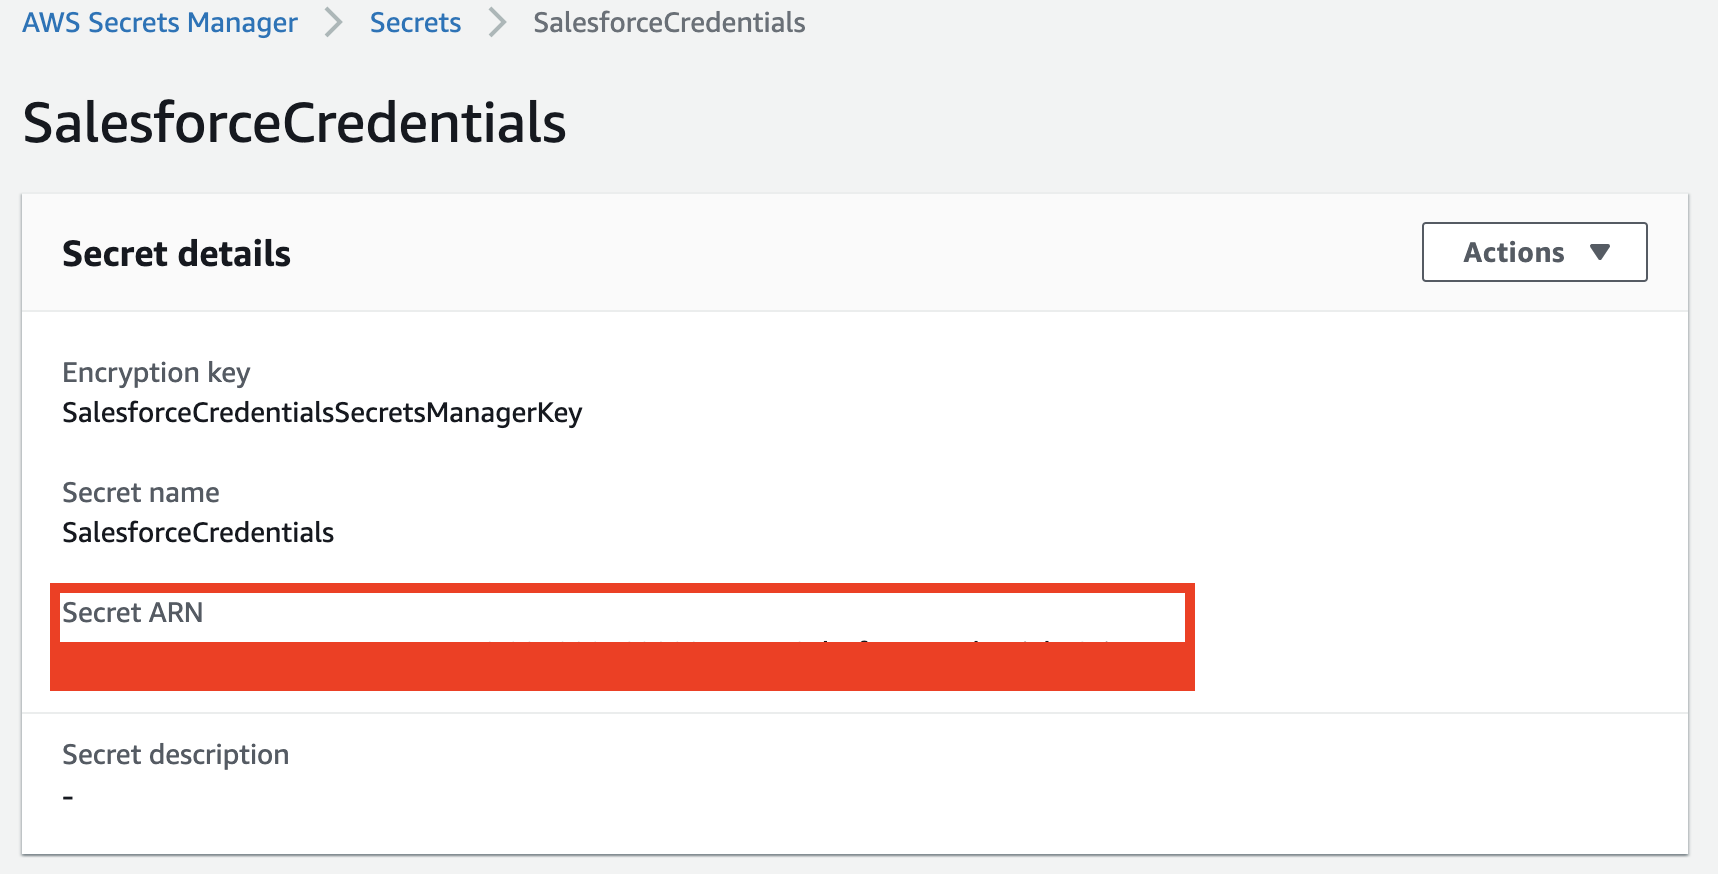
Give your secret a name, like SalesforceCredentials
Click Next
Make sure automatic rotation is disabled.
Click Next
Click Store
Select the secret you just created, and copy the Secret ARN