Setting Up The CTI Adapter Managed Package Manually
Below are manual setup instructions for the Salesforce CTI Adapter Managed Package. After following the below steps, be sure to follow the instructions for setting up the Salesforce Lambdas here.
Before proceeding, please confirm that the application was installed for admins only (see installation for more details). If you did this by accident, then you will have to manually edit the profiles to remove the permissions to the objects and pages created by the app.
Lightning Flow Setup Installation
Navigate to Service Setup within the Lightning UI under the gear icon.
Click View All
Search for or select Add Phone Support
Click Start on the Voice Setup screen
Under Select Your Voice Provider, select Amazon Connect CTI Adapter
Agree to the terms and conditions and click Install Package
Under Add Voice Service Provider Details, add the URL to your Amazon Connect instance (see instructions below if you are unsure). You will also need to allowlist your Salesforce domain within Amazon Connect.
Under Who's Answering the Phone?, select the name of the users you would like to access the phone configuration. This can be modified later under the Call Center configuration.
Click Finish. You can also launch the Amazon Connect Setup Guide.
Installing from the Salesforce AppExchange
- Log in into your Salesforce instance and open Setup.

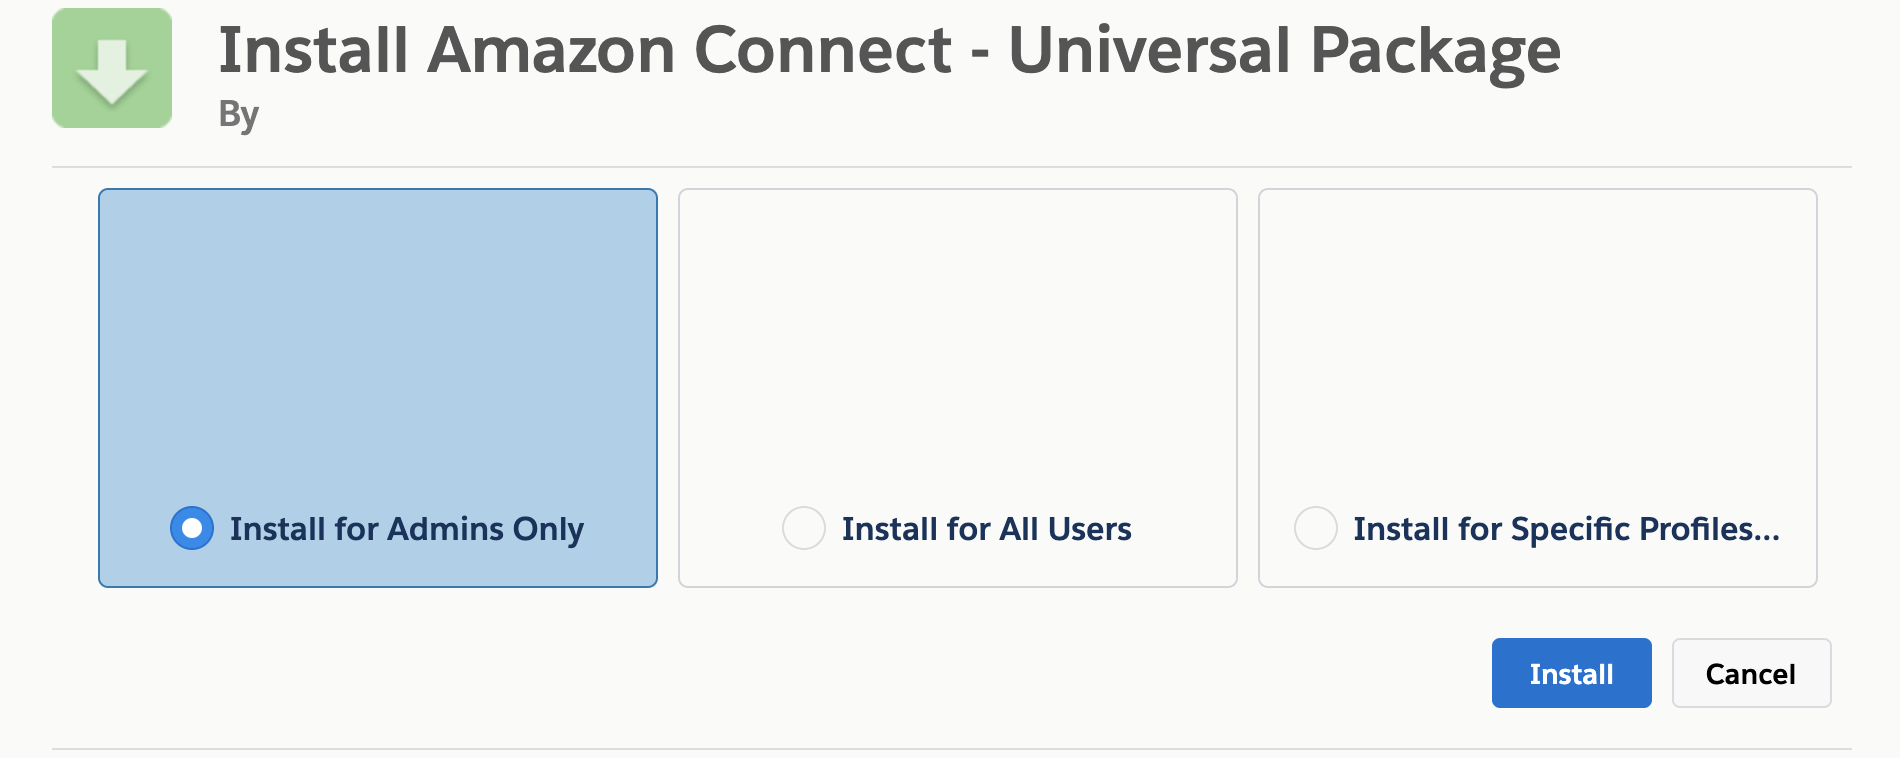
- Open the Amazon Connect CTI Package URL, then choose Install for Admins Only.
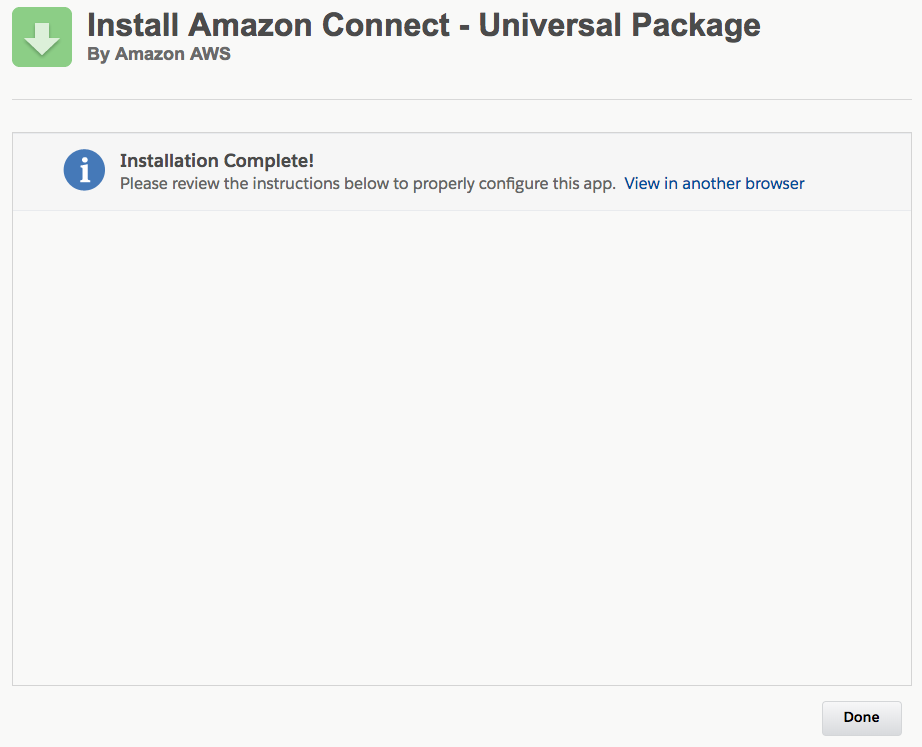
- Choose Done. The Installed Packages page opens.
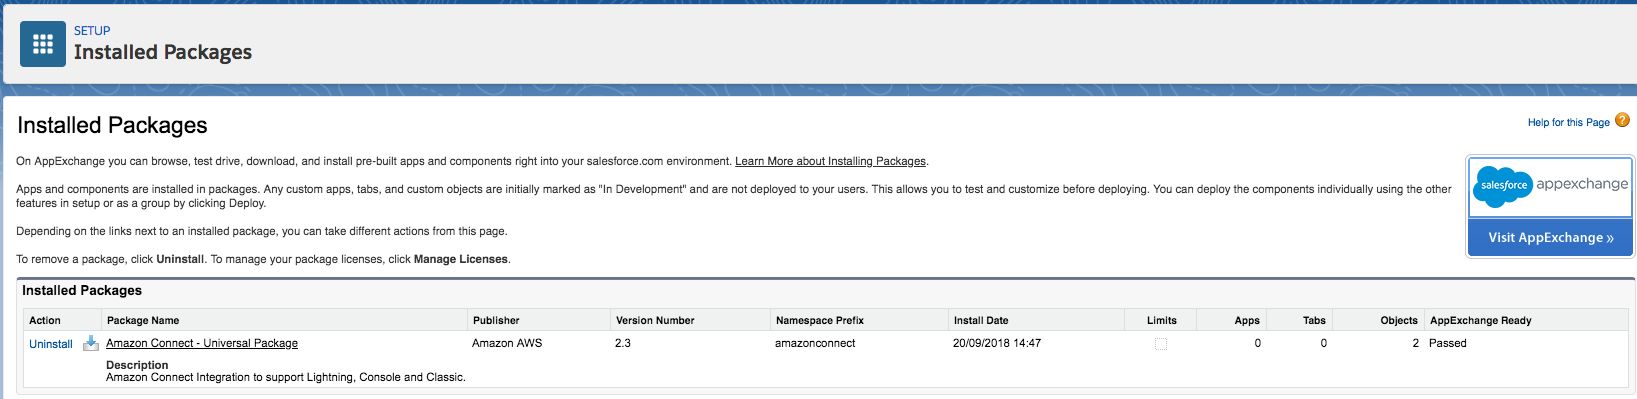
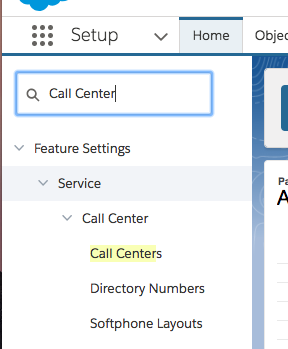
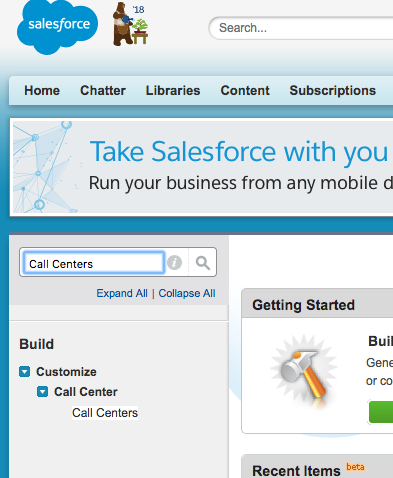
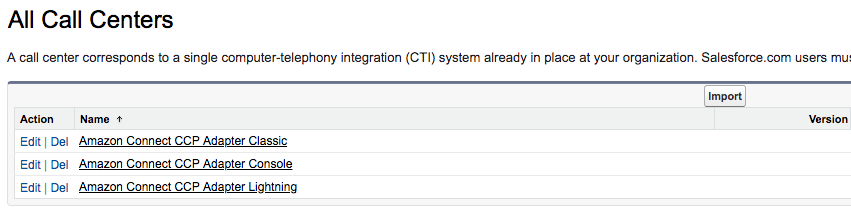
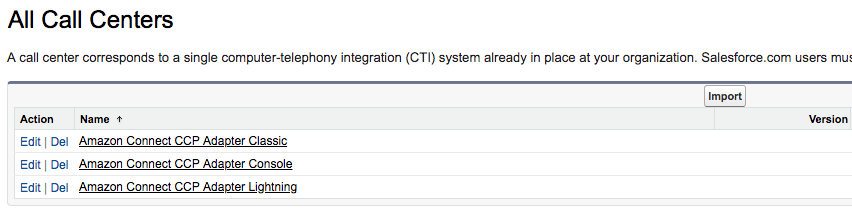
- In the Quick Find box, type Call Center, then choose Call Centers.
The Call Centers page opens. You should see 3 Call Center configurations: Classic, Console and Lightning.

Create the Softphone Layout
Next, we need to create a softphone layout for the solution.
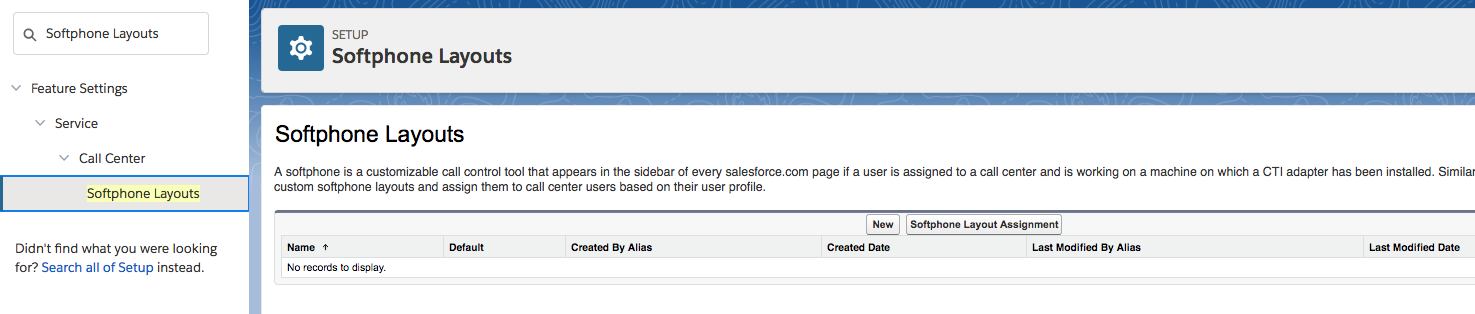
In the Quick Find box, type Softphone Layouts, then choose Softphone Layouts.
Choose New.
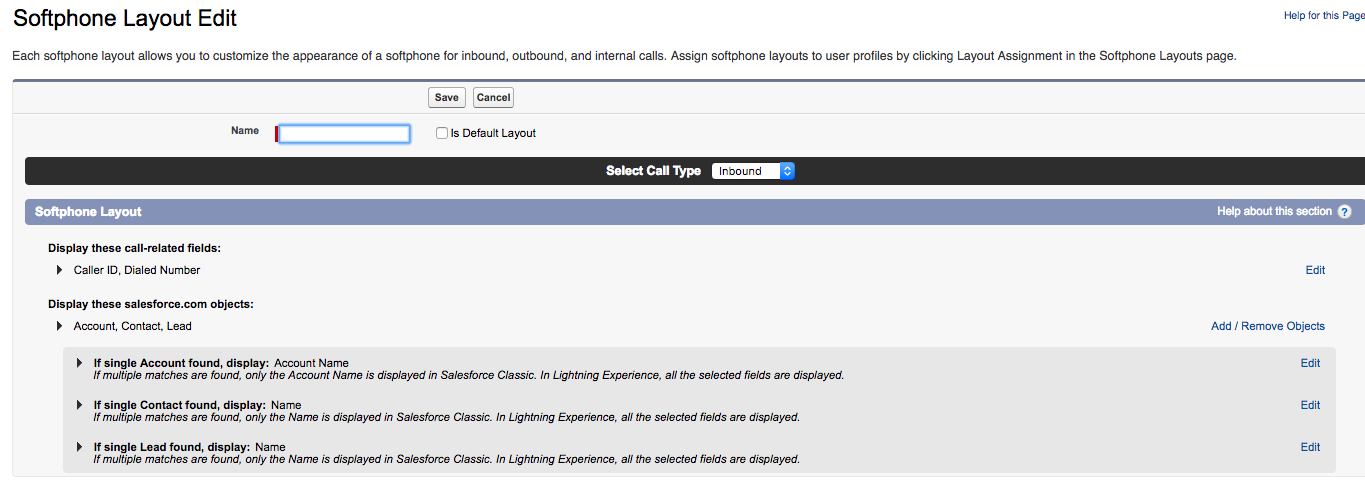
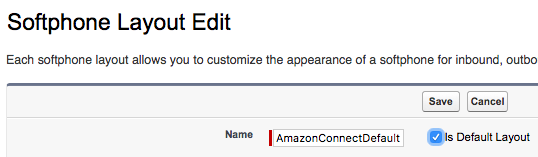
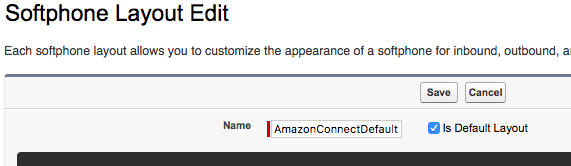
- Enter a name for the layout, such as AmazonConnectDefault, then select the Is Default Layout checkbox.
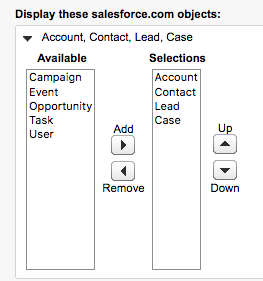
- Expand "Display these salesforce.com objects" and select objects that CTI Connector should be able to search, for a screen-pop query. In this example, besides default selection, I'm adding "Case", as I want to search and screen-pop by CaseID.
- If necessary, configure the search behavior in the case that one or multiple records are found upon CTI search.

- In this example, keep the default configuration, then choose Save.

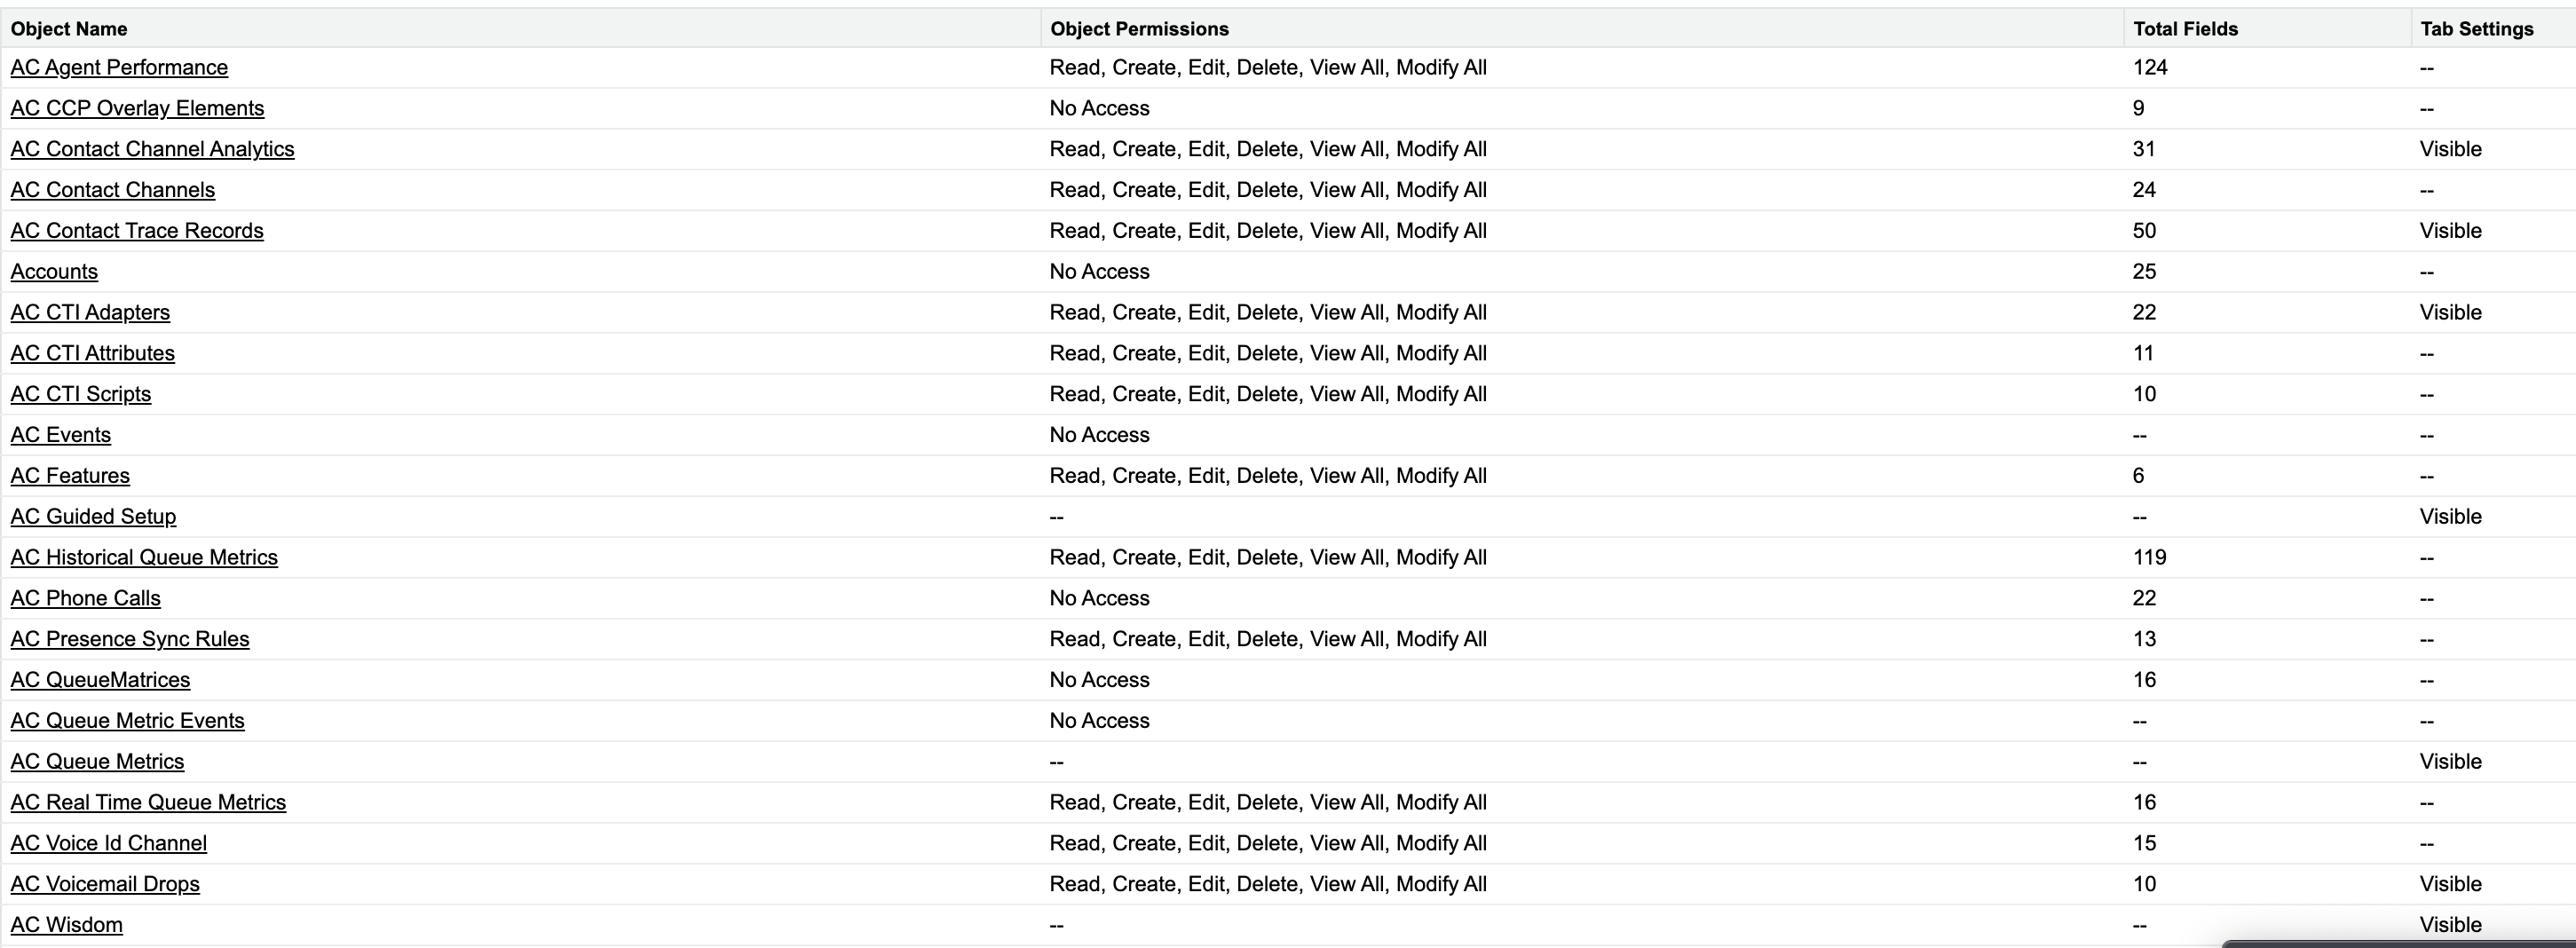
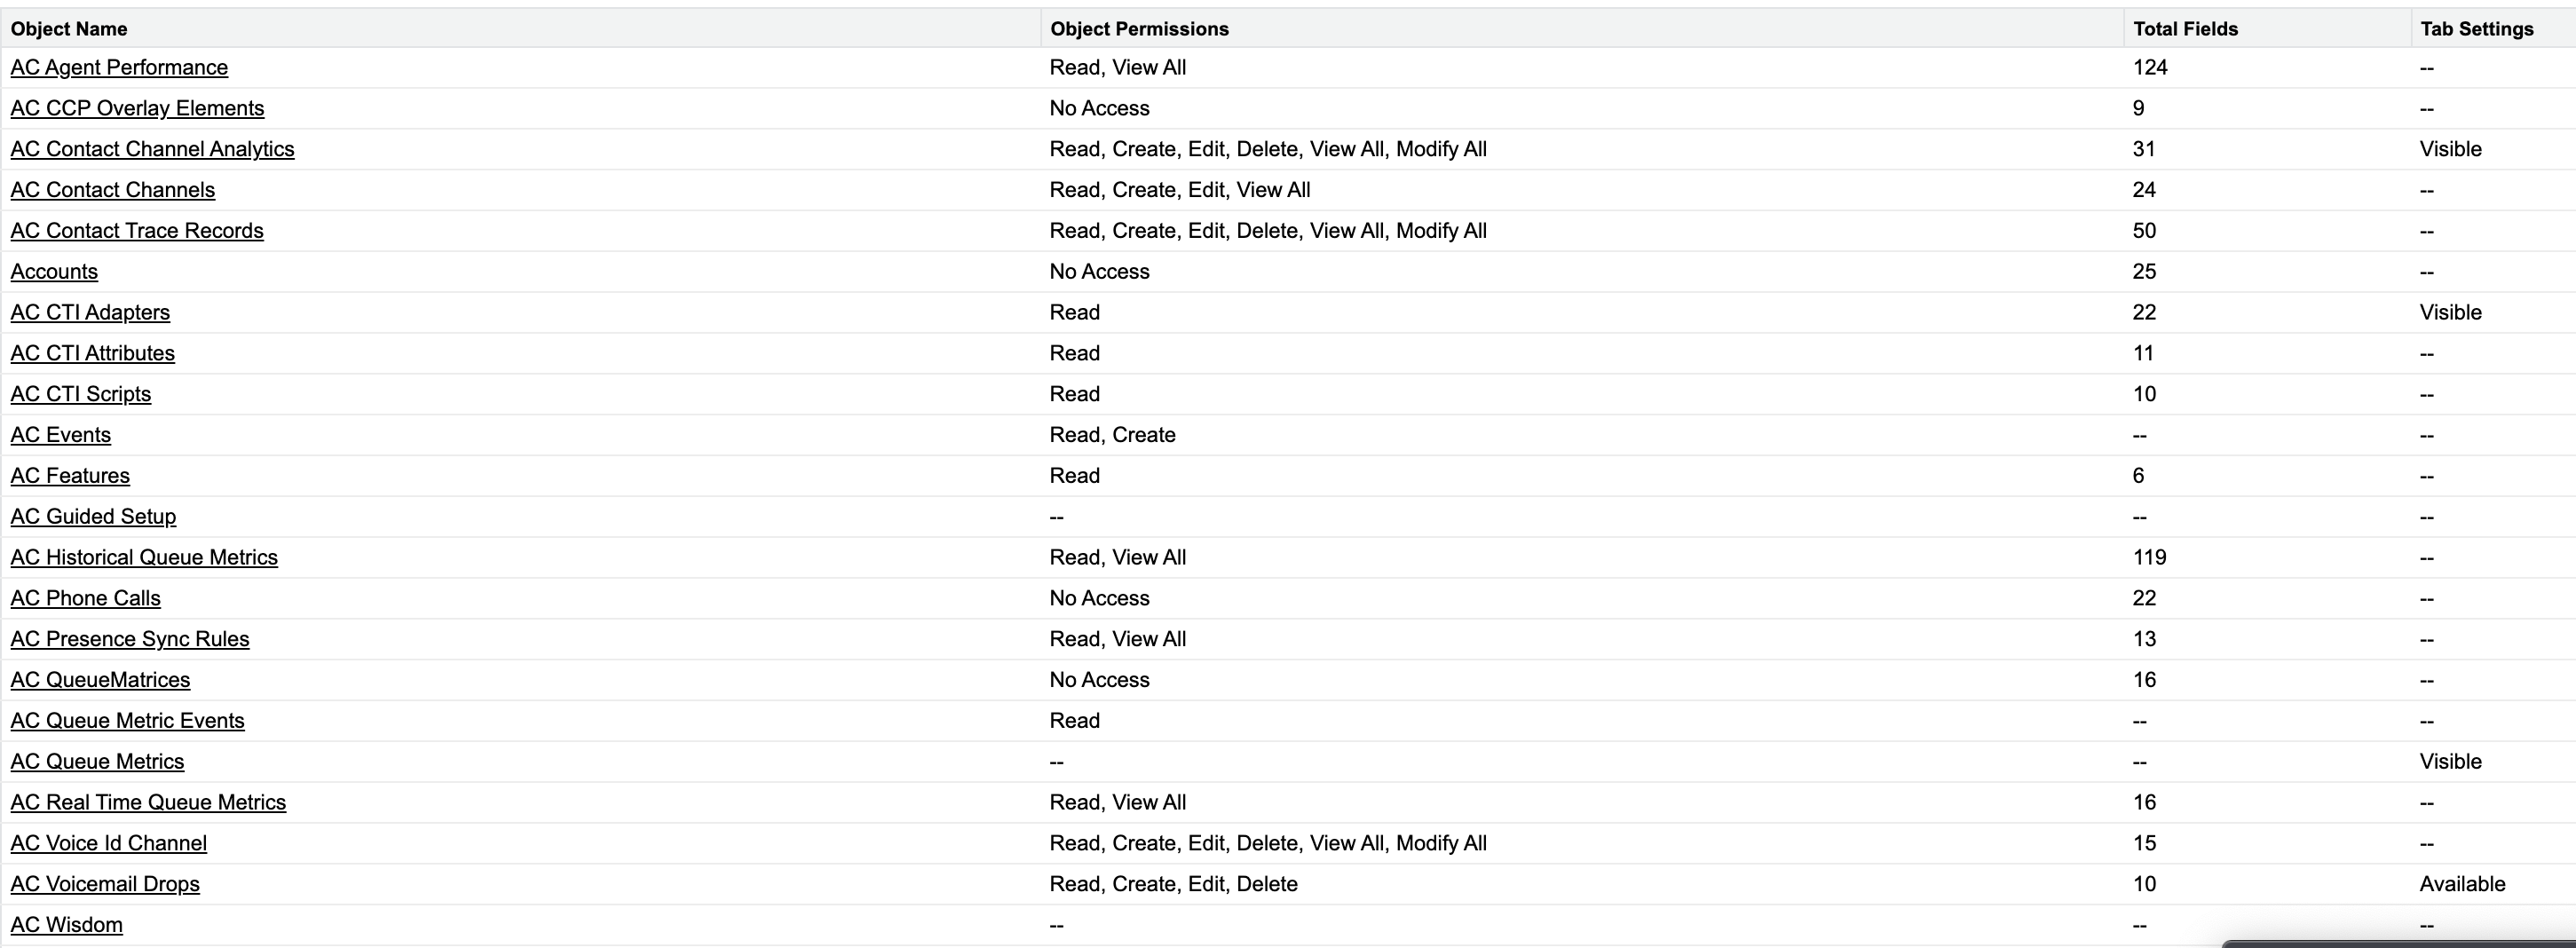
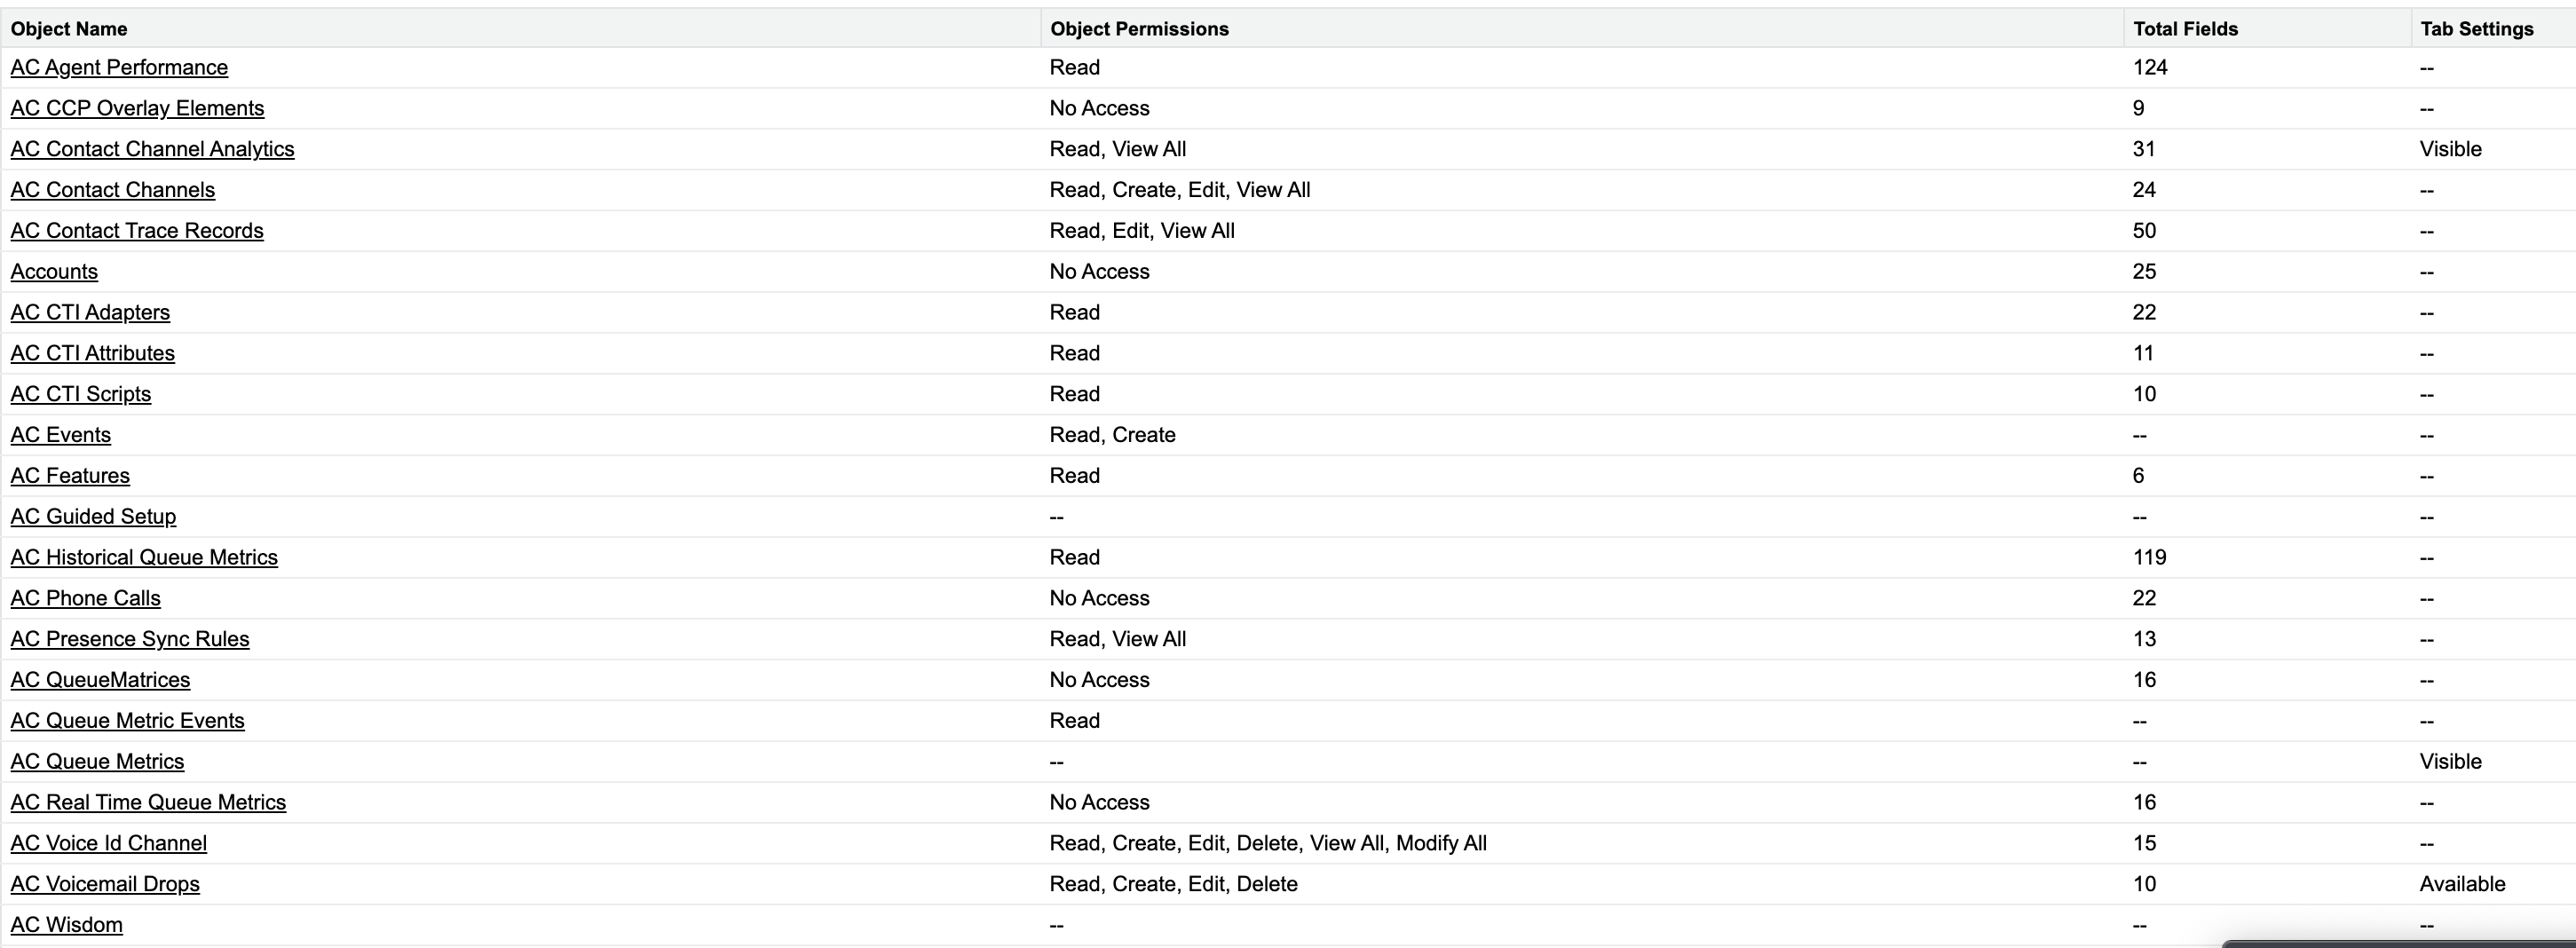
Set Access Permissions
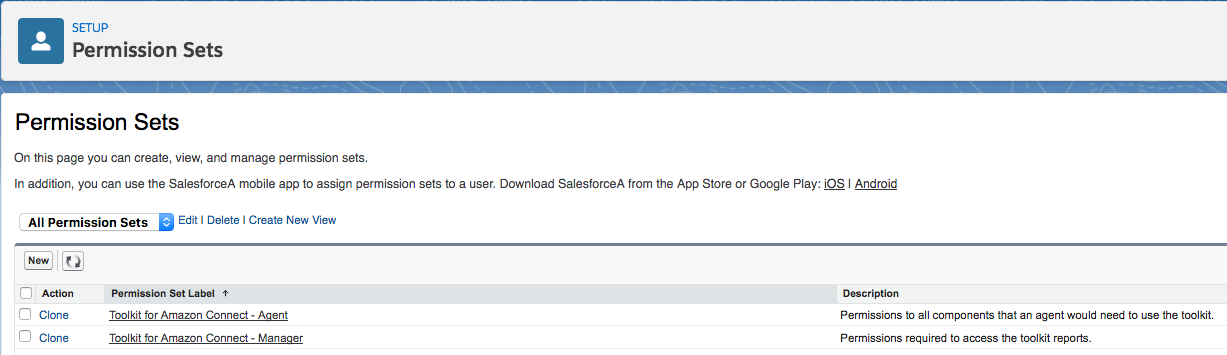
All users must be assigned the required permission set to access the Salesforce metadata included in this package. The Amazon Connect CTI integration package comes with two Permission Sets, one for agents and one for managers, that grant the users all necessary access to use the softphone.
Log in into your Salesforce Org.
Navigate to Setup > Manage Users > Permission Sets.
- Choose AC_Manager.
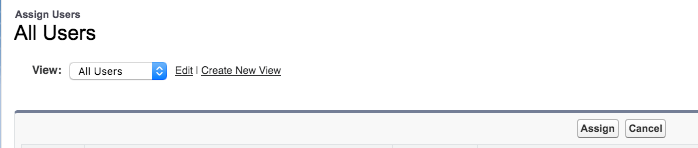
Choose Manage Assignments.
Choose Add Assignments.
Select the users to assign the permissions, then choose Assign. More information on assigning user permissions can be found at: https://help.salesforce.com/articleView?id=perm_sets_mass_assign.htm&type=5
AC_Administrator
AC_Manager
AC_Agent
Configure Console Experience
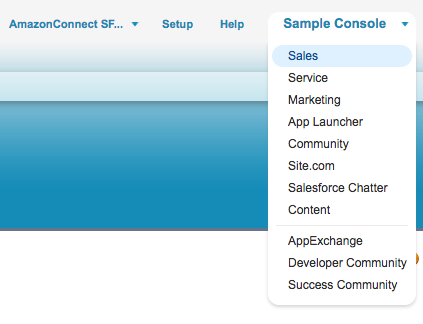
For the Console experience, we are going to use Sample Console application, but the procedure is the same for other applications.
In the top navigation bar, select the "+" icon.

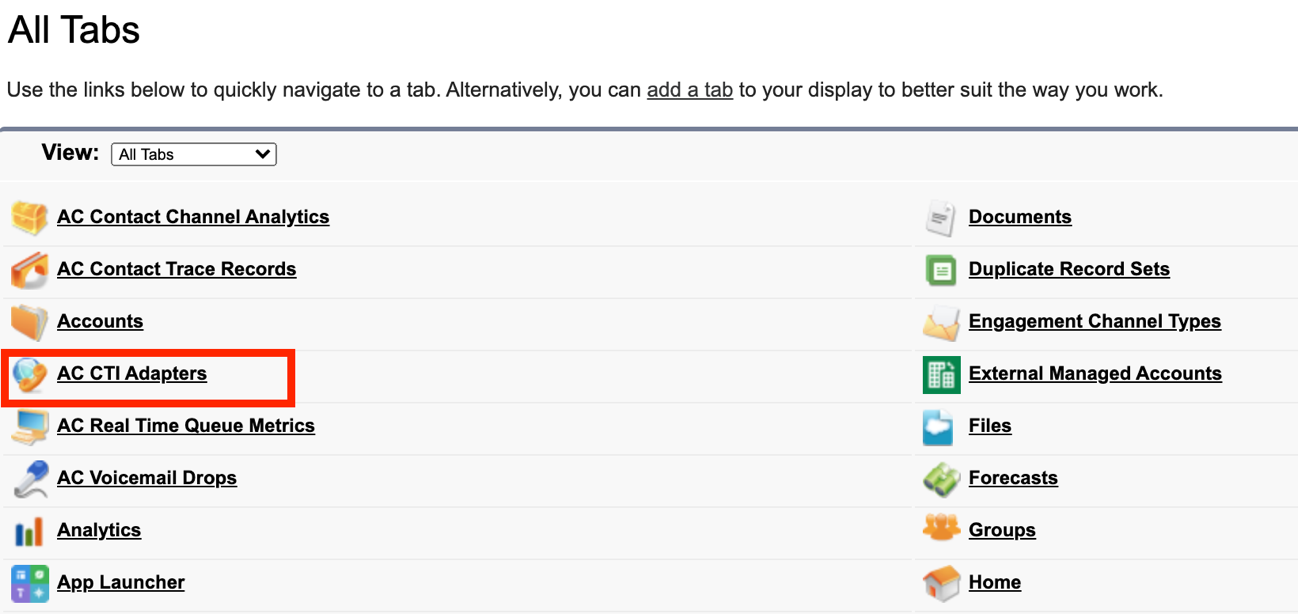
Select "AC CTI Adapters"
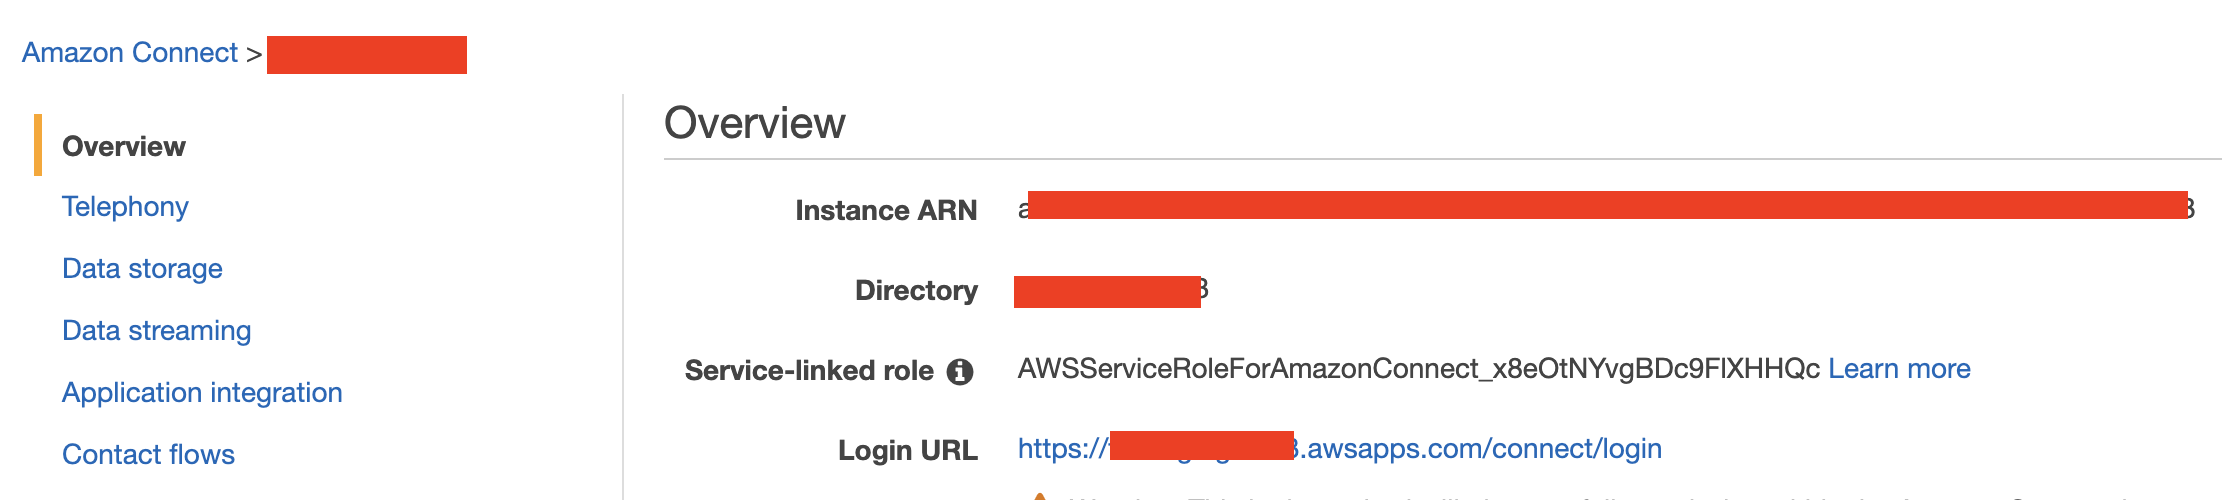
Create a new adapter. Fill in the CTI Adapter Name. For the Call Center Definition Name, type in ACConsoleAdapter. For the Amazon Connect Instance, type in the login url to the instance (this can be found in the Amazon Connect Instance details page), removing everything after ".com".
Select Save.

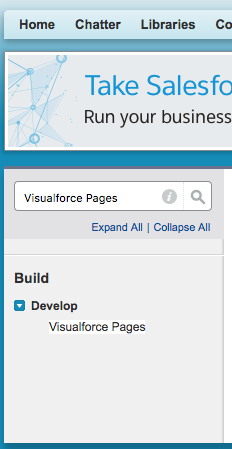
In the Quick Find field, type Visualforce Pages and select Visual Force Pages:
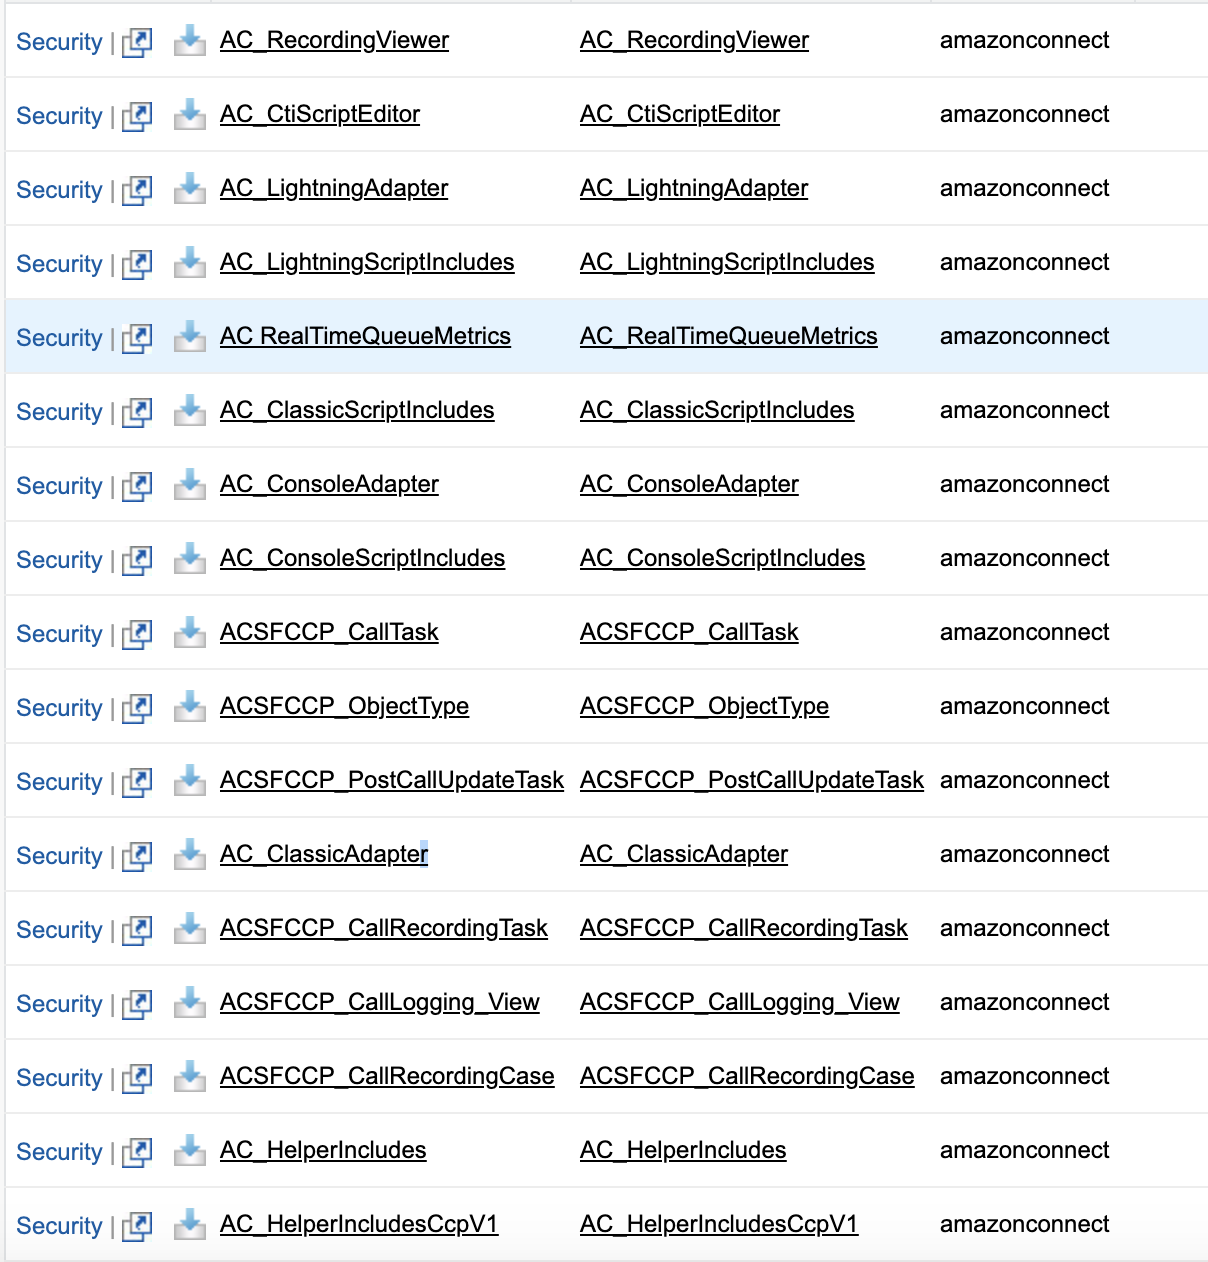
As we are currently setting up the Console experience, click on AC_ConsoleAdapter page.
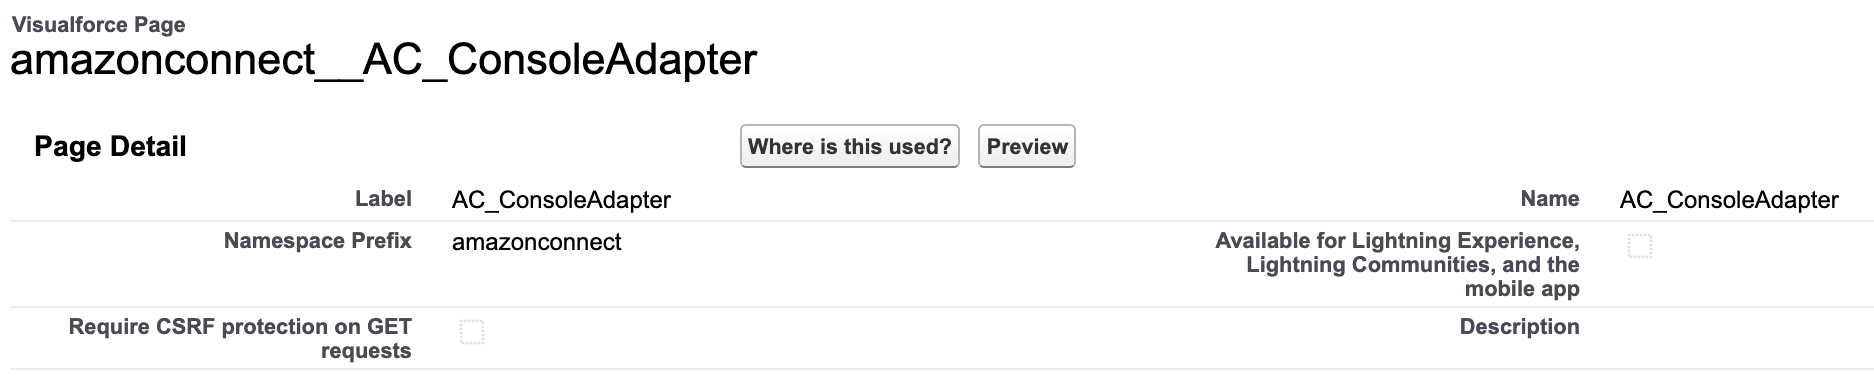
Click on the Preview button. A new browser tab will open with the URL of this page. If you are using the "enhanced domains" update, it will be in this format:
https://XXXXXXXX--amazonconnect.sandbox.vf.force.com/AC_ClassicAdapter
Otherwise, it will be in this format:
https://XXXXXXXX--amazonconnect.visualforce.com/apex/AC_ClassicAdapter
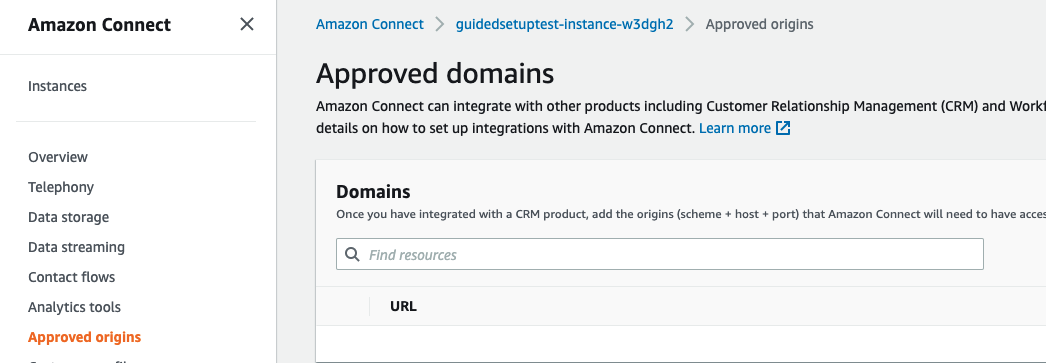
This is what we are going to use as "Origin URL" in our Amazon Connect configuration. From AWS Console, select Amazon Connect service and then select your Amazon Connect instance, and select "Approved Origins" on the left-hand side:
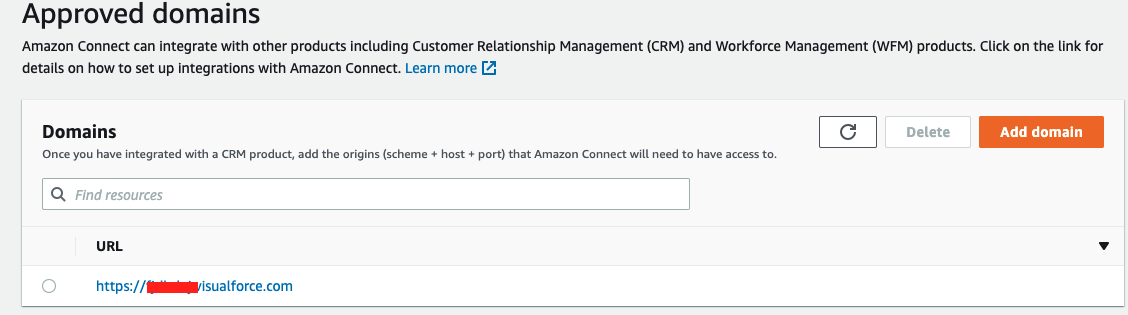
Click on "Add origin" link and enter the origin URL
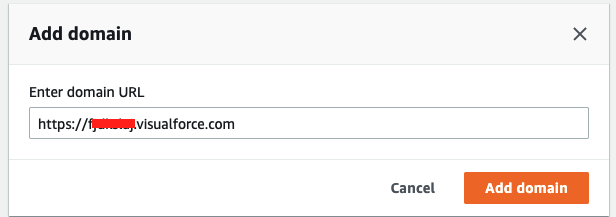
Click "Add" button
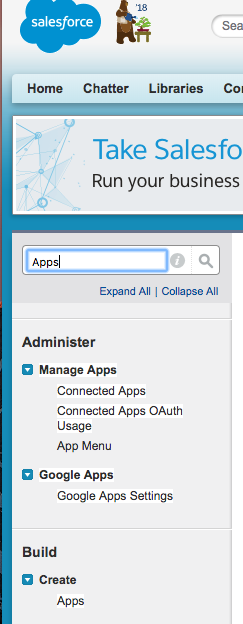
From the Setup screen, type Apps in Quick Find field and select Build>Create>Apps:
You will be able to see all applications that are available in your account.
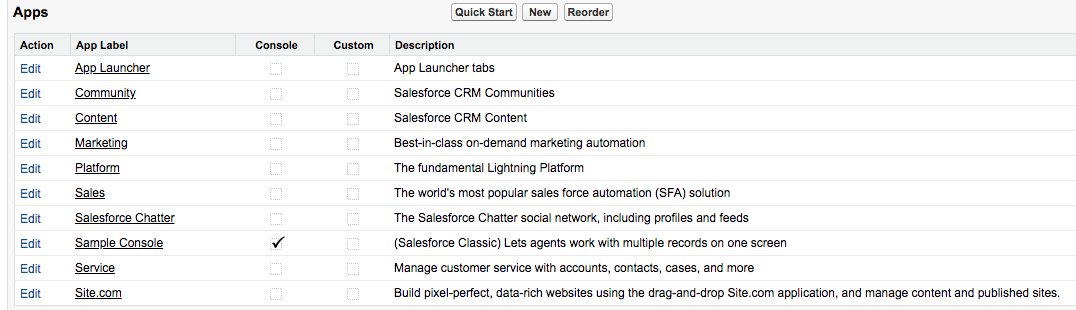
Click "Edit" next to the Sample Console application.
Scroll to the bottom of the page and "Assign to Profiles"
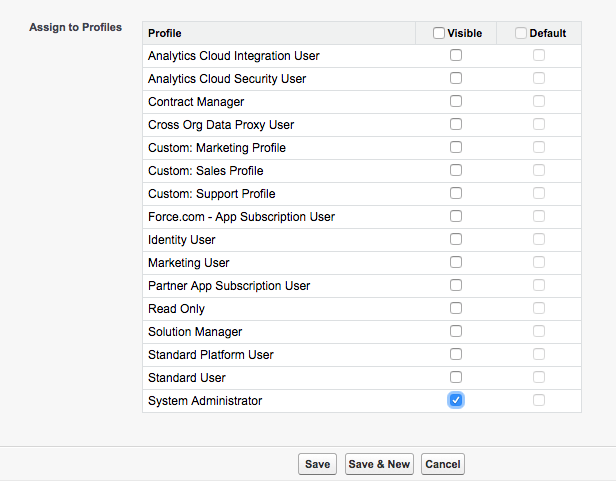
In this example, I'm assigning Sample console as Visible to System Administrator.
Choose Save.
From Setup, type Call Centers in the Quick Find field and select Call Centers.
Select "Amazon Connect CCP Adapter Console 3.9"

Replace the CTI Adapter URL with the AC Lightning Adapter visualforce page url you copied in the previous section. If you wish to specify your version of the ccp user interface, add "?ccpVersion=x", where x is the version of the ccp (either 1 or 2). Click on the Save button.
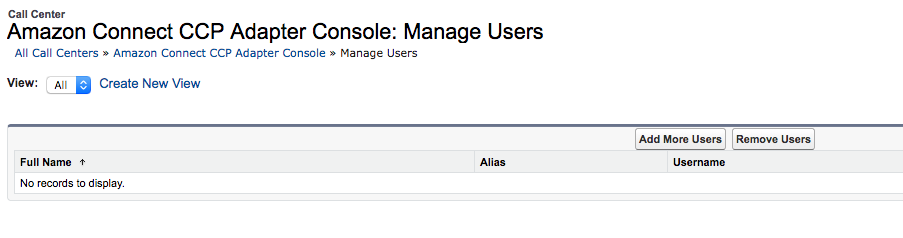
Click on the "Manage Call Center Users" button at the bottom of the page.

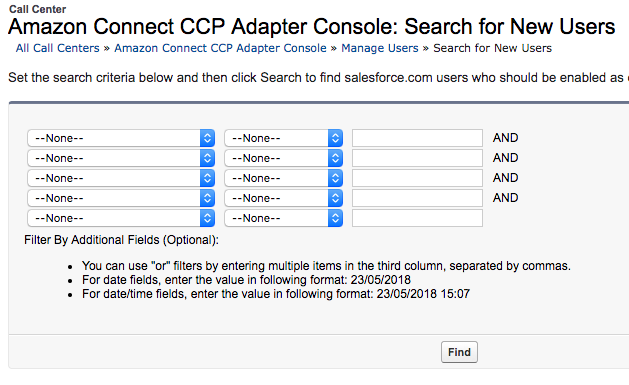
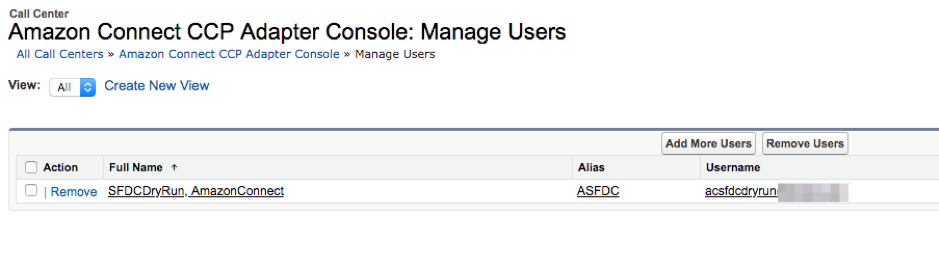
Set filters and click on the Find button. Select the checkbox next to the user and click "Add to Call Center" button.

Repeat the steps to add more users.
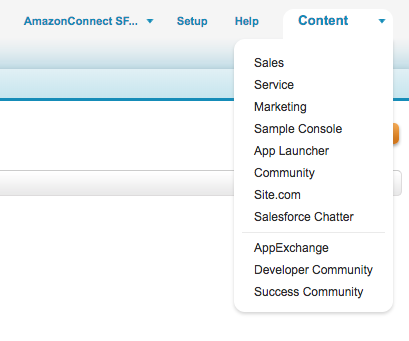
From the top-right corner, select Sample Console application.
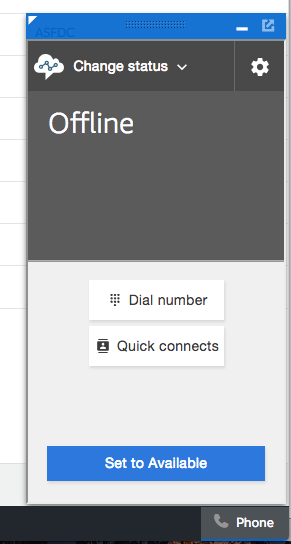
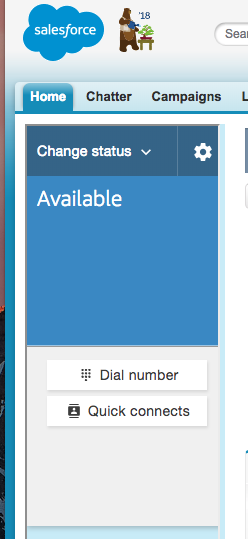
In the bottom-right corner, you will be able to see the Phone button.
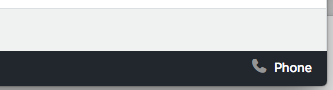
Click on the Phone button to open the softphone pop-up.
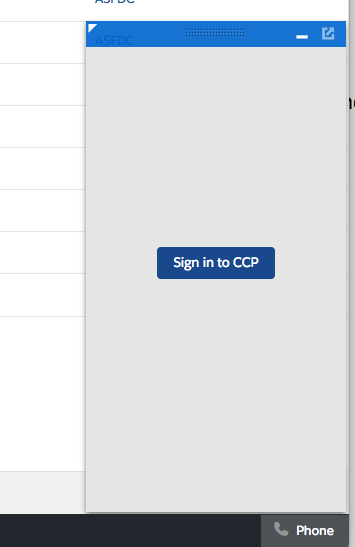
You will need to Sign in into your Amazon Connect CCP. Click on the Sign in to CCP button. A new modal pop-up will show, asking you to enter your credentials.
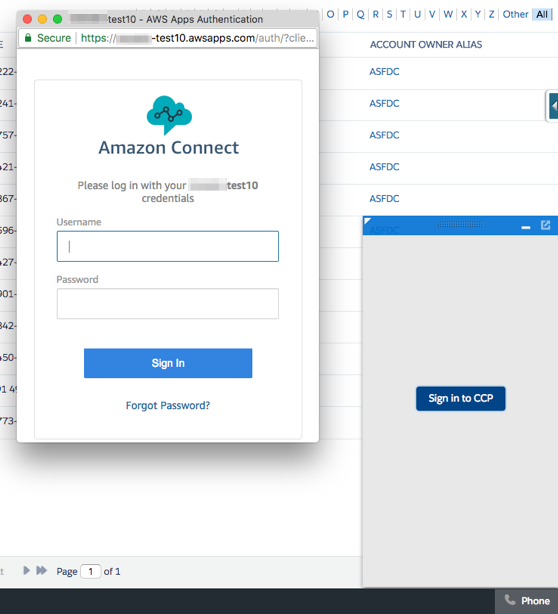
Enter your credentials and click Sign in. Allow Microphone access (if asked by browser). Once login is successful, the pop-up window will automatically close.
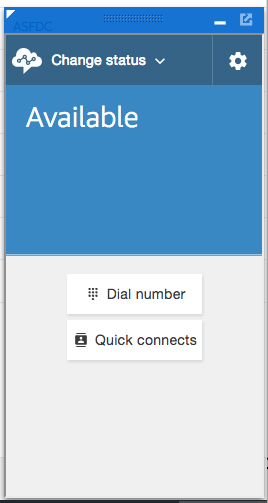
Select "Change status" and select "Available".
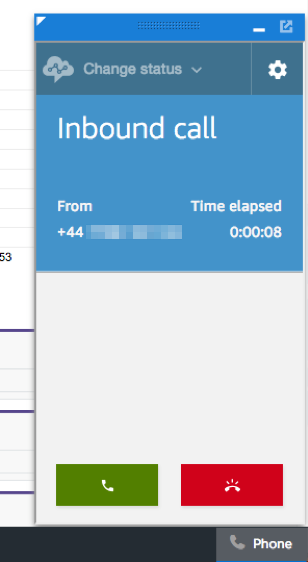
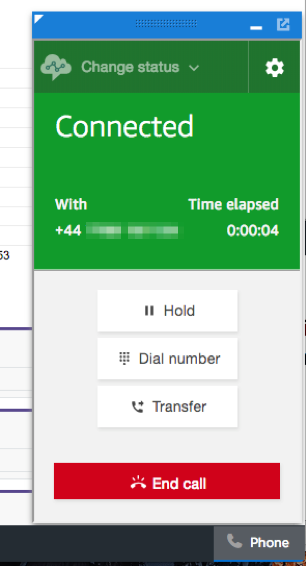
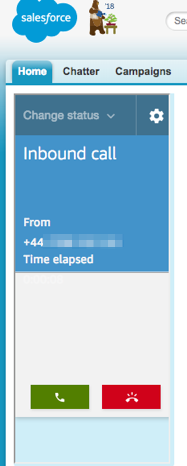
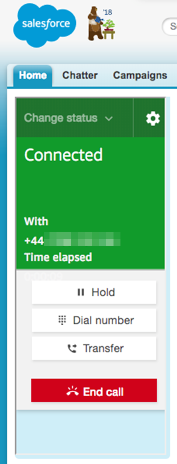
Make an inbound phone call to your Amazon Connect instance. The CCP is going to "ring" and you can answer the call.
Configure Classic Experience
The Salesforce Classic is the easiest to configure, but it has some limitations. Most important limitation is that, with Classic layout, there are no tabs and modal containers, so each time new object is selected, a full page reload occurs. This full reload causes softphone to be reloaded too, which could cause an issue in the voice call audio stream. Because of that, in the Classic environment, we have to run a separate instance of softphone (CPP) which will carry the audio, while embedded instance of CCP can be used for call control and screen-pop functionality.
First, we have to configure Amazon Connect integration.
From the top right corner, select the Sales application.
In the top navigation bar, select the "+" icon.
Select "AC CTI Adapters"
Create a new adapter. Fill in the CTI Adapter Name. For the Call Center Definition Name, type in ACConsoleAdapter. For the Amazon Connect Instance, type in the login url to the instance (this can be found in the Amazon Connect Instance details page), removing everything after ".com".
Select Save.
In the Quick Find field, type Visualforce Pages and select Visual Force Pages:
As we are currently setting up the Classic experience, click on AC_ClassicAdapter page

Click on the Preview button. A new browser tab will open with the URL of this page. If you are using the "enhanced domains" update, it will be in this format:
https://XXXXXXXX--amazonconnect.sandbox.vf.force.com/AC_ConsoleAdapter
Otherwise, it will be in this format:
https://XXXXXXXX--amazonconnect.visualforce.com/apex/AC_ConsoleAdapter
This is what we are going to use as "Origin URL" in our Amazon Connect configuration. From AWS Console, select Amazon Connect service and then select your Amazon Connect instance, then select "Approved origins" on the left-hand side:
Click on "Add origin" link and enter the origin URL
Click "Add" button
From the Salesforce Classic layout, select Setup then type Call Centers in the Quick Find field and select Call Centers.
Select "Amazon Connect CCP Adapter Classic 3.9"
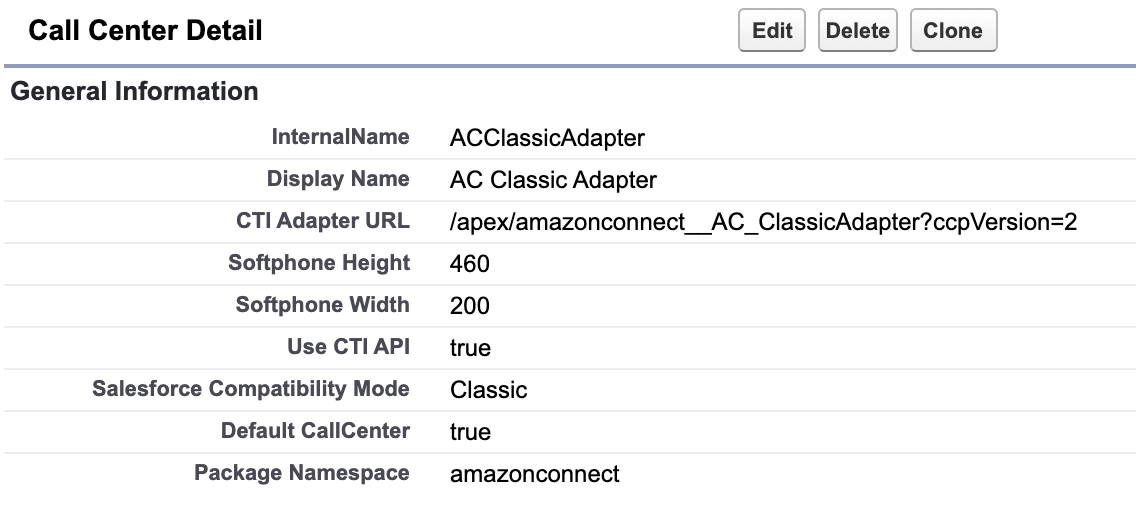
Replace the CTI Adapter URL with the AC Lightning Adapter visualforce page url you copied in the previous section. If you wish to specify your version of the ccp user interface, add "?ccpVersion=x", where x is the version of the ccp (either 1 or 2). Click on the Save button.
Click on the "Manage Call Center Users" button at the bottom of the page.
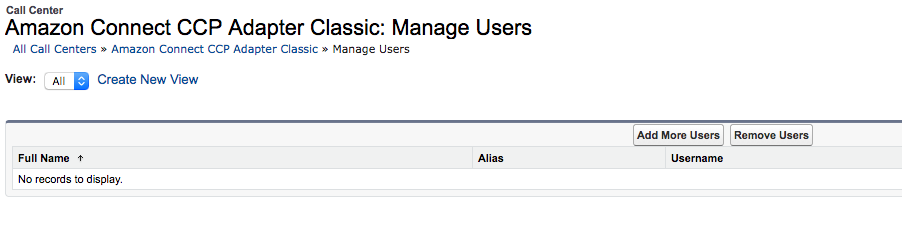
Click on the "Add More Users" button.
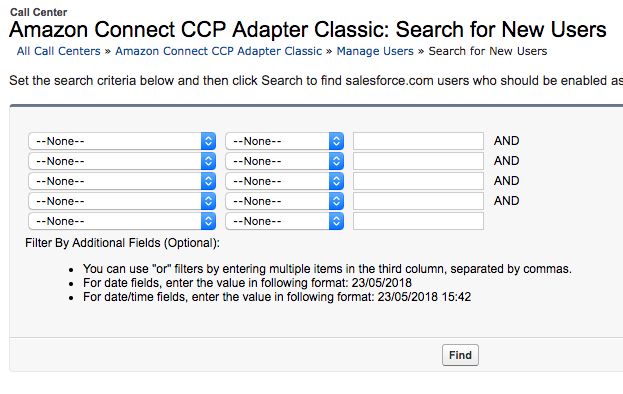
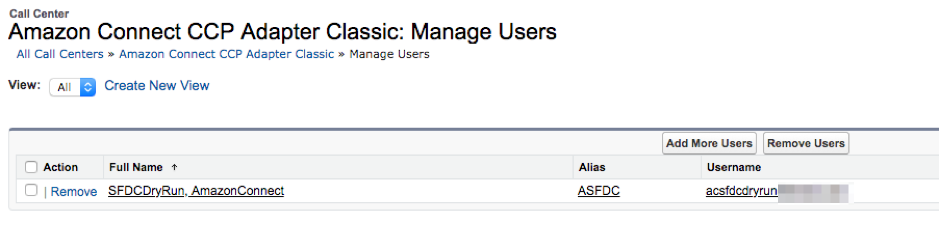
Set filters and click on the Find button. Select the checkbox next to the user and click "Add to Call Center" button.

Repeat the steps to add more users.
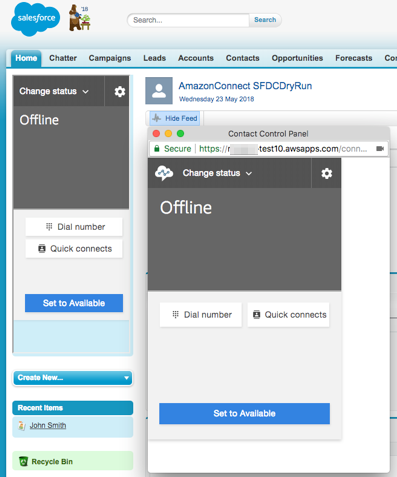
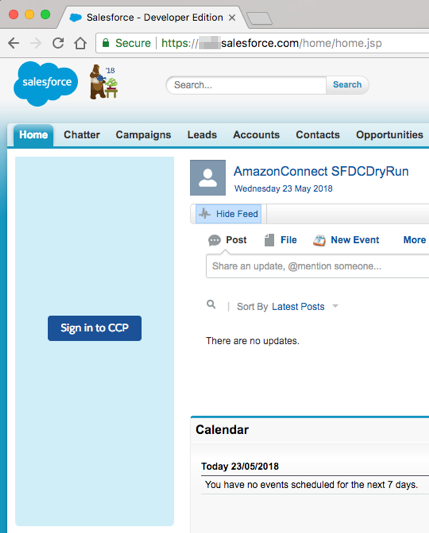
From the top-right corner, select Sales application.
On the left-hand side, you will be able to see the Phone container.
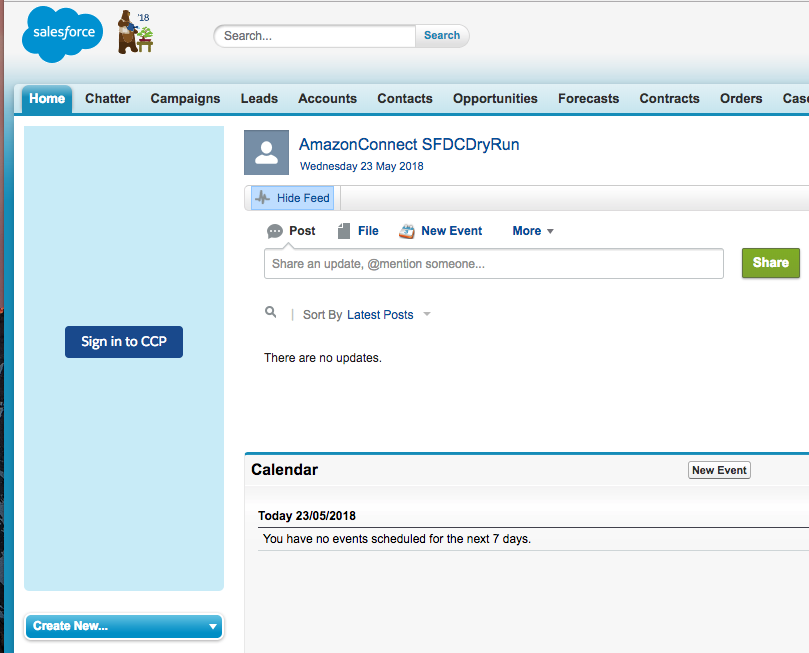
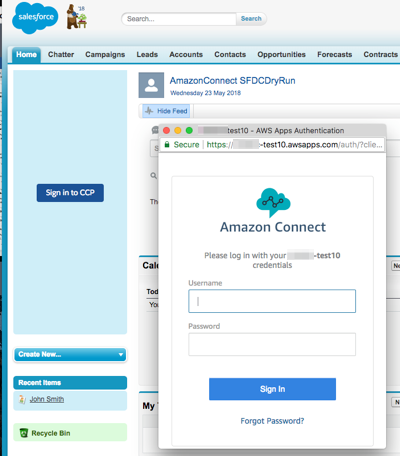
You will need to Sign in into your Amazon Connect CCP. Click on the Sign in to CCP button. A new browser tab will open, asking you to enter your credentials.
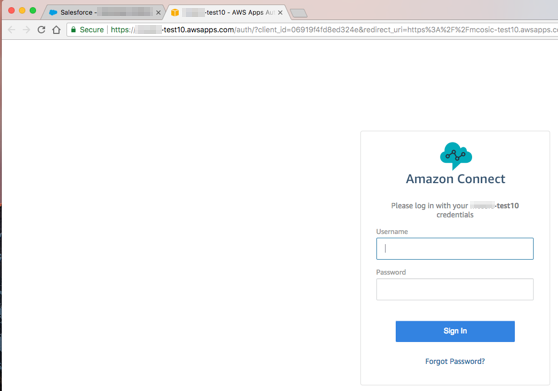
Enter your credentials and click Sign in. Allow Microphone access (if asked by browser). Once Login is successful, the new tab with CCP will stay open, as this tab is going to carry the audio for voice calls.
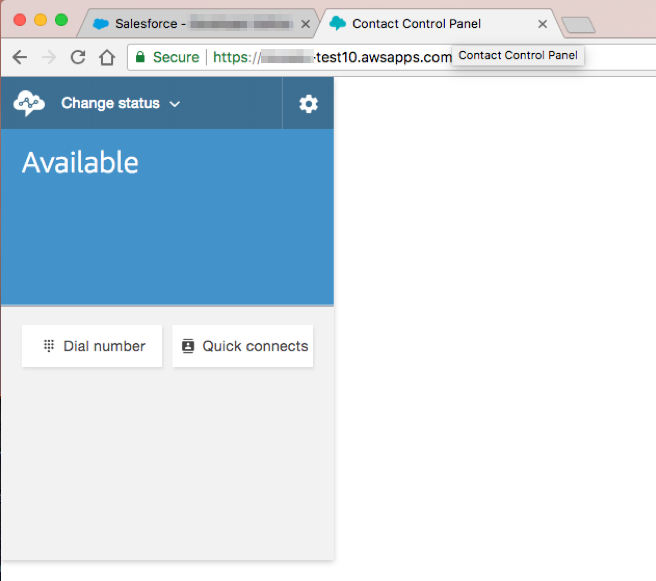
Switch back to Salesforce tab in your browser.
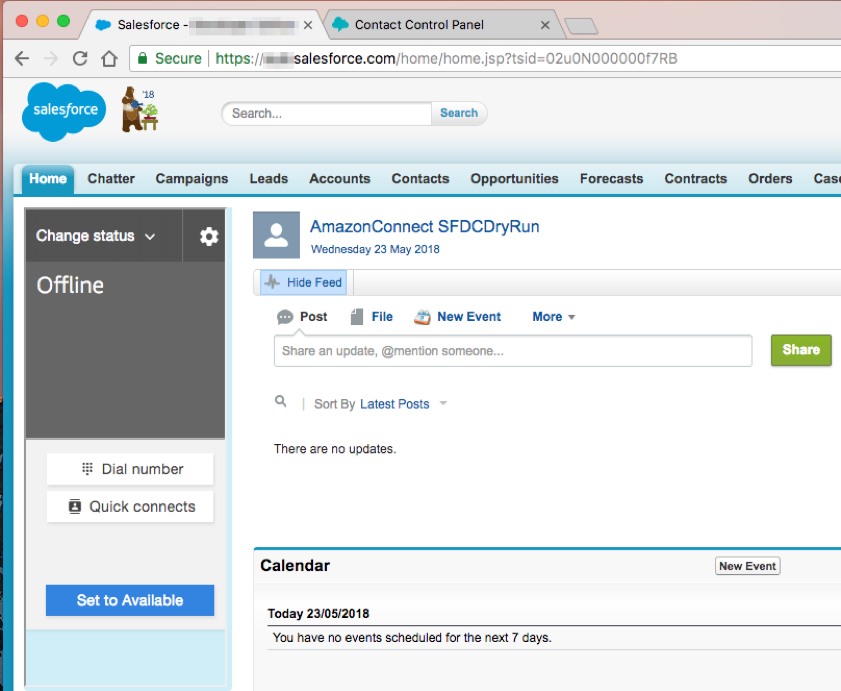
Select "Change status" and select "Available".
Make an inbound phone call to your Amazon Connect instance. The CCP is going to "ring" and you can answer the call.
Some CTI Flow features will reload the page the agent is currently on. The page is fully reloaded, but the softphone preserved the audio stream, as another instance of CCP was running in the 2^nd^ tab. If the 2nd tab is closed, the audio will be lost. The 2^nd^ CCP instance can also run in a separate browser window, if preferred.
Go to Salesforce Setup page and type Call Centers in Quick Find, then select Call Centers.
Select "Amazon Connect CCP Classic"
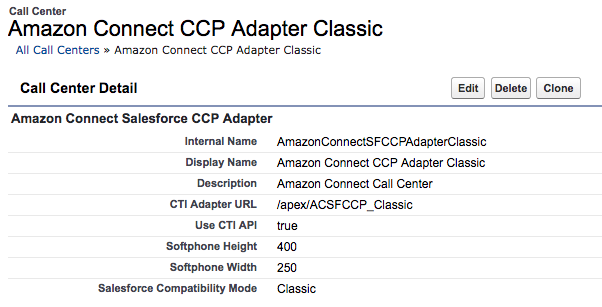
Click on the Edit button and find the "Amazon Connect CCP Login Popup" field. By default, this field is set to "false", which means that Login Popup will be opened in a 2nd tab. If we change this value to "true", then Login Popup will be opened in a new browser window.
You may also notice that "Amazon Connect CCP Medialess" field is set to "true". This basically means that embedded CCP instance will not carry any media. Set the value to "true" and click on the Save button. Go back to Sales application. If CCP is already logged in, please log out.
Click on the "Sign in to CCP" button and new browser window will open, asking you for credentials.
Enter your credentials and click Sign In. The CCP application will login, but popup window will stay open and it will host the 2^nd^ CCP which will carry the audio stream. This window can be minimized or moved to 2^nd^ screen.