Configure Salesforce Omnichannel for Testing
In order to sync your Connect User status with your Omni-Channel agent status, you must configure Omni-Channel Presence Syncing. This will make your Omni-Channel presence status match your Amazon Connect Agent Status and vice versa.
Enable Omnichannel
First, we must enable omni-channel. Once you enable Omni-Channel, you will have access to the other components in Salesforce that will be required for Omni-Channel setup.
Enable Omnichannel in Your Salesforce Org
Log in into your Salesforce org and go to Setup
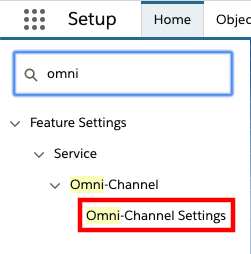
In the Quick Find field, enter omni and choose Omni-Channel Settings from the results
- Select the checkbox for Enable Omni-Channel and choose Save
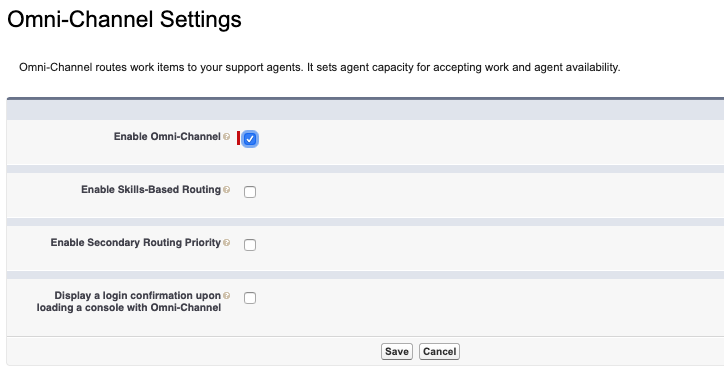
- Omni-Channel is now enabled.
Configure Presence Statuses
Once you have enabled Omni-Channel, you will need to configure presence statuses to reflect the different presence states that you wish your Omni-Channel agents to enter. These do not need to match agent statuses in Amazon Connect exactly, but it does make it easier to track what you are doing.
Add a Presence Status
Log in into your Salesforce org and go to Setup
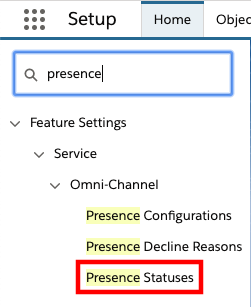
In the Quick Find field, enter presence and choose Presence Statuses from the results
In the Presence Statuses page, choose New
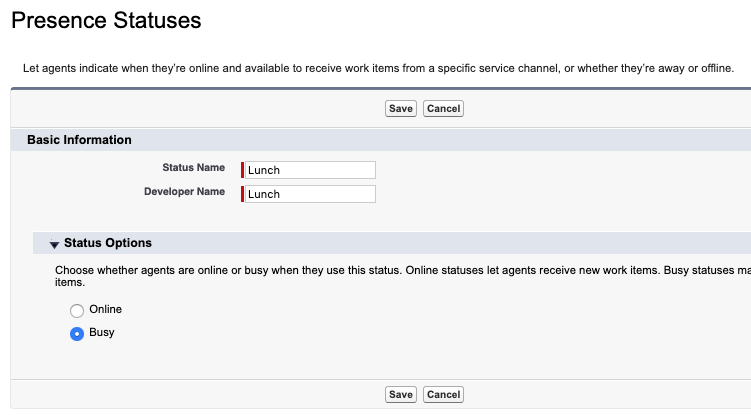
Provide a status name, for example Lunch
Set the Status options appropriately, for example, Busy
For Online statuses, you will need to provide a channel. Please reference the Omni-Channel documentation for details
Choose Save
- Repeat as necessary for all desired statuses
Configure Profiles to Use the New Statuses
Before agents can use the statuses that have been configured, you will need to make sure that they have been provided rights to them. This is done by modifying the profiles assigned to your agents.
Modify Profiles to Use New Statuses
Log in into your Salesforce org and go to Setup
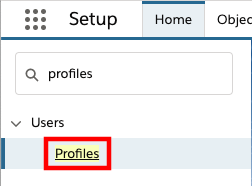
In the Quick Find field, enter profiles and choose Profiles from the results
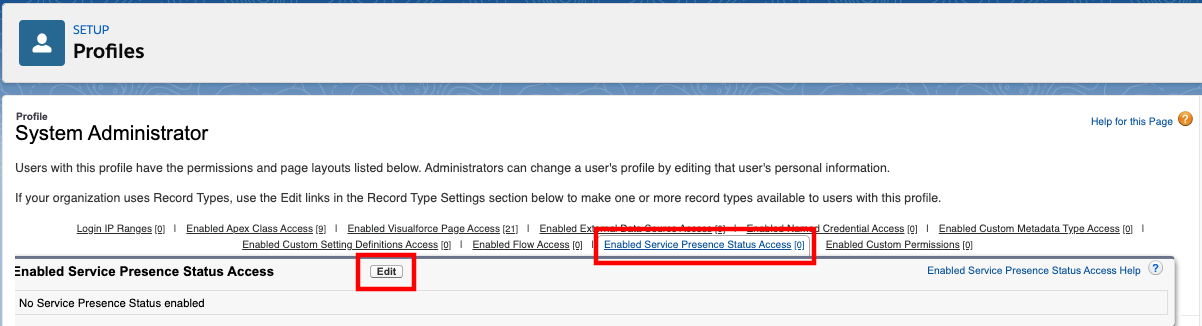
Select the profile assigned to your users
Hover over the Enabled Service Presence Status link and choose Edit
- Select the available status from the left, then choose the Add button to add it the Enabled Service Presence Statuses field
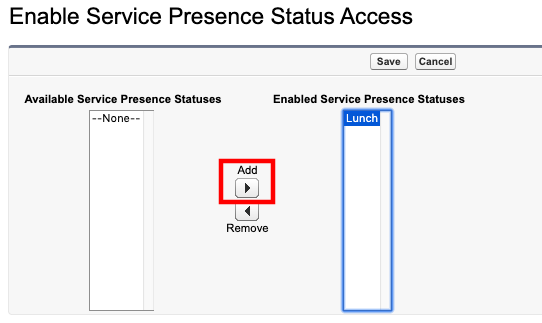
Select Save
Repeat as necessary for other statuses or profiles.
Add Omni-Channel to the Utility Bar
To provide agents access to the Omni-Channel tool, you will need to add it to the Service Console.
Add the Omni-Channel Utility Item
Log in into your Salesforce org and go to Setup
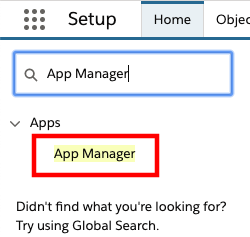
In the Quick Find box, type App Manager, then choose App Manager from the result list.
- Expand the drop-down menu associated to Service Console and select Edit.

- Once the Lightning App Builder opens, select Utility Items (Desktop Only) from the left Navigation
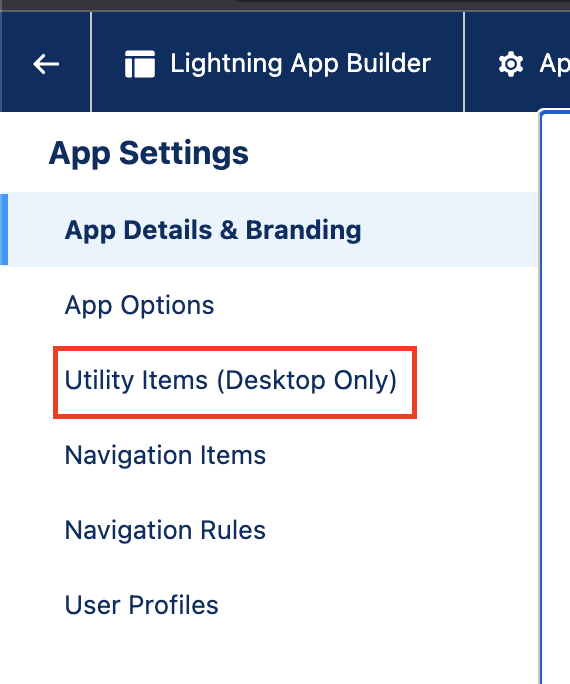
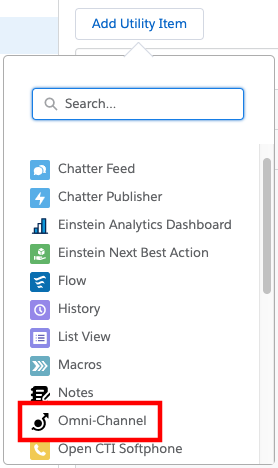
- Choose Add Utility Item, then select Omni-Channel
Adjust the order of the utility items as desired and select Save.
Return to the Service Console and refresh your browser.
You should now see the Omni-Channel utility item.
