Contact Trace Record Import
In Amazon Connect, data about contacts is captured in contact trace records (CTR). This data can include the amount of time a contact spends in each state: customer on hold, customer in queue, agent interaction time. The basis for most historical and real-time metrics in Amazon Connect is the data in the CTR. When you create metrics reports, the values displayed for most (not all) metrics in the report are calculated using the data in the CTRs.
CTRs are available within your Amazon Connect instance for 24 months from the time when the associated contact was initiated. You can also stream CTRs to Amazon Kinesis to retain the data longer, and perform advanced analysis on it. Additionally, with the AWS Serverless Application Repository for Salesforce, you can import Contact Trace Records into your Salesforce org.
Contact Trace Record Import
Once enabled during the AWS Serverless Application Repository for Salesforce, CTR import is activated on a call by call basis by adding a specific contact attribute. This attribute is used during Contact Trace Record processing to trigger the import task.
Enabling Contact Trace Record Import
Login to your Amazon Connect instance as an Administrator
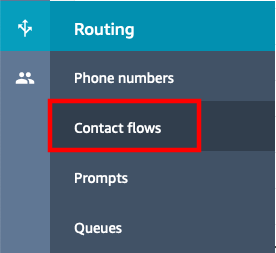
From the left navigation, choose Routing then select Contact flows
Open the contact flow that you want to use to enable call recording import.
In you contact flow, before you transfer to queue, add a new Set contact attributes block
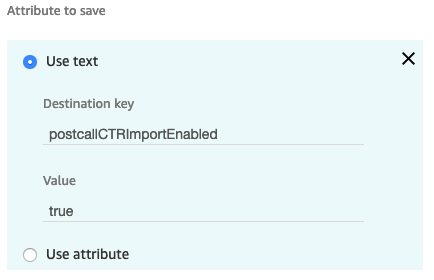
Configure the block to set a contact attribute as follows:
a. Destination key: postcallCTRImportEnabled
b. Value: true
Save the Set contact attributes block. Make sure it is appropriately connected to your contact flow, and Publish the flow.
Wait approximately 2 minutes to give the contact flow time to publish.
Place a call, connect to your agent, speak for a few moments, then end the call. Make sure the agent exits after call work
The Contact Trace Record is emitted shortly after call completion and the import happens almost immediately.
Note: If you are expecting more than 1000 concurrent calls, you may have to increase the timeout for the
sfCTRTriggerlambda.
Adding Contact Trace Records to the Service Console
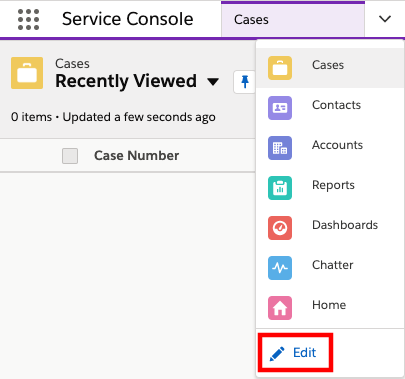
Log in into your Salesforce org and go to the Service Console
Expand the navigation menu by selecting the down arrow and choose Edit.
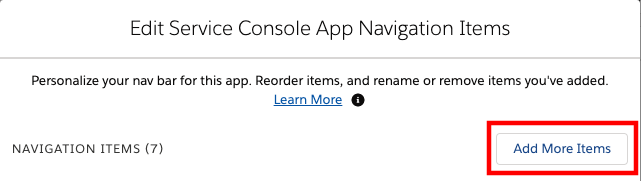
- On the Edit Service Console App Navigation Items page, select Add More Items
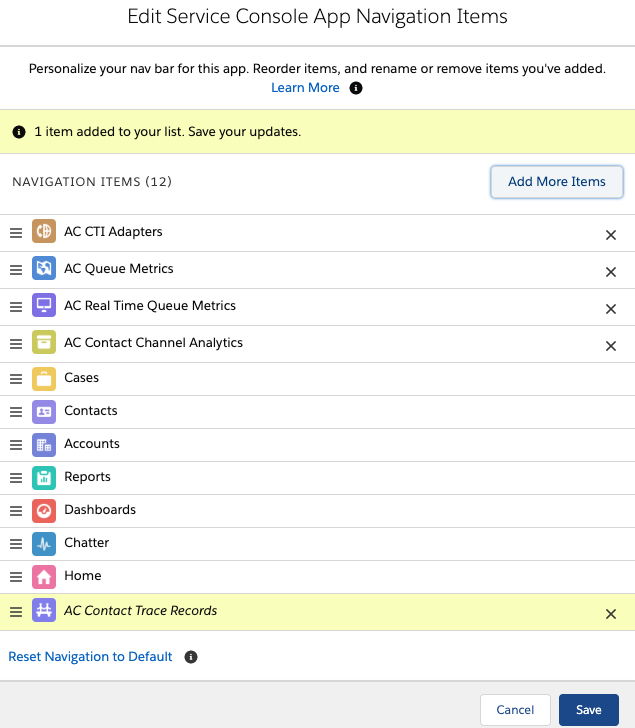
Select the + next to AC Contact Trace Records
Select Add 1 Nav Item
Change the order of your Navigation Items if desired, then choose Save
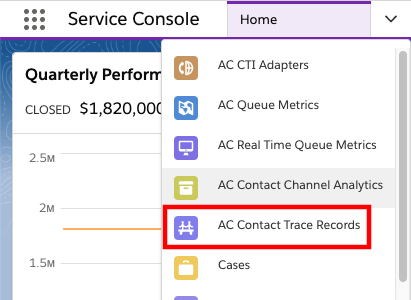
- Once the save completes, expand the navigation menu by selecting the down arrow and choose AC Contact Trace Records
- Change the list view from Recently Viewed to All
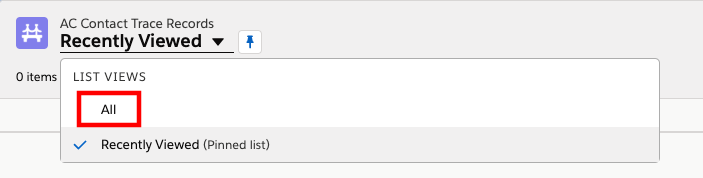
- Once the view refreshes, you should see your record(s)
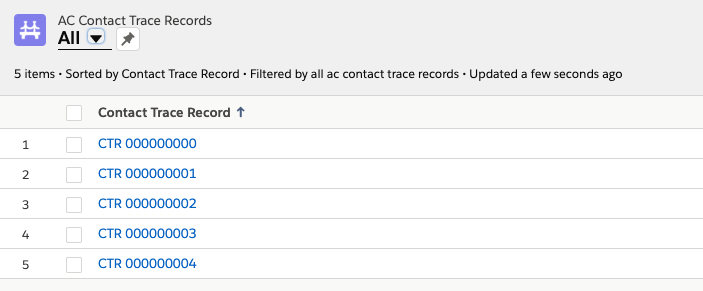
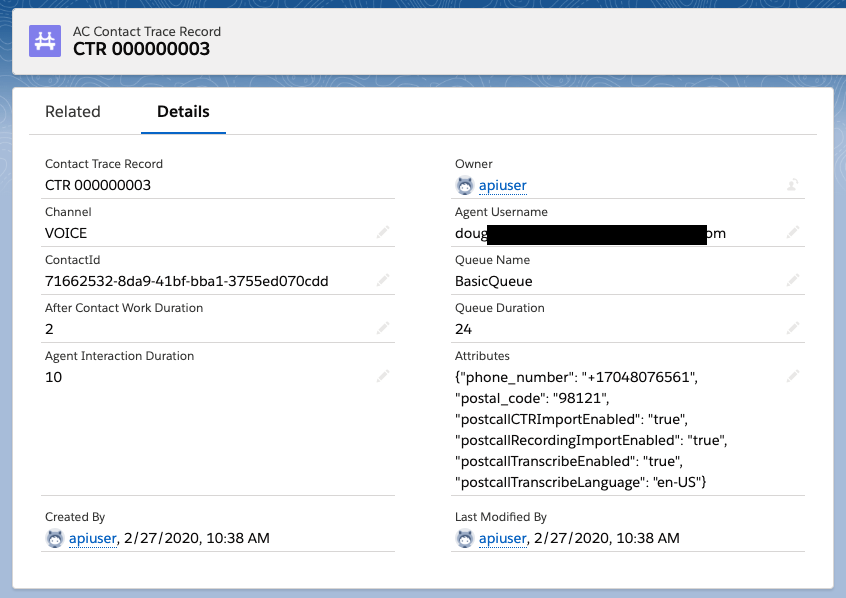
Select a record to view it
Note the ContactId value from Amazon Connect
Display Additional Contact Trace Record Data
By default, the AC Contact Trace Record layout only contains the ContactId. However, all of the CTR data has been imported. It is likely that you will want to customize this view to show more data.
Customizing the AC Contact Trace Record Layout
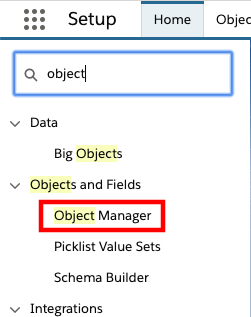
Log in into your Salesforce org and go to Setup
In the Quick Find field, enter object and choose Object Manager from the results
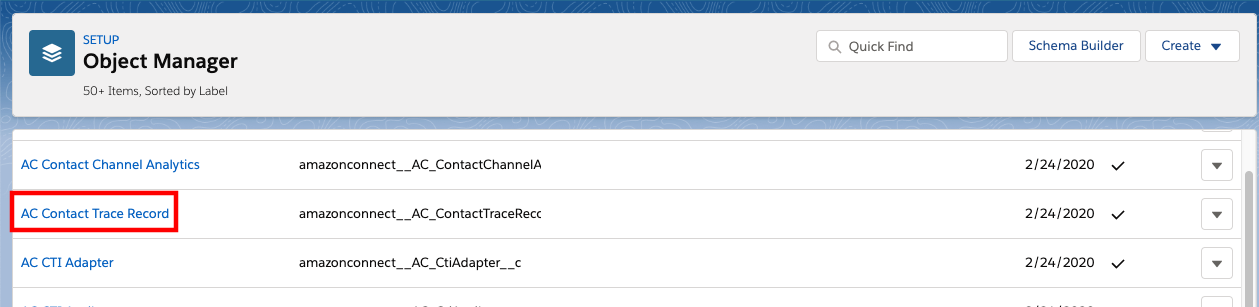
- In the Object Manager, find the AC Contact Trace Record object and select it
In the left navigation, choose Page Layouts
Select AC Contract Trace Record Layout
Select items from the Fields section and add them to the layout as you wish. In the example below, I have selected Agent Username, Queue Name, Queue Duration, After Contact Work Duration, Agent Interaction Duration, and Attributes
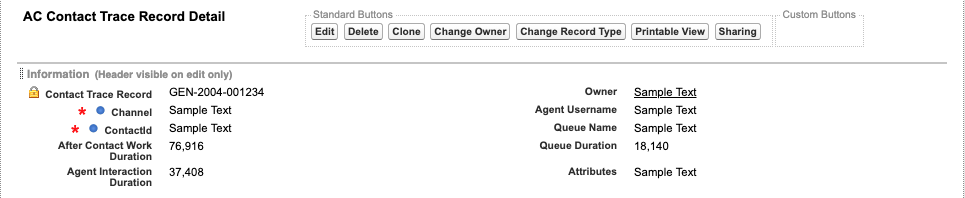
Save the layout
Return to the Service Console
Refresh the browser
Expand the navigation menu by selecting the down arrow and choose AC Contact Trace Records
Select a contact trace record
You should now see your modified layout