CTI Attributes
CTI Attributes provide the ability to reference and display contact attribute data within the Amazon Connect Contact Control Panel (CCP). This allows for easy access to data or URLs that may be necessary for agents to perform tasks external to Salesforce. Adding attributes does not import data directly into Salesforce. Instead, it is simply available in the CCP for the life of the contact.
Attribute Properties
When configuring CTI attributes, you will need to complete the configuration with the following information:
CTI Attribute Name: the user-friendly name that will identify this attribute configuration. This is not the name or key of the attribute itself.
Note: in v5.16 there is a bug where this has to be the same as the contact attribute name/key.
Label: will be displayed in the CCP as the label for the attribute value.
Display: indicates how this attribute should be displayed. Options are:
--None--: this attribute will not be displayed, however it will be available for use. Typically, this is used to define attributes that will be used in URLs.
Key-Value: the attribute label and value will both be displayed as a key-value pair
Key: only the label is displayed. This can be used to create sections in the attribute list. For example, you could have an "Address" label followed by individual attributes for street, city, state, country, postal code, etc
Value: only the value is displayed. This can be used when displaying several values under one section or when displaying a URL that needs no label.
Type: indicates if this is a text or URL attribute
Style: allows you to specify a CSS style rule for the display of this attribute. The style will apply to both the label and the value.
Format: the format allows you to define which contact attributes will be used in the value of this CTI attribute. Contact attributes are referenced by their key name enclosed in double curly braces. For example, an Amazon Connect contact attribute of accountId would be referenced as
accountId.Active (checkbox): indicates if this CTI attribute is active
Default Value: value to be displayed if the contact attribute referenced is not found
Once you set the CTI attributes, you access them by choosing the appropriate icon during a connected contact
CTI Attributes Example Walkthrough
Since there are endless use cases for CTI attributes, this guide will walk through a couple examples that show you how both text and hyperlink based attributes are configured, presented, and used. These examples are not intended to remain in your configuration and are instead designed to provide you with the experience of configuring a functional attribute.
Adding a Text-based CTI Attribute
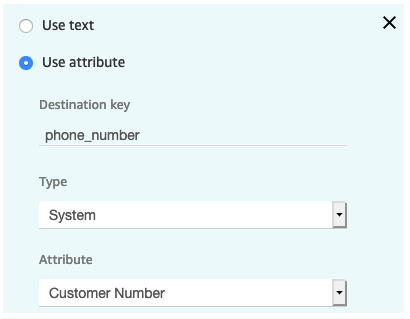
In this example, we will walk through creating a new CTI Attribute based on a contact attribute named "phone_number" and add it to the CCP. In our scenario, the contact flow has set this attribute using input from the customer to indicate their phone number of record. In order for this example to work, your contact flow must also set a contact attribute named "phone_number"
Log in into your Salesforce org and go to the Service Console
Expand the navigation menu by selecting the down arrow and choose AC CTI Adapters.

Select ACLightningAdapter
Scroll down to the Attributes section and select New

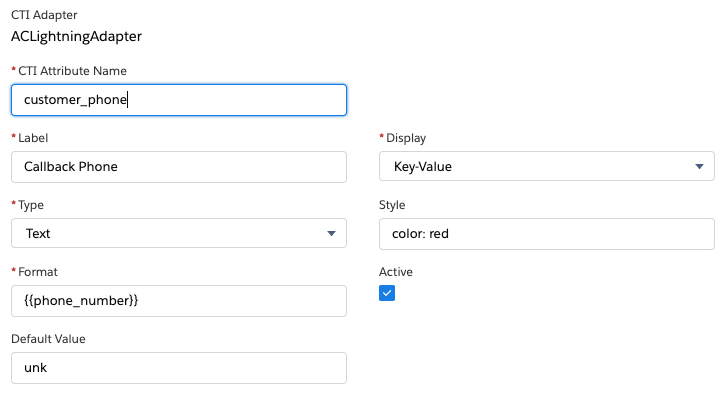
Provide a CTI Attribute Name value, for example: customer_phone
Provide the Label name, for example: Callback Phone
Select the Display option, in this case: Key-Value
Select Text as the Type
For Style, enter the following: color: red
In the Format field, enter
phone_numberto reference the incoming contact attributeSet Default Value to unk
Choose Save
Refresh your browser
Place a new call into your Amazon Connect instance and accept the call as an agent
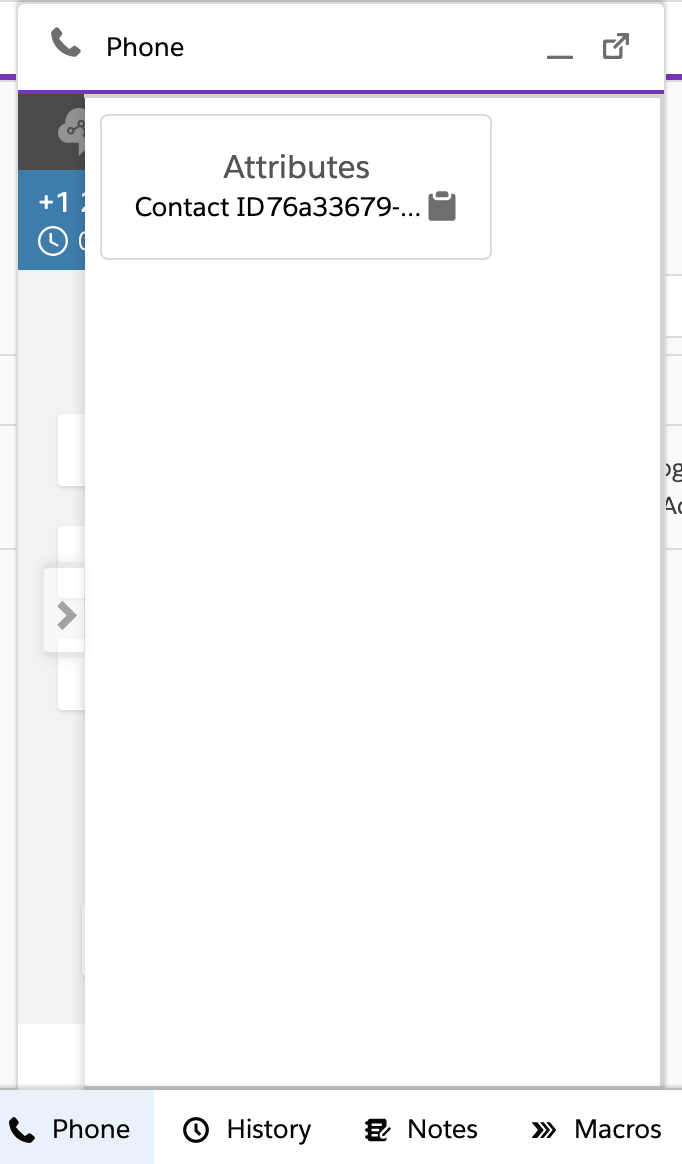
Once the call is connected, select the text attribute icon to expand the CTI Attributes

Note the Style formatting. Also note that you can quickly copy the content of the attribute by selecting the clipboard icon.
Disconnect the contact.
Adding a Hyperlink-based CTI Attribute
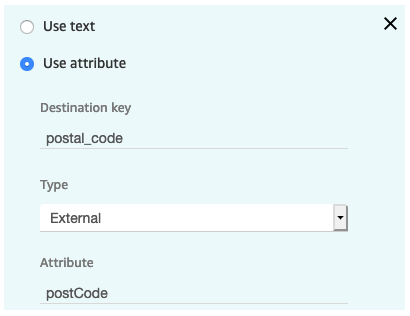
In this example, we will walk through creating a new hyperlink CTI Attribute that incorporates a contact attribute named "postal_code" and add it to the CCP. In our scenario, the contact flow has set this attribute using a data query into Salesforce. In order for this example to work, your contact flow must also set a contact attribute named "postal_code"
Log in into your Salesforce org and go to the Service Console
Expand the navigation menu by selecting the down arrow and choose AC CTI Adapters.
Select ACLightningAdapter
Scroll down to the Attributes section and select New
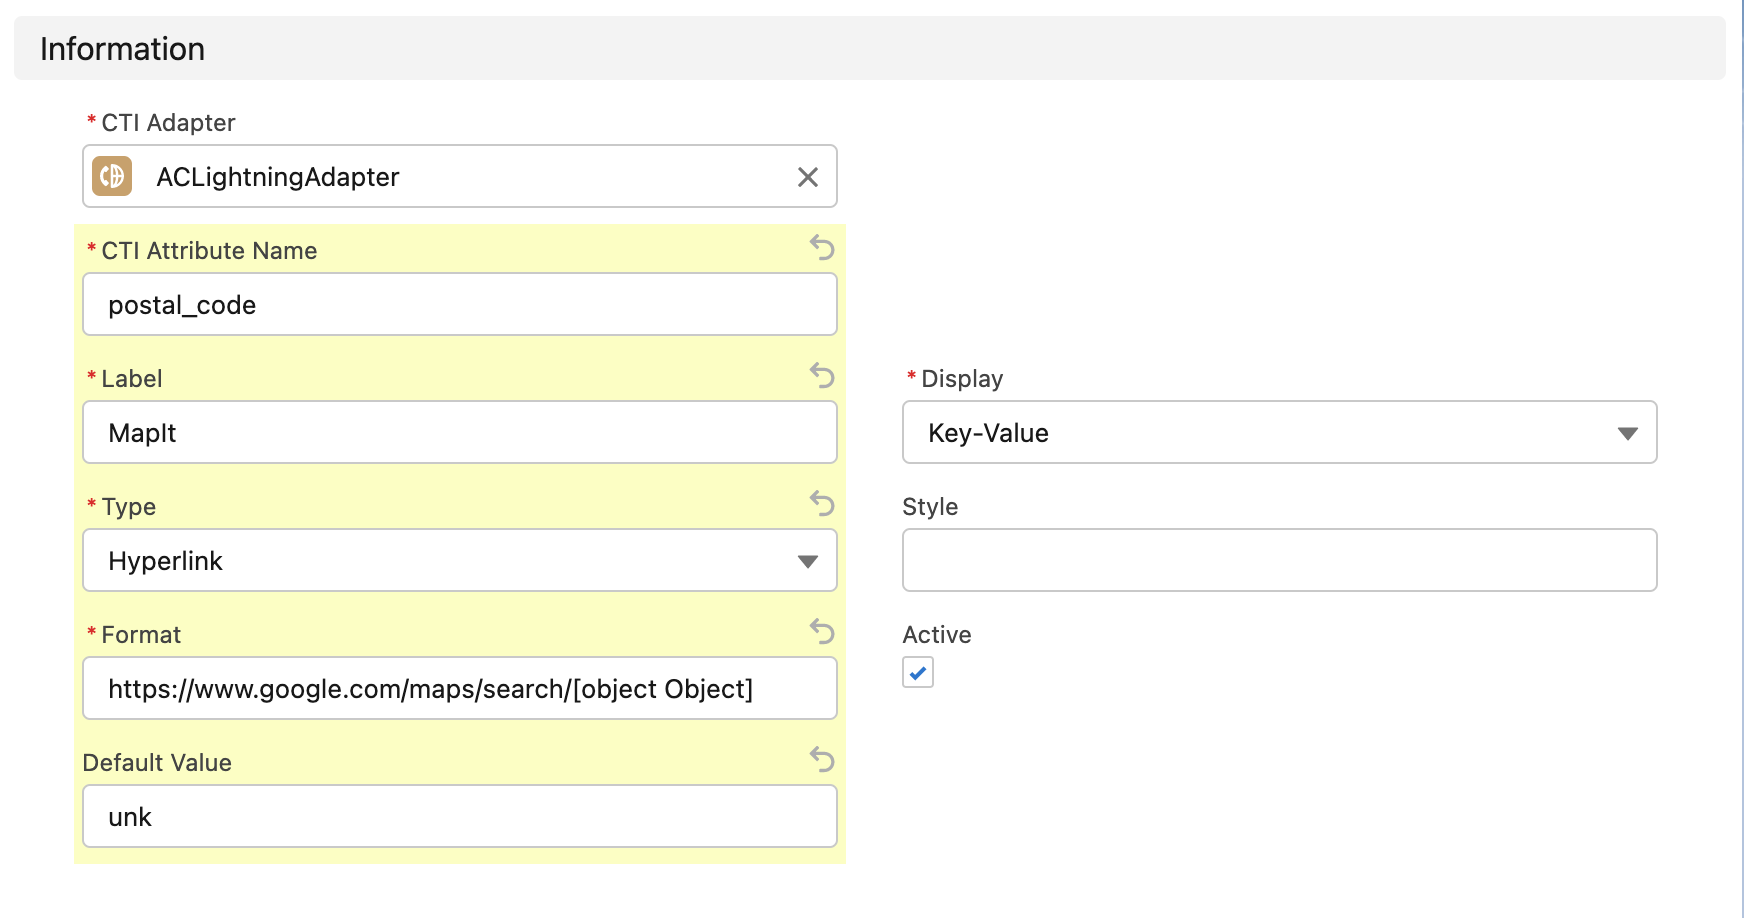
Provide a CTI Attribute Name value, for example: postal_code
Provide the Label name, for example: MapIt
Select the Display option, in this case: Key-Value
Select Hyperlink as the Type
Leave Style blank
In the Format field, enter
https://www.google.com/maps/search/postal_codeto append the incoming contact attribute to the URL
Set Default Value to unk
Choose Save
Refresh your browser
Place a new call into your Amazon Connect instance and accept the call as an agent
Once the call is connected, select the hyperlink attribute icon to expand the CTI Attributes
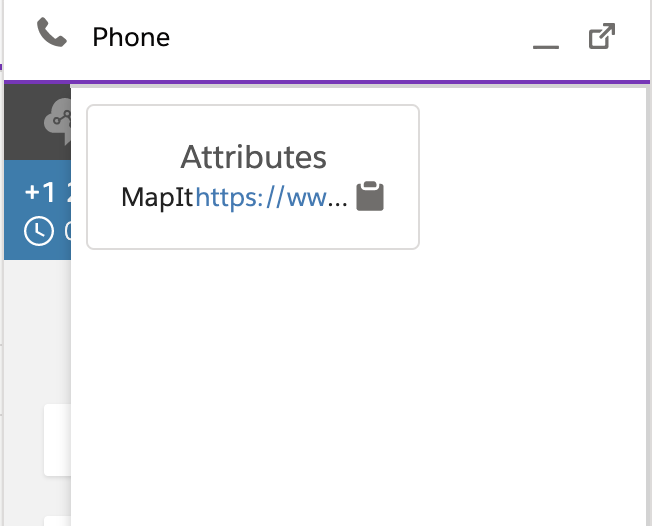
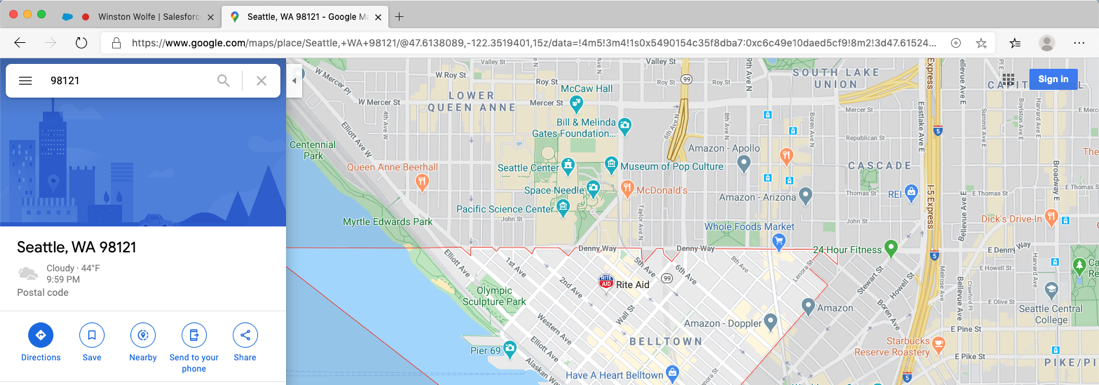
- Select the URL and observe the page load
- Disconnect the contact.
CTI Attribute Additional Features
Enabling CTI Attribute Additional Features
The additional CTI Attribute features allow you to further customize CTI Attributes.
- In Service Console, navigate to your CTI Adapter

- Scroll down to the features section of your AC CTI Adapter and select new

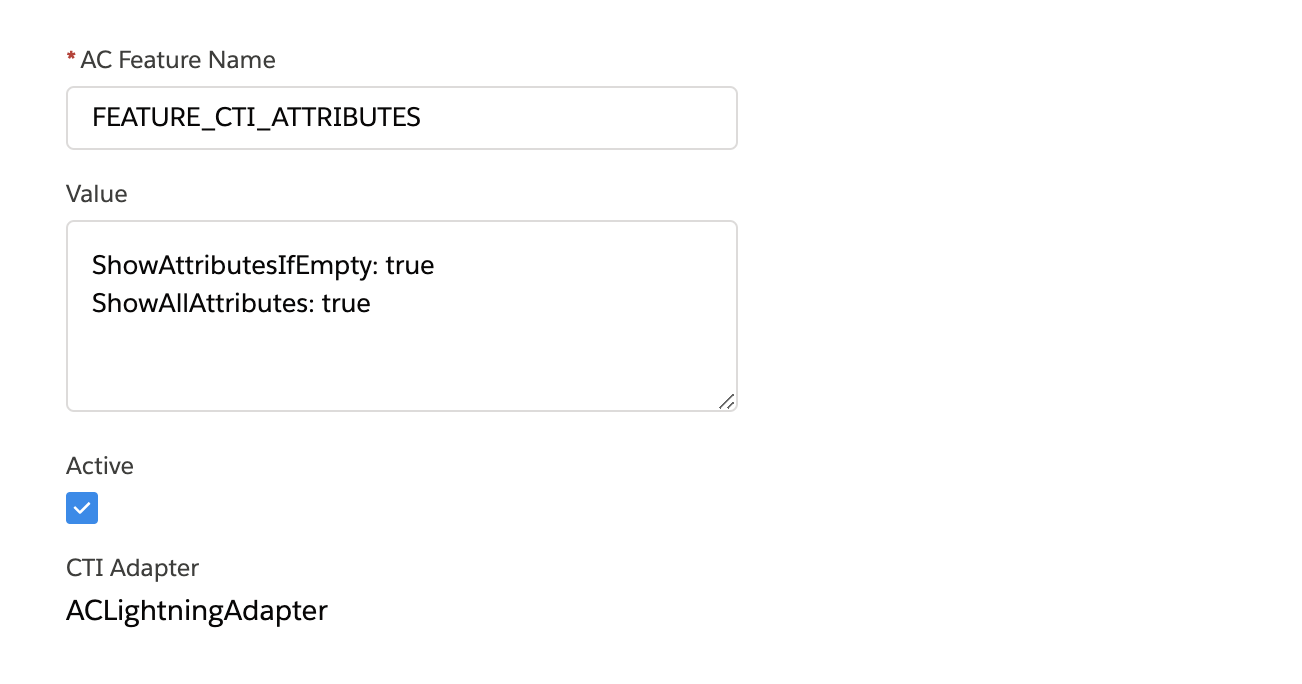
Set the AC Feature Name to FEATURE_CTI_ATTRIBUTES
Fill the value text box to contain the following settings:
a. ShowAttributesIfEmpty (Boolean, default true): show attributes text box when contact has no attributes
b. ShowAllAttributes (Boolean, default false): show all attributes, including attributes with no values
- Select Save