Upgrading from an Earlier Version
Upgrading the Salesforce Lambdas
The Amazon Connect Salesforce Lambda (ACSF Lambda) package contains a set of common Lambda functions to be used by Amazon Connect to interact with Salesforce, allowing lookup, create and update operations for different Salesforce objects, like Contacts and Cases. Upgrading the Salesforce lambdas is necessary if you have an existing lambda package and you wish to upgrade to a newer runtime version.
To upgrade your lambdas to use the new python version, continue reading.
Deploying the New Lambda Package
Gather the data in your lambda CloudFormation stack.
- In a new browser tab, login to the AWS console.
- Navigate to the CloudFormation console.
- Ensure you are in the correct region.
- If you are not already on the Stacks page, click Stacks listed in the left-hand navigation pane.
- It should look similar to this
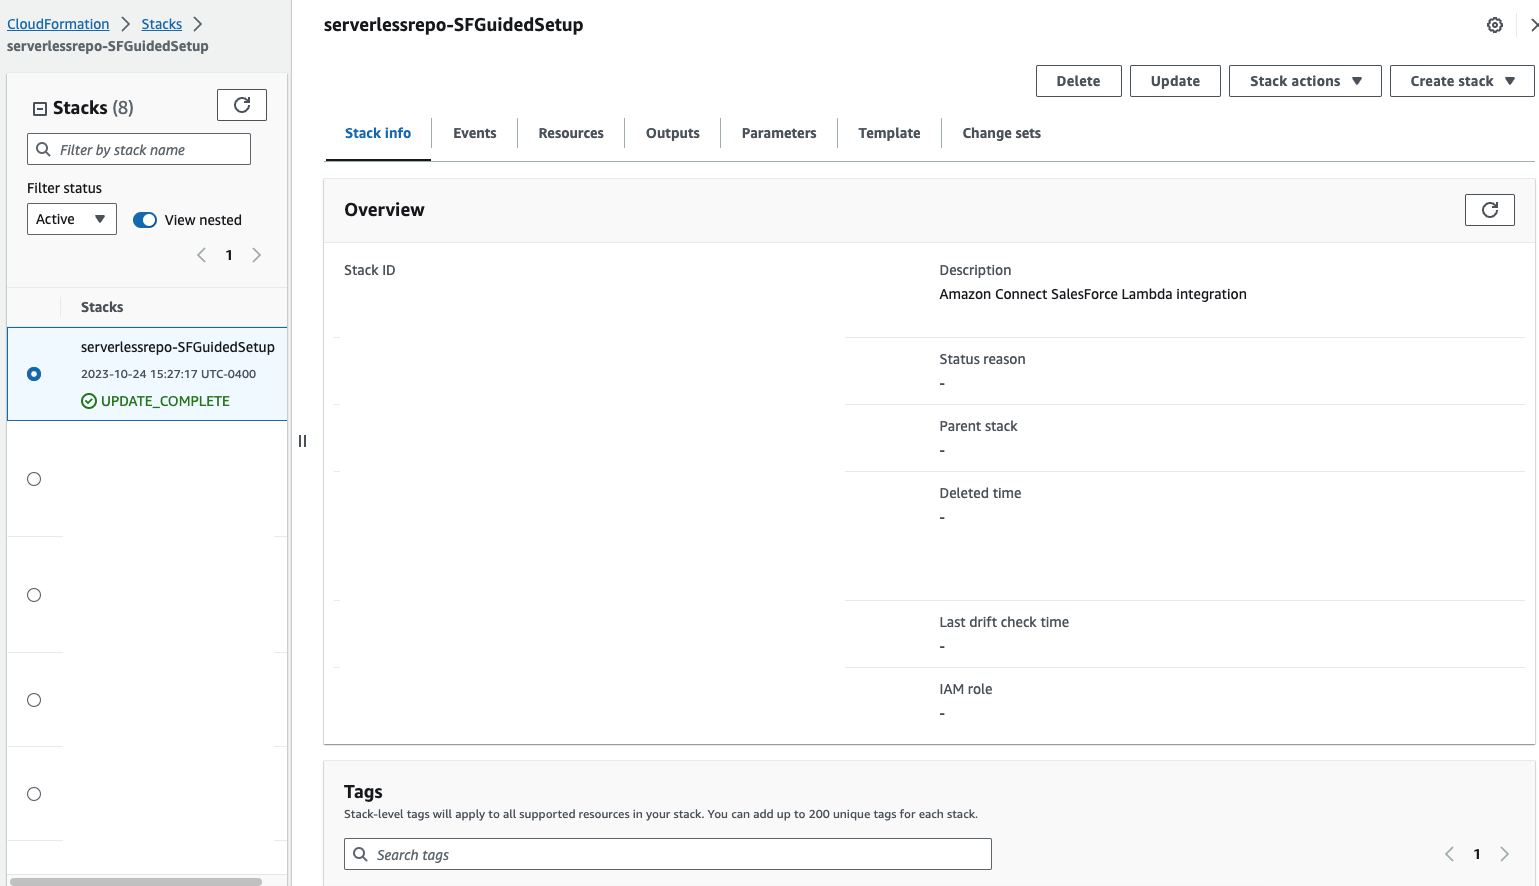
- Find and click the previously-deployed stack in the list.
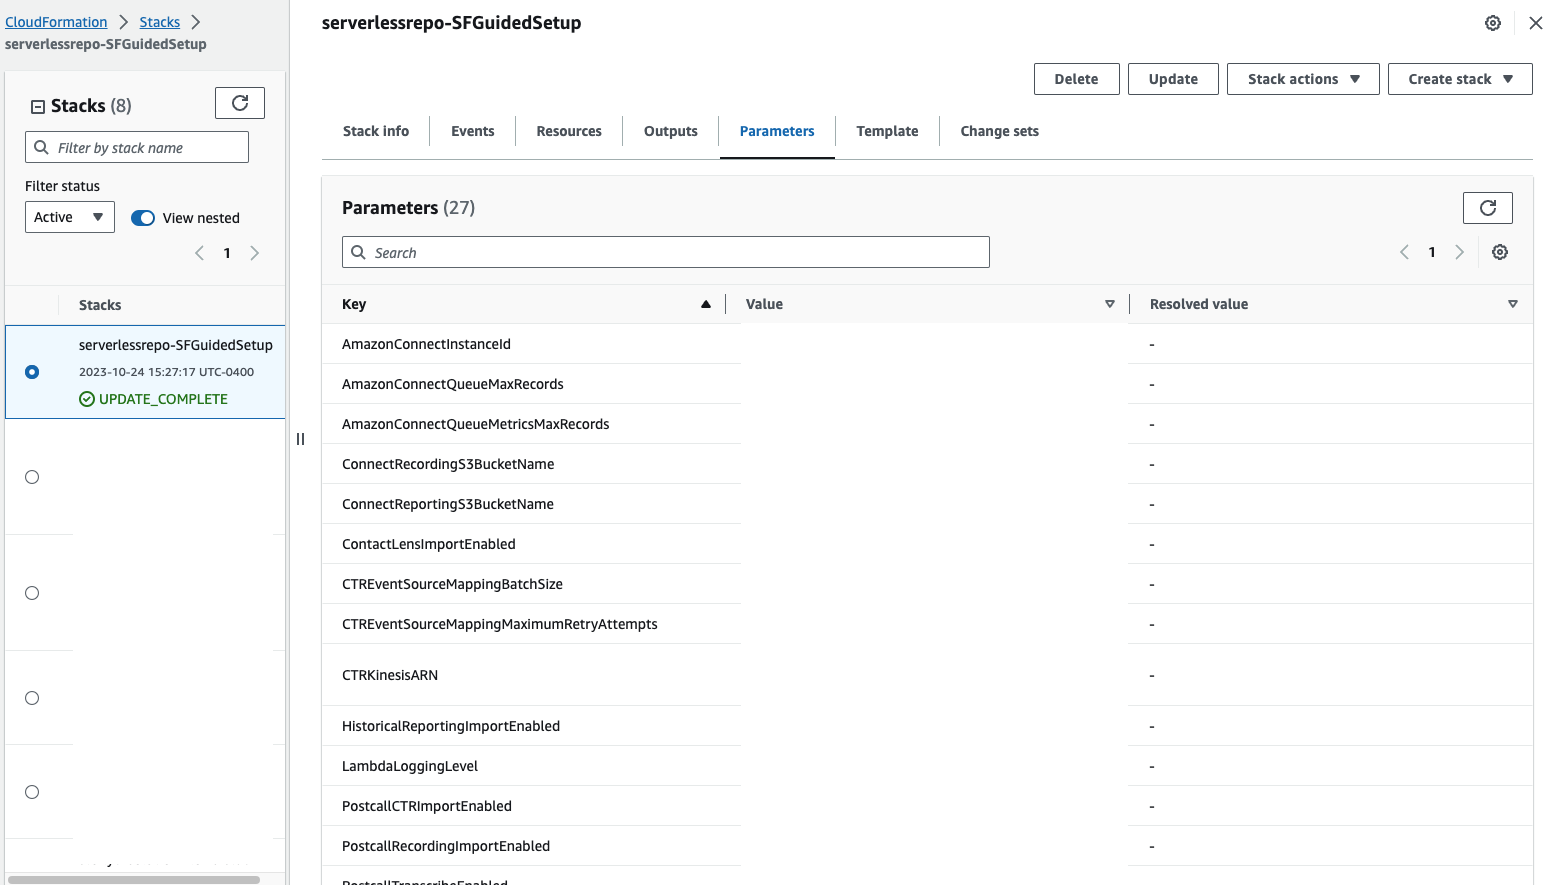
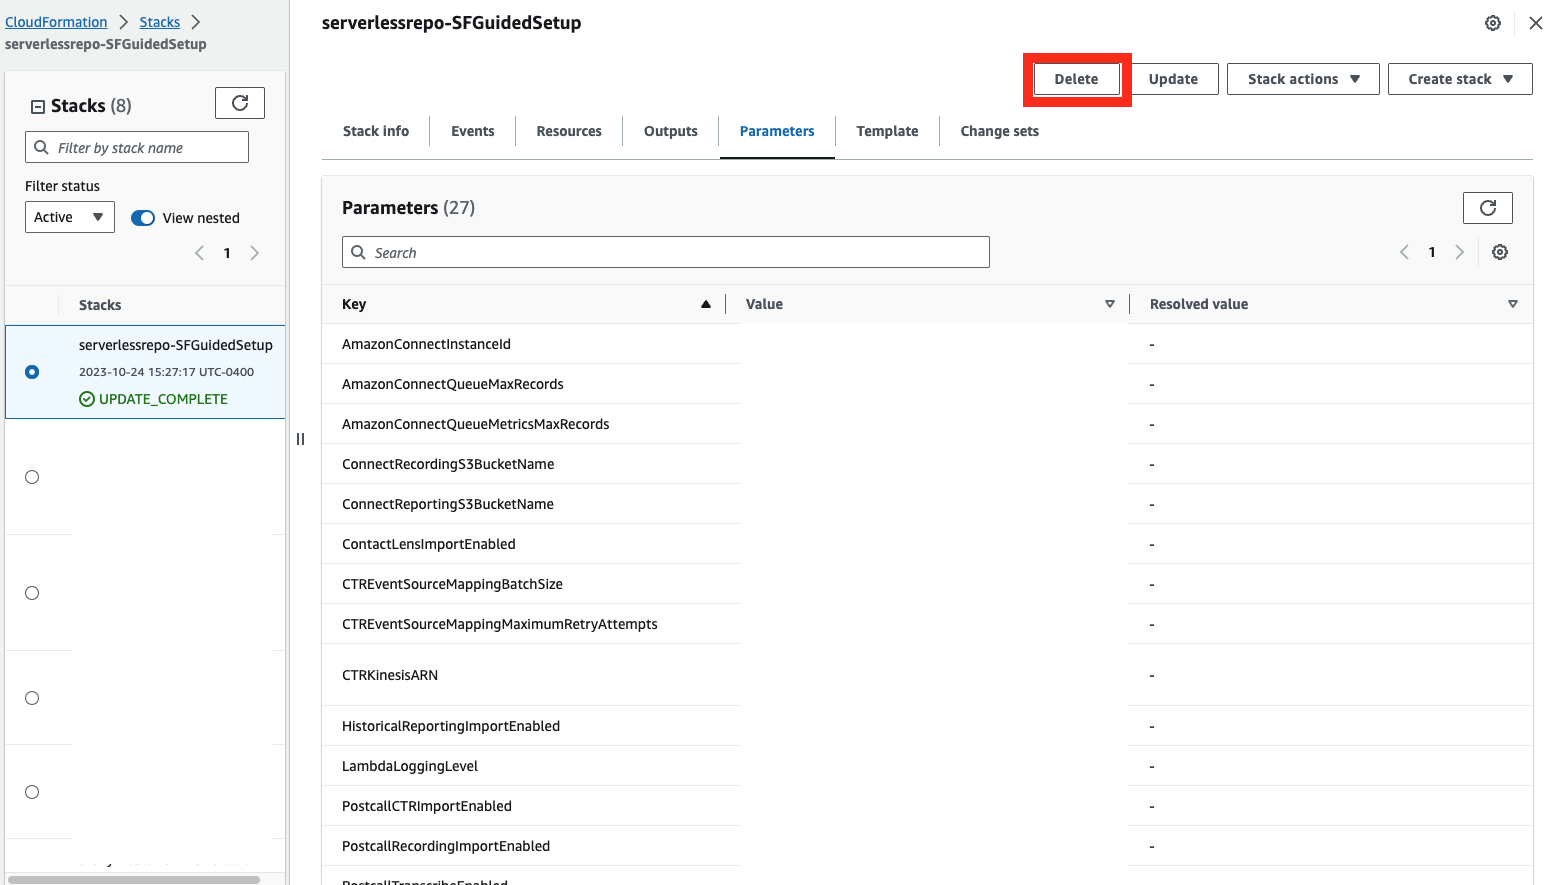
- In the split panel that appears for the stack, click on the Parameters tab.
- The list of parameters used for the previously-deployed stack will appear.
Verify the information you used to create the lambdas. For a refresher, this would be the information you found as part of Prerequisite Configuration and Data Collection, Finding your salesforce version, and Gather Amazon Connect Information.
Once you have verified and gathered all of the information, you will install the salesforce lambda package. Instructions on how to install the lambda package can be found here, and instructions on testing the lambda package after installation can be found here
Removing the Previous Lambda Package
At this point, you now have the newer version of the lambda package and the older version of the lambda package. We now want to remove the original lambda package. but this needs to be done with care since this lambda package was configured to work with the connect and salesforce instances. Before removing the old lambda package, we must first do two (2) things
Unlink the sfInvokeAPI Function
- In a new browser tab, login to the AWS console.
- Navigate to the Amazon Connect Console.
- Select your Instance Alias.
- In the navigation pane, choose "Flows".
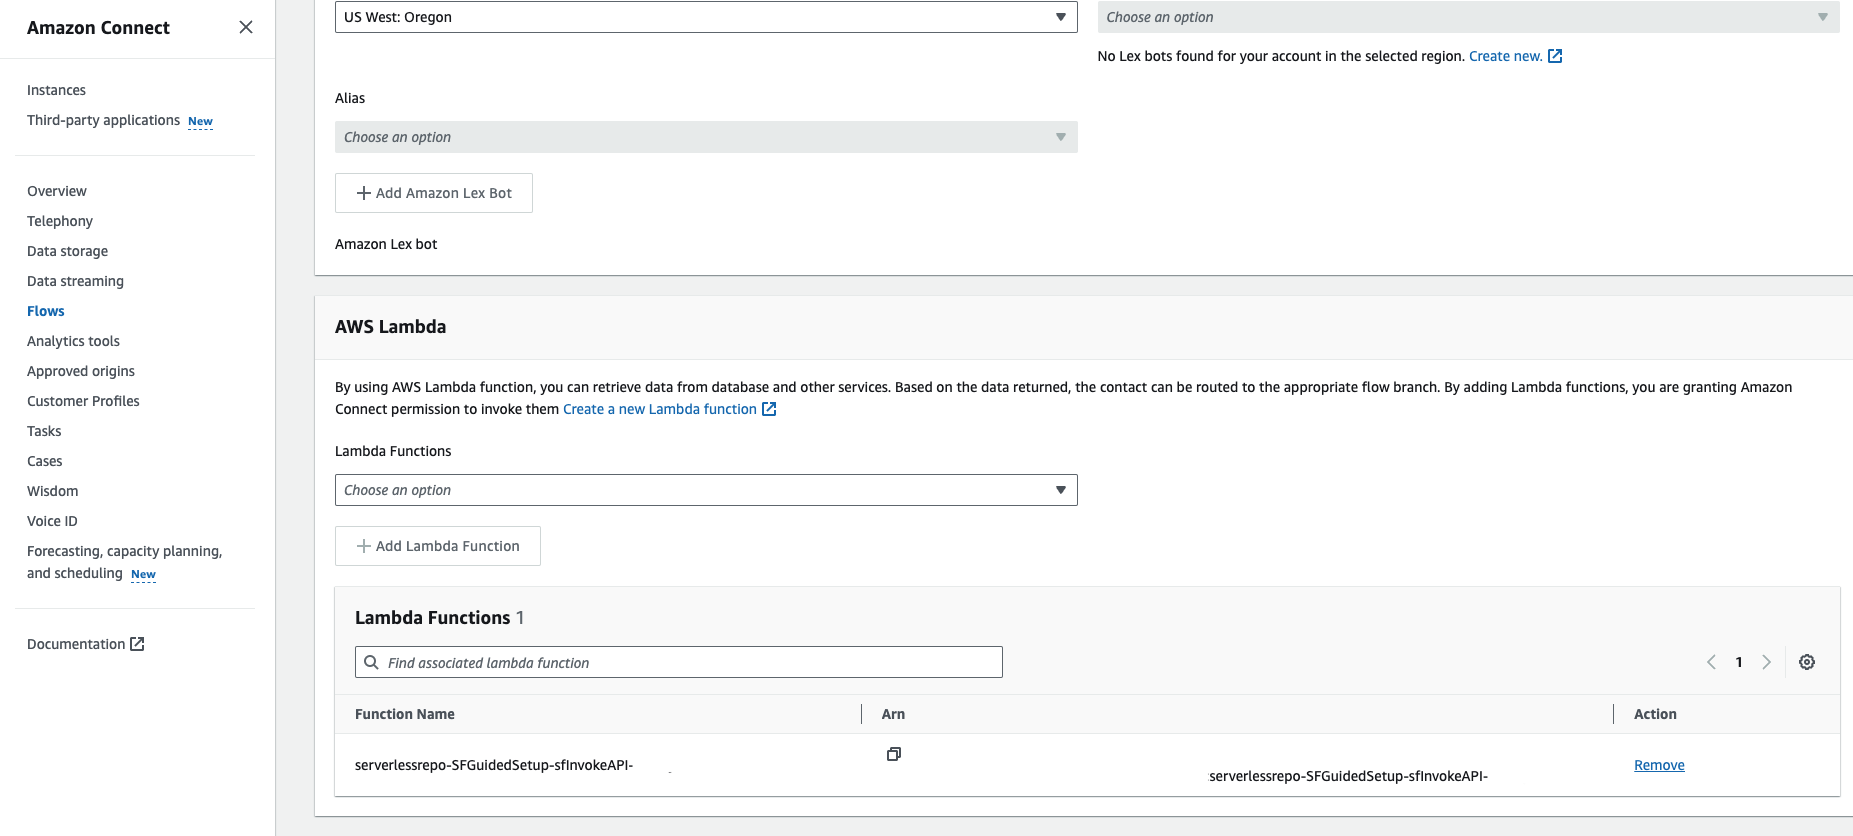
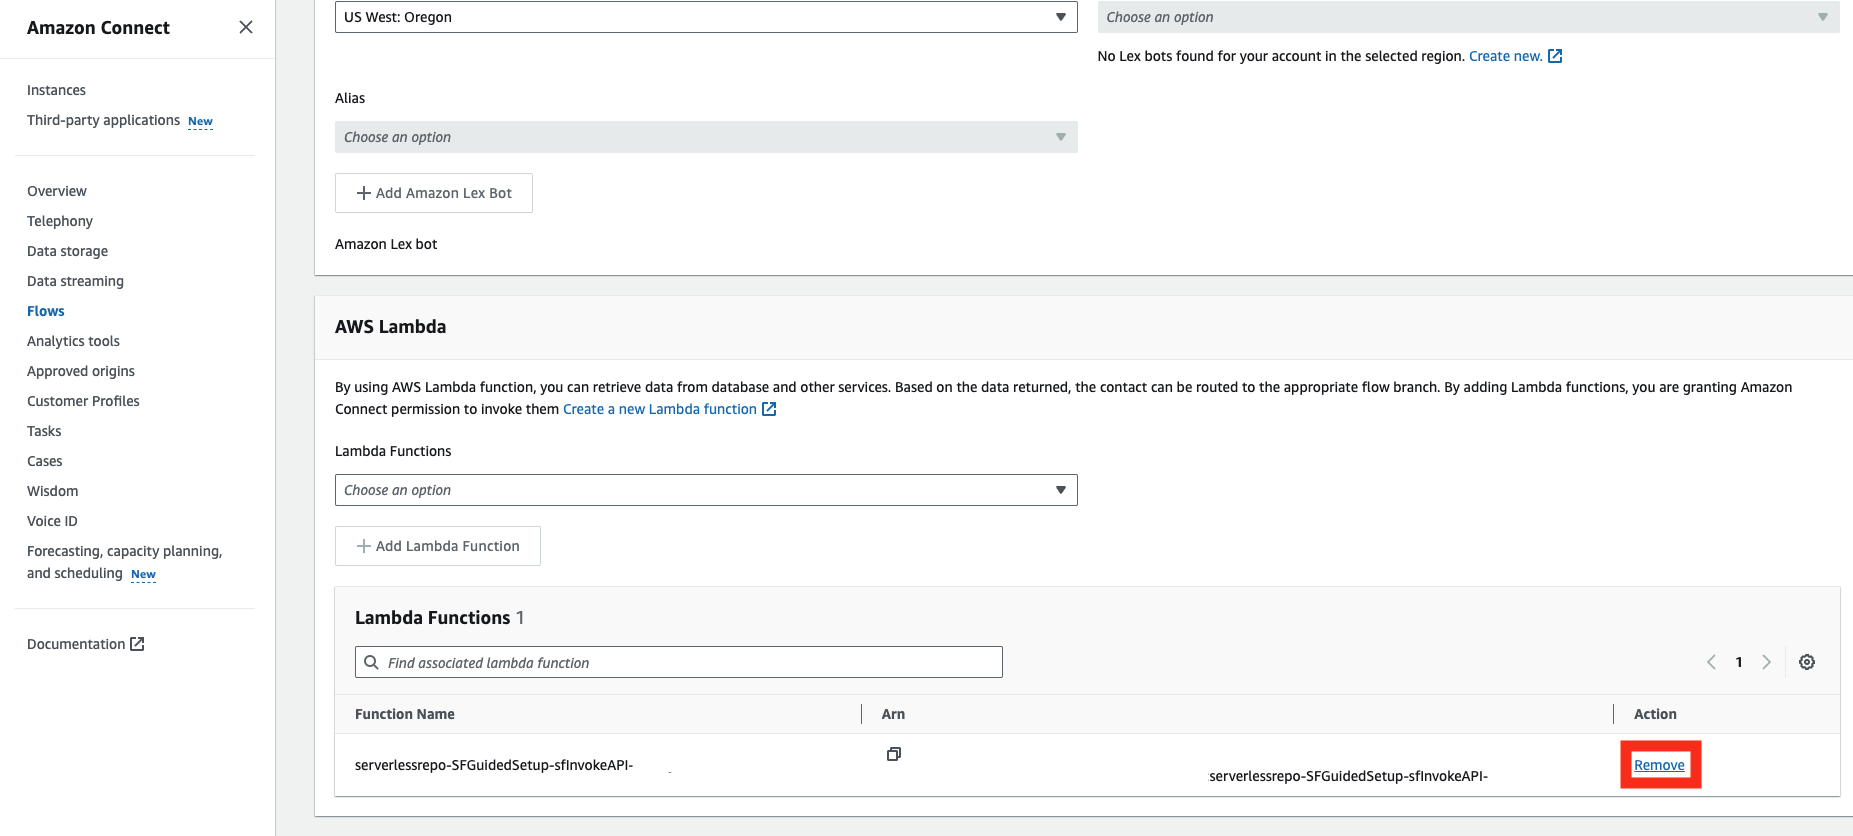
Once in the "Flows" pane of the Connect console of the instance to be configured, verify that the previous Lambda function is listed, then remove it by clicking “Remove.”
After the old Lambda function has been removed, proceed with the remaining steps:
- For AWS Lambda, select the function that includes sfInvokeAPI from the new lambda package in the name.
- Choose Add Lambda Function. Confirm that the function is added under Lambda Functions.
- The AWS Lambda function has been added to your Amazon Connect instance!
Remove triggers from the Lambda functions of the previously-deployed stack
In the documentation steps “Amazon Connect Historical Metrics in Salesforce” and “Postcall Contact Lens Import”, you are instructed to create AWS Lambda Triggers for certain Lambda functions in order to store relevant data in S3 bucket folders. If the Lambdas of the previously-deployed stack have triggers which point to the same file path (i.e., S3 bucket, Prefix, and Suffix) that is listed in the documentation instructions, this will prevent the creation of triggers for new Lambda functions pointing to that same path.
To delete the old triggers,
- In a new browser tab, login to the AWS console.
- Navigate to the Lambda console.
- Navigate to a specific function which holds an old trigger.
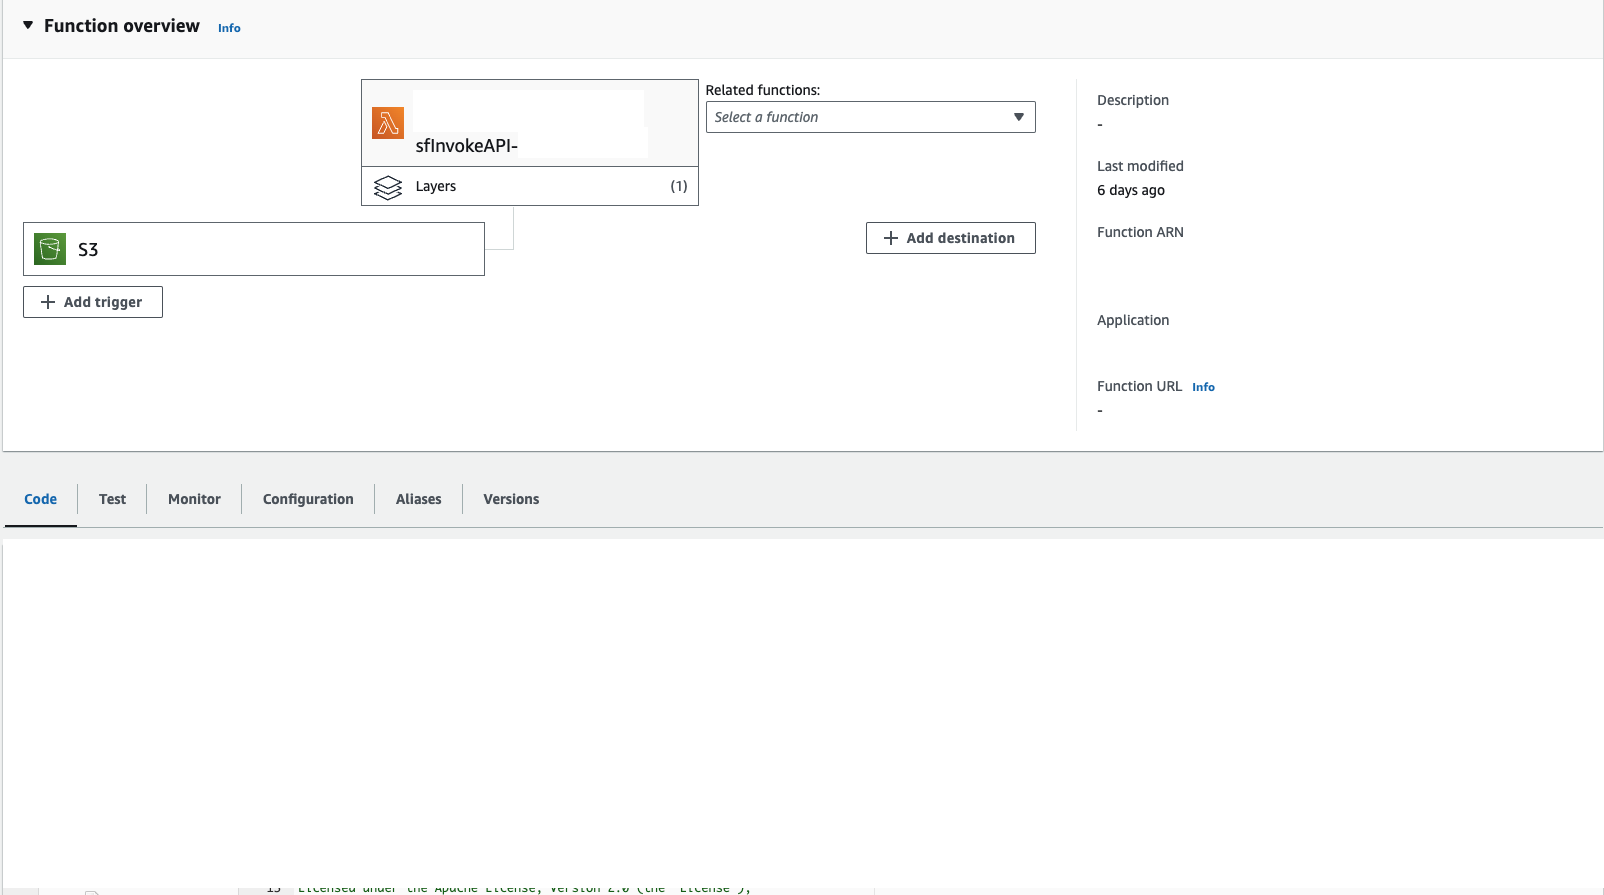
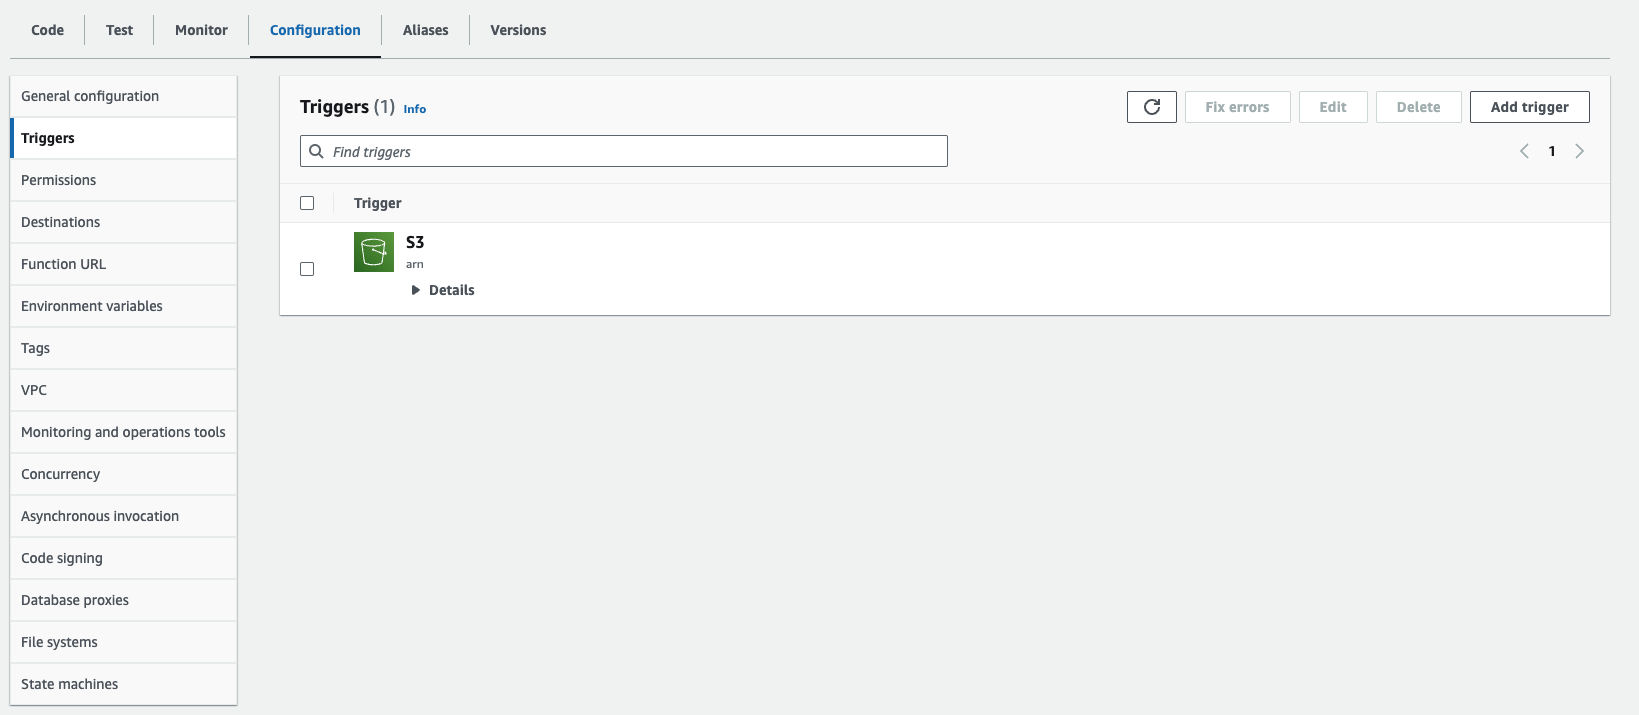
- For each function, go to its Configuration tab (under the Function overview) and ensure you are in the Triggers tab (in the left-hand side, listed under General Configuration). Clicking on the rectangle with the S3 bucket icon (representing the trigger) in the Function overview should also bring you to the correct pane.
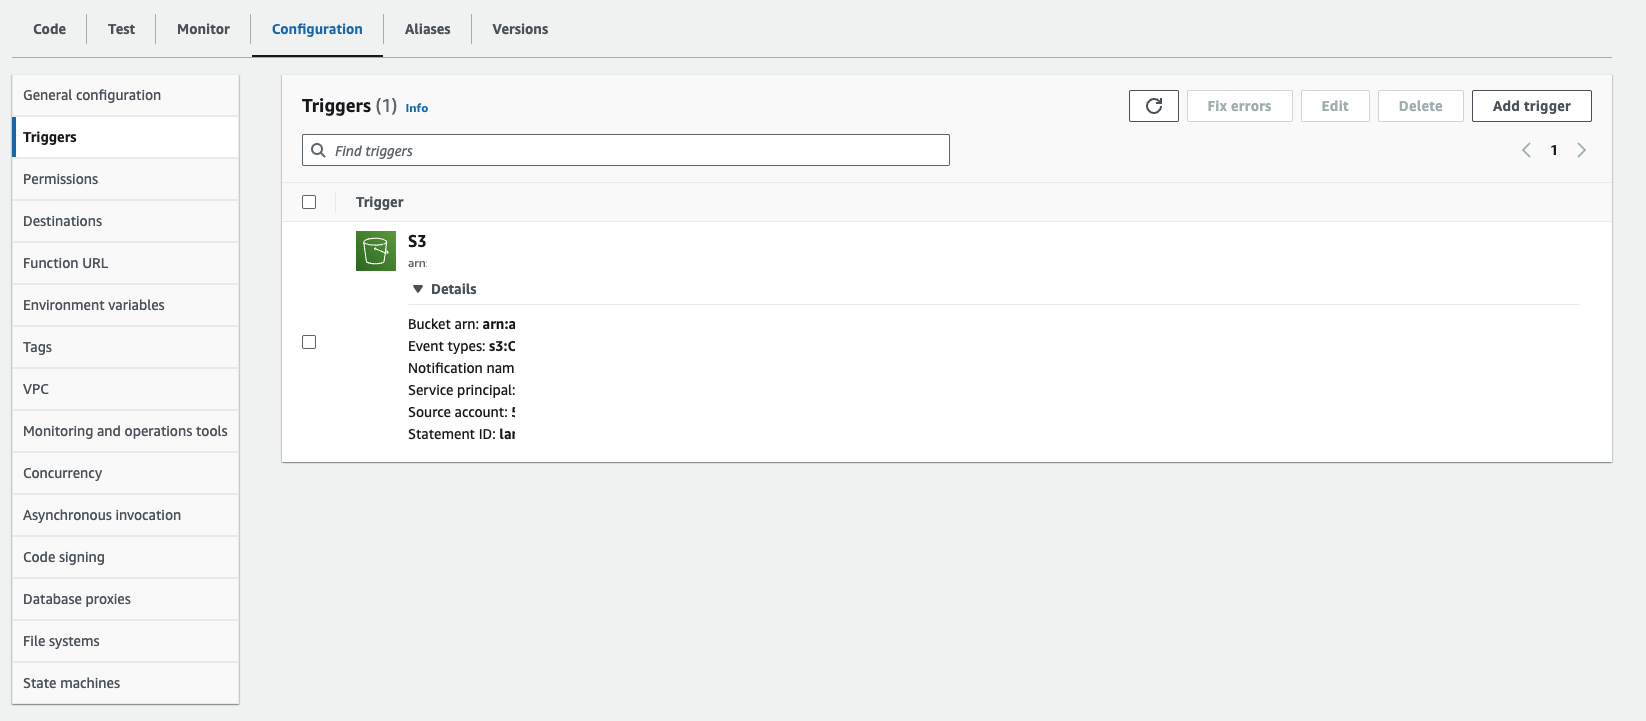
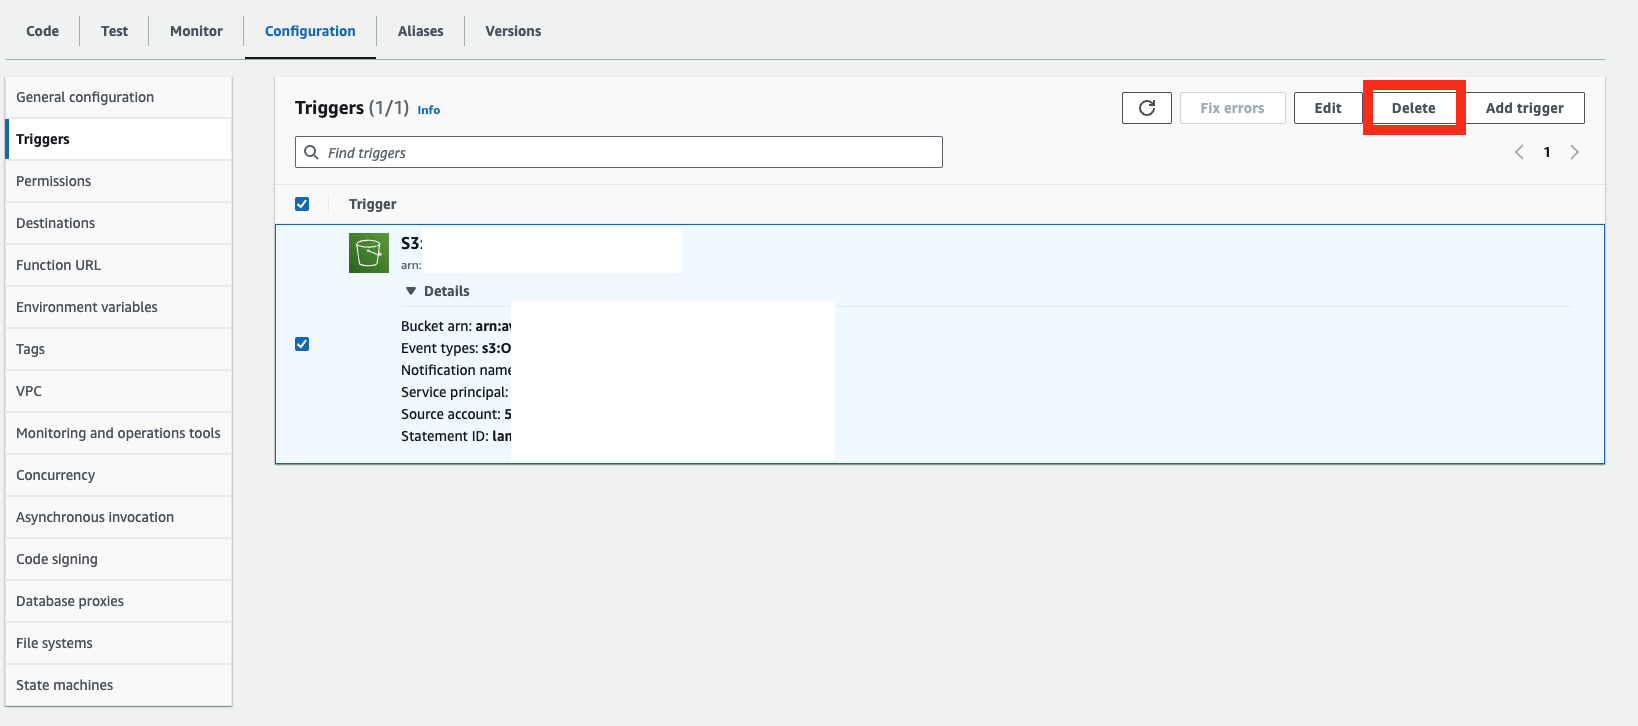
- Once there, click the Details arrow to expand the details section and verify that the trigger you see has the same file path you wish to reclaim for your new Lambda function. If so, click its checkbox and then click delete in the upper right-hand corner of the Triggers pane.
- Repeat this process (step 3 - step 5) for each old Lambda function until all the file paths you wish to use are freed up. Those file paths will now be available for use in the Amazon Connect Salesforce Lambda setup steps which involve creating triggers.
Delete the Previously-Deployed Stack
Once you have confirmed your successful upgrade of the Amazon Connect Salesforce Lambda, you may delete your previously-deployed stack of the older version of the Lambda package. To delete the previously-deployed stack,
- In a new browser tab, login to the AWS console.
- Navigate to the CloudFormation console.
- Ensure you are in the correct region.
- If you are not already on the Stacks page, click Stacks listed in the left-hand navigation pane.
- Find and click the previously-deployed stack in the list.
- In the split panel that appears for the stack, validate in the Stack info tab that the selected stack is the one you wish to delete.
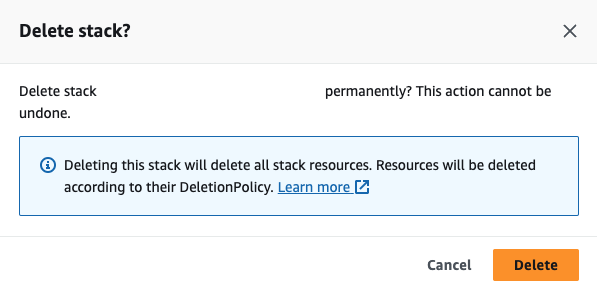
- Click the Delete button in the split panel, then Delete in the pop-up confirmation message that appears.
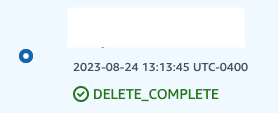
- The stack will then begin to be deleted. This may take a few minutes; it is not necessary to stay on the page.
- Confirm that the stack was successfully completed. If you have navigated away from the page, change the Filter status at the top of the Stacks list to Deleted, and verify that the previously-deployed Lambda stack appears marked DELETE_COMPLETE.
Upgrading the CTI Adapter (v5.0 and newer)
To install the Amazon Connect CTI Adapter in Salesforce, you can follow these general steps:
AC CTI Adapter
Prepare for the installation: Ensure that your Salesforce environment is ready for the installation. We strongly encourage you install new versions in your non-production environment before installing it in your production environment.
Locate the most recent version of the CTI Adapter from Salesforce AppExchange Marketplace. You can access this by:
a. Logging into your Salesforce instance
b. Navigating to the Setup page
c. Typing "AppExchange" into the QuickFind box
d. Clicking on "AppExchange Marketplace"
e. Search for "Amazon Connect CTI Adapter"
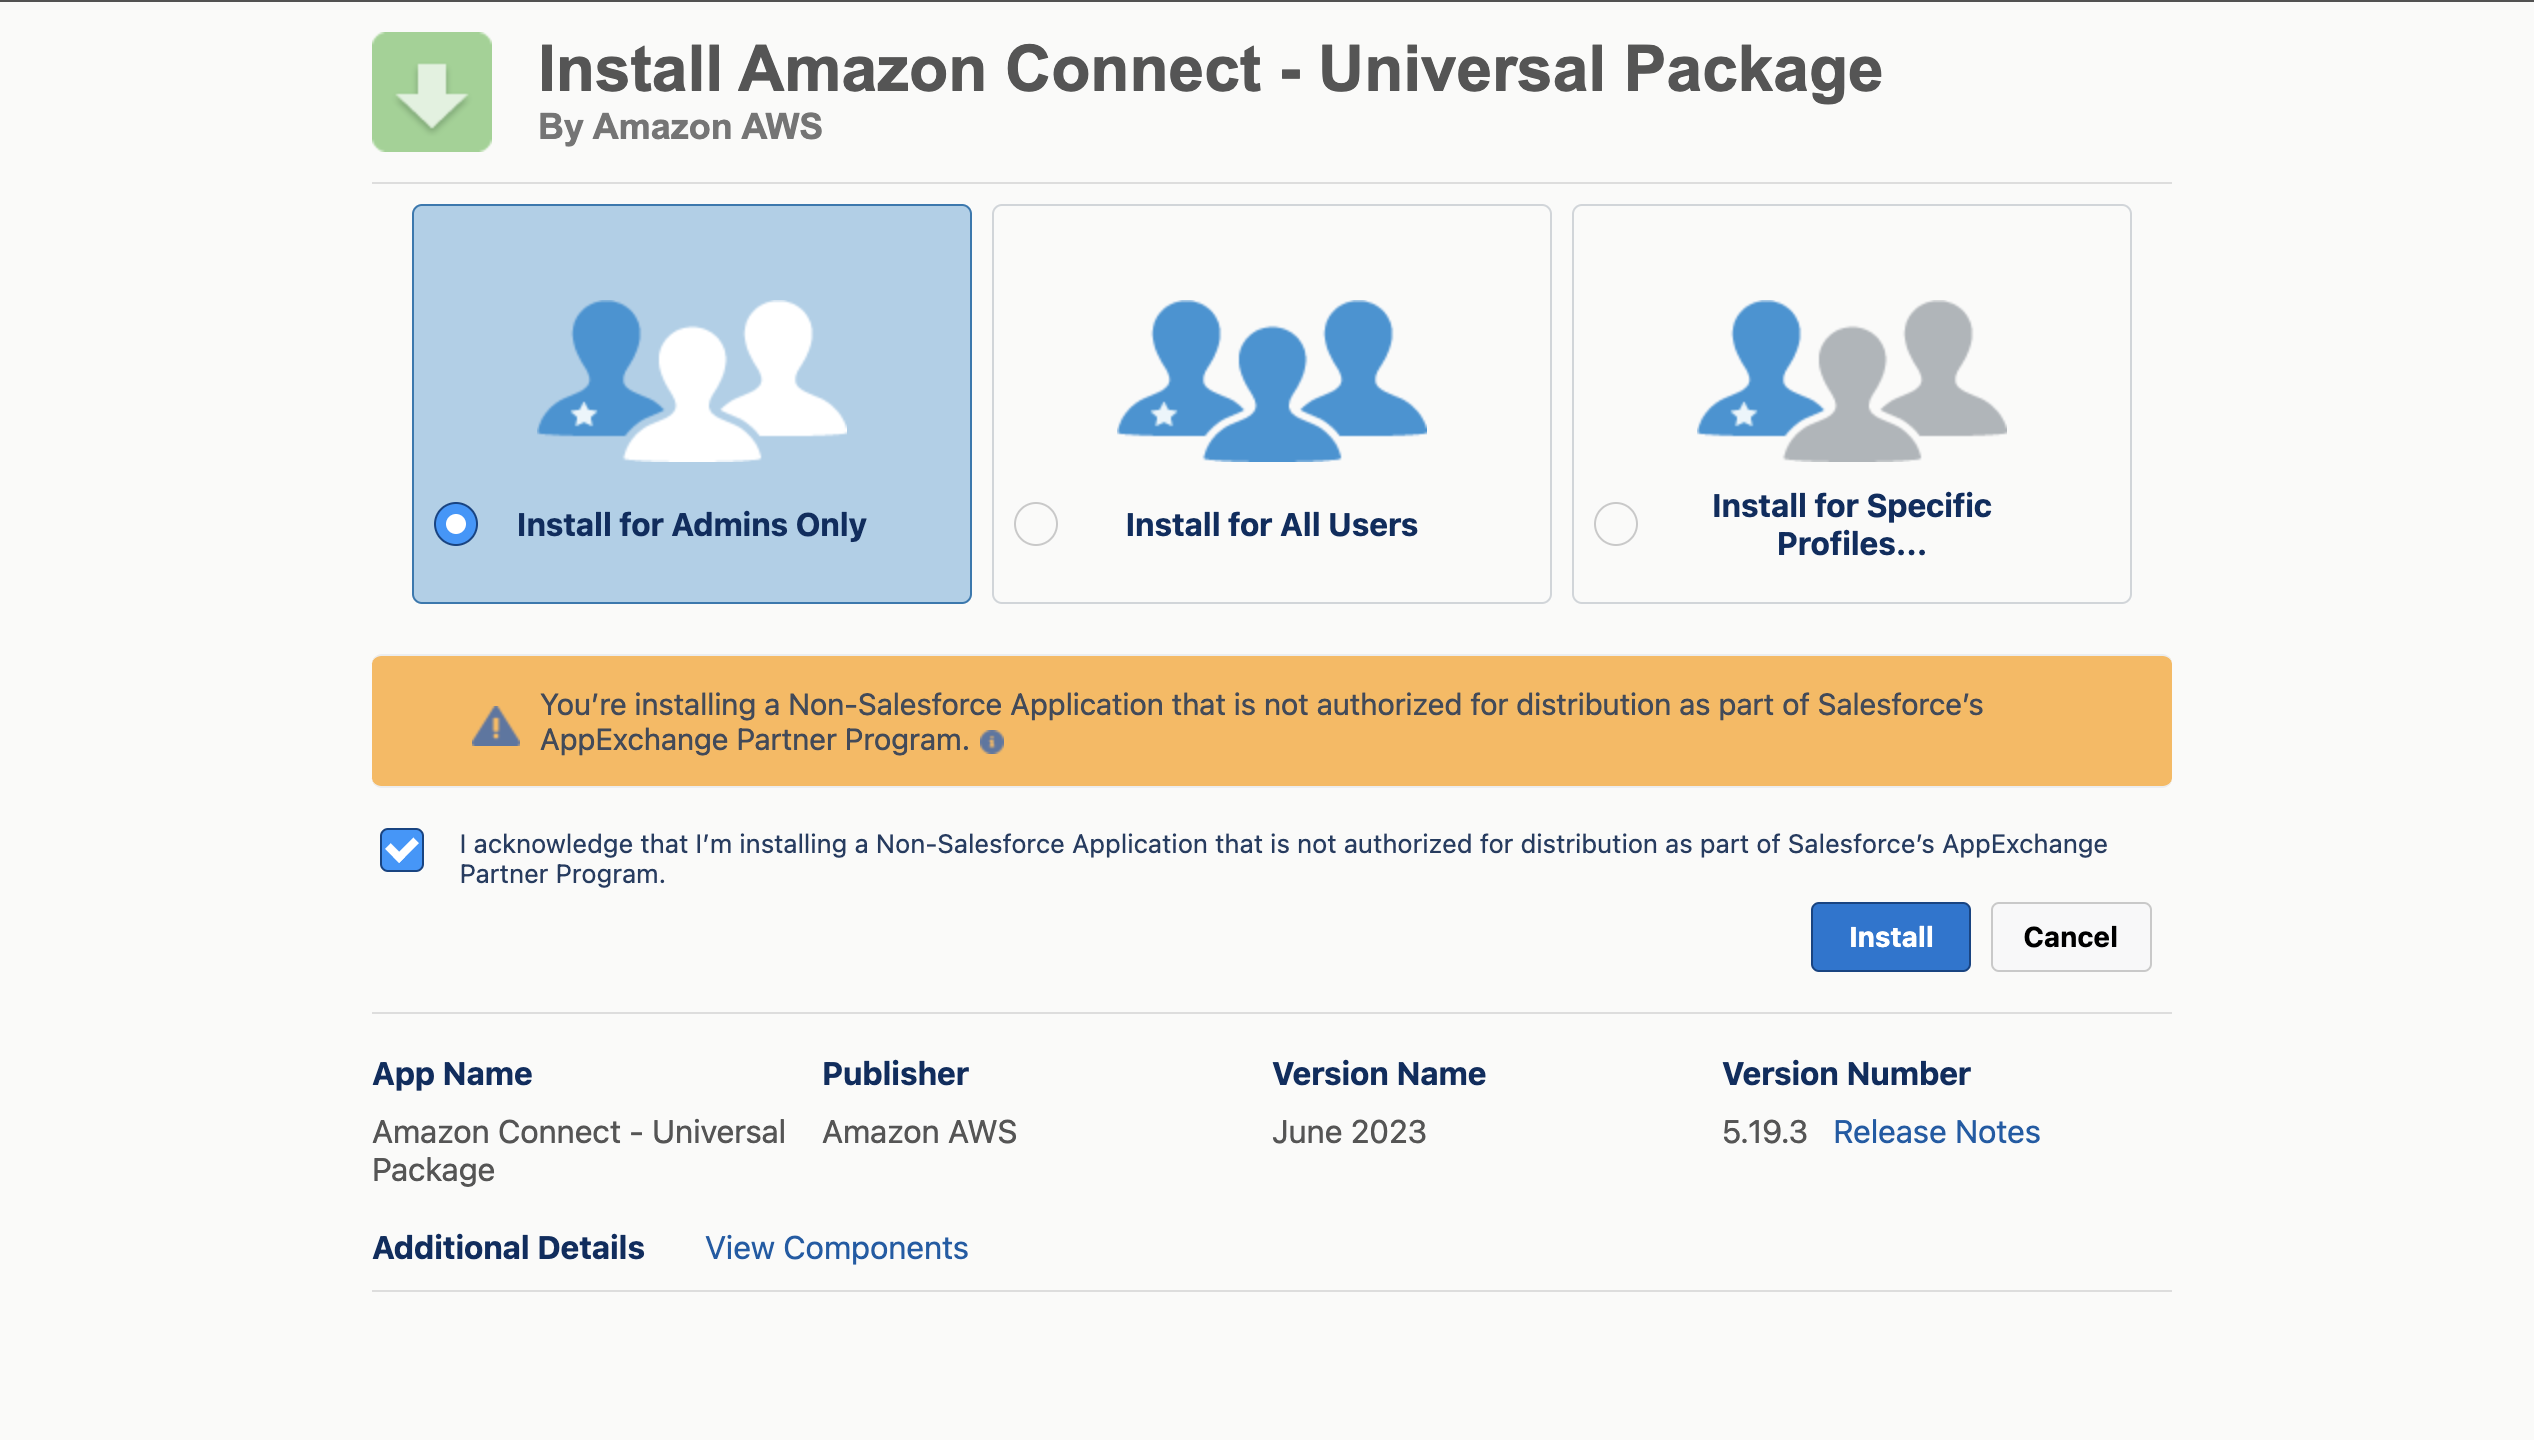
Install the package:
a. You may be prompted to sign in
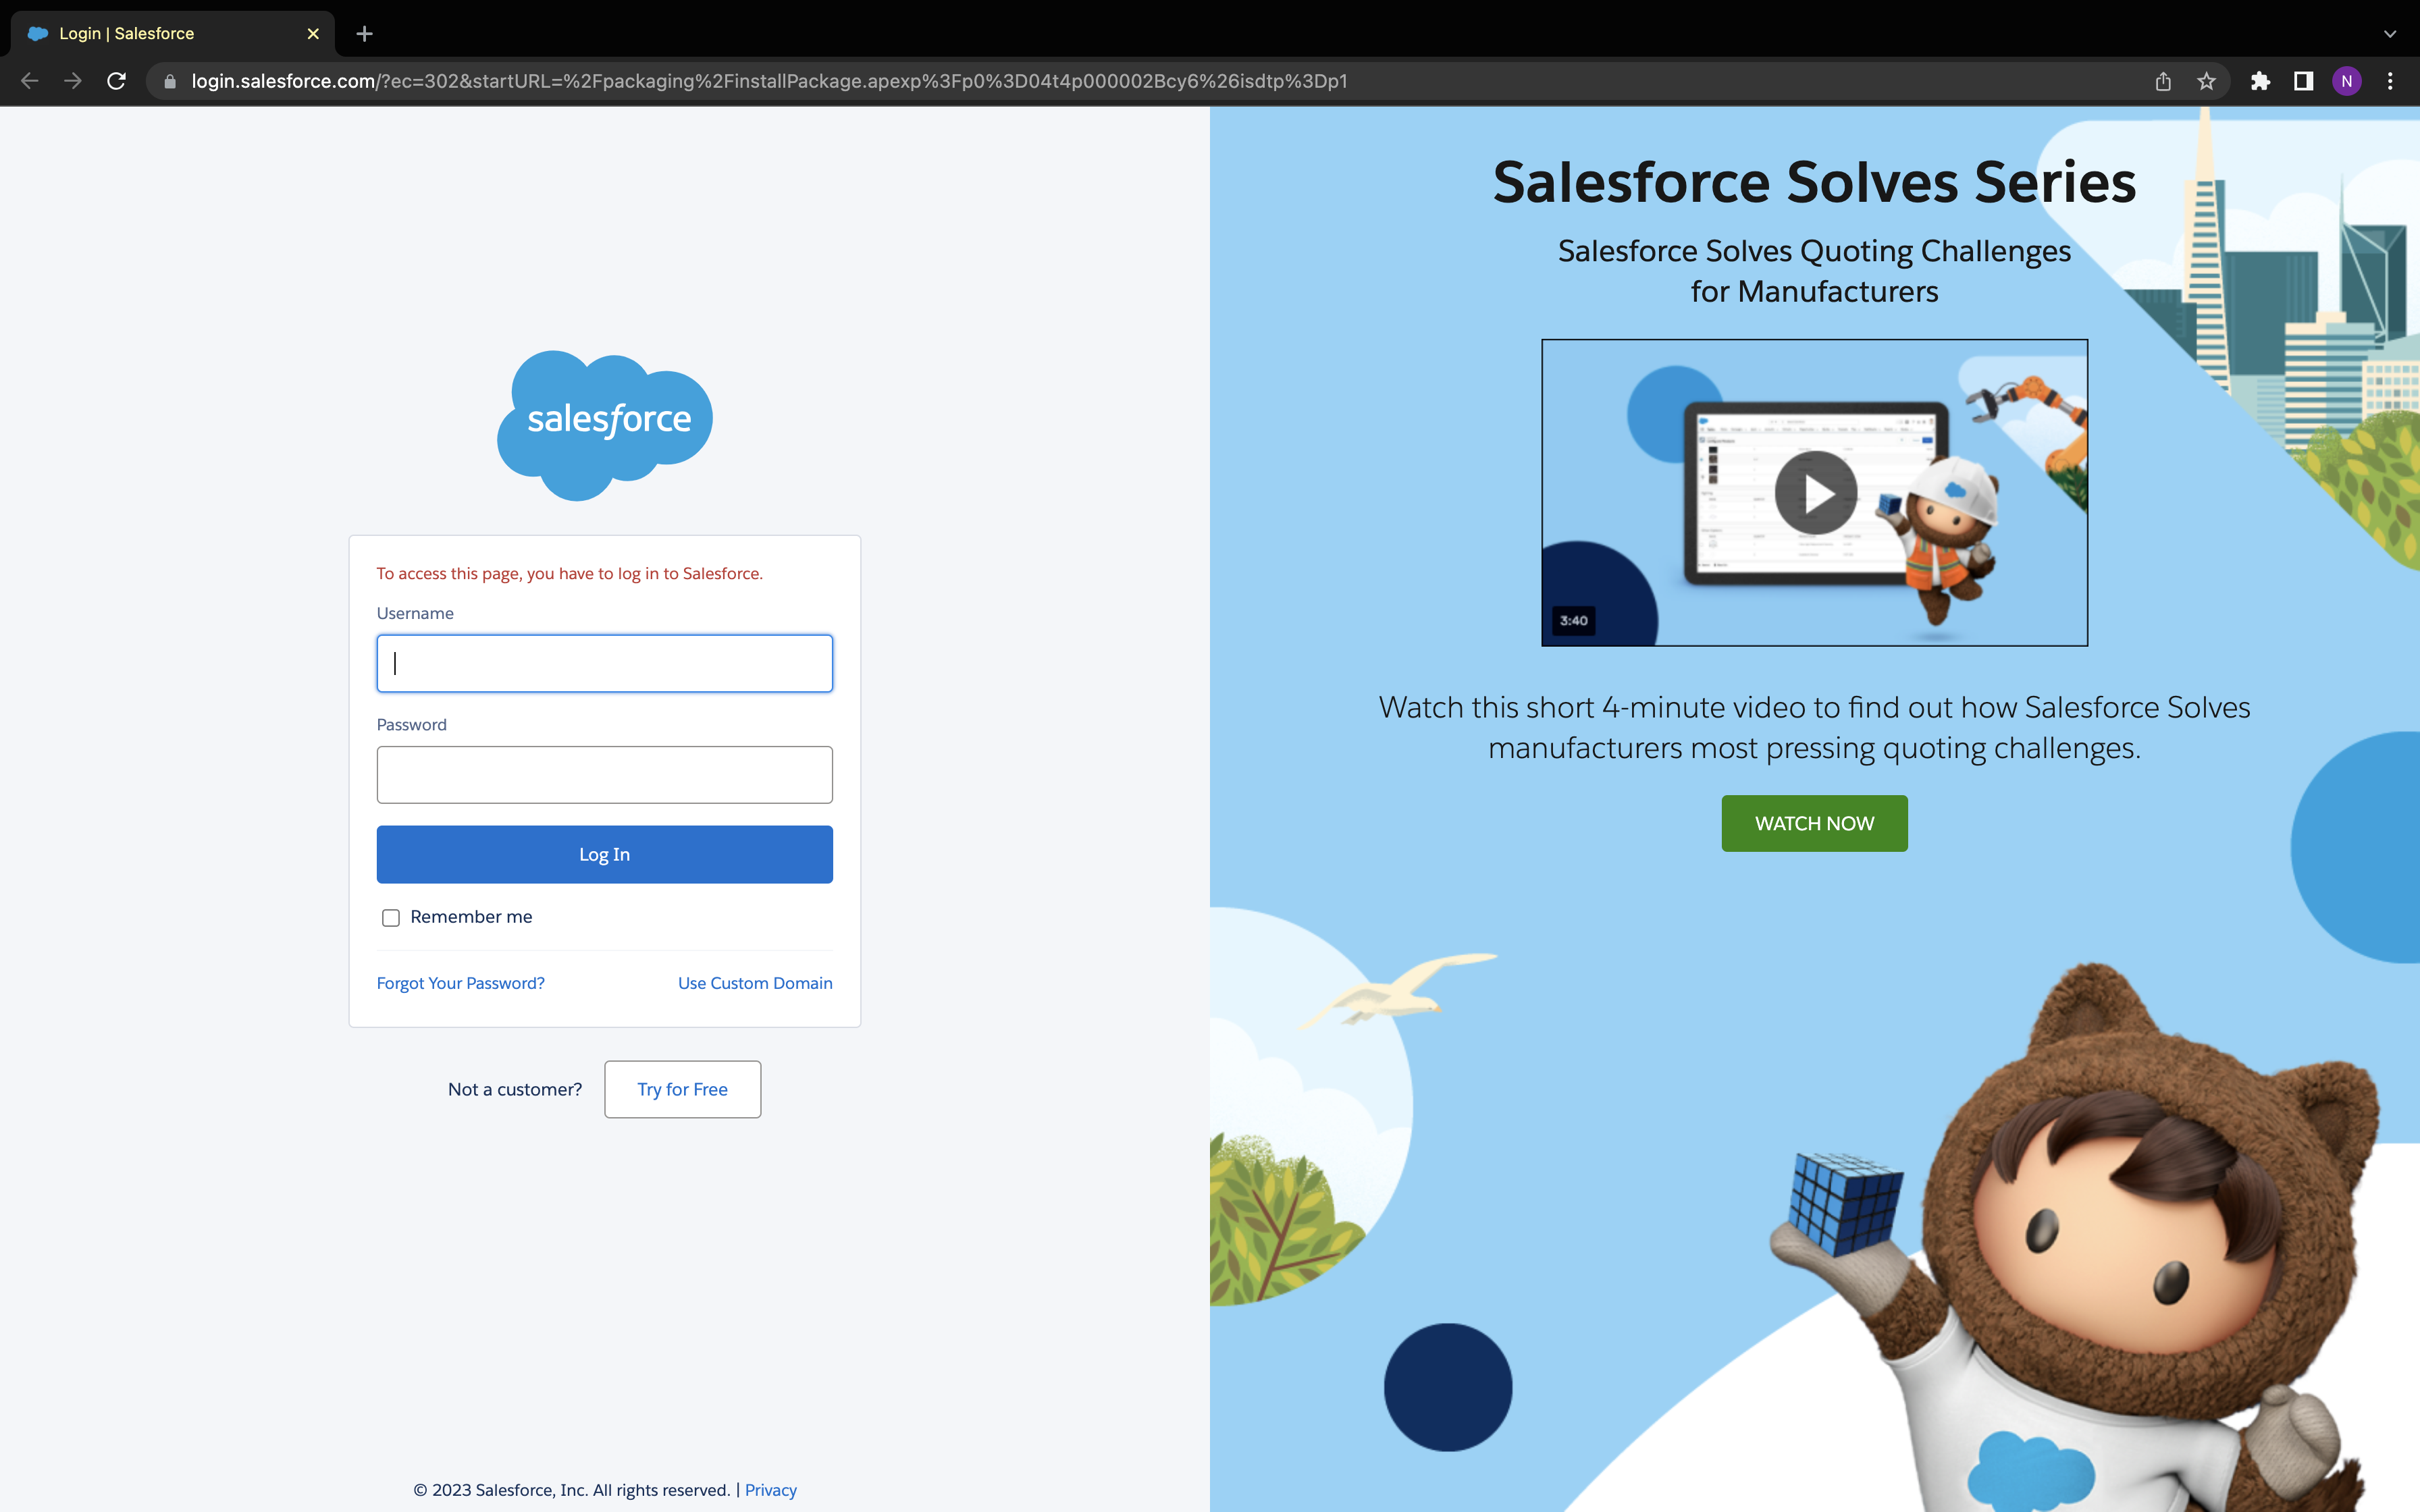
b. You will be redirected to a screen similar to the following image. Acknowledge it and install (Ensure it's set to "Install for Admins Only")
Once the installation is complete:
a. Navigate to "Installed Packages" from the Setup page
b. Validate the CTI Adapter package is listed and enabled
Test the CTI Adapter and ensure everything is working as expected
Upgrading the CTI Adapter (v4.xx and older)
If you are upgrading from an earlier version of CTI Adapter, there are a few additional things you need to do.
AC CTI Adapter
Go to the Setup section and search for Object Manager.
In Object Manager section, search for "AC CTI"
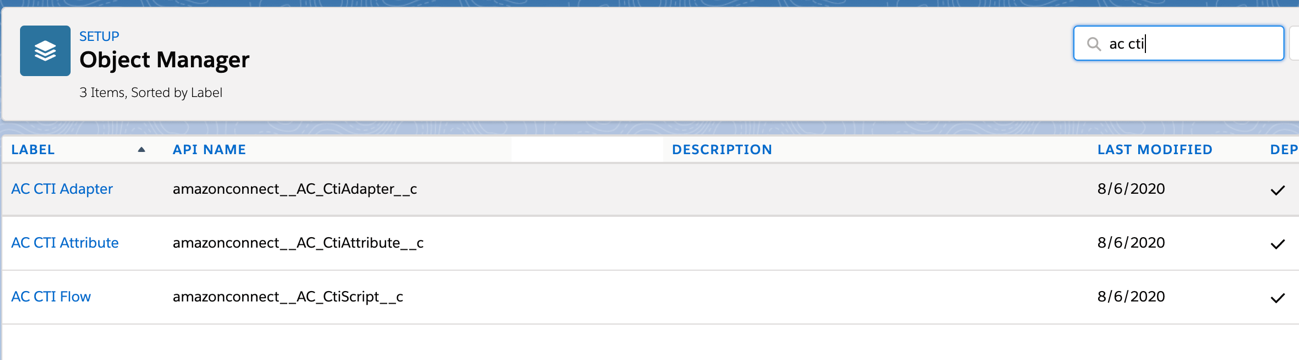
Open up AC CTI Adapter
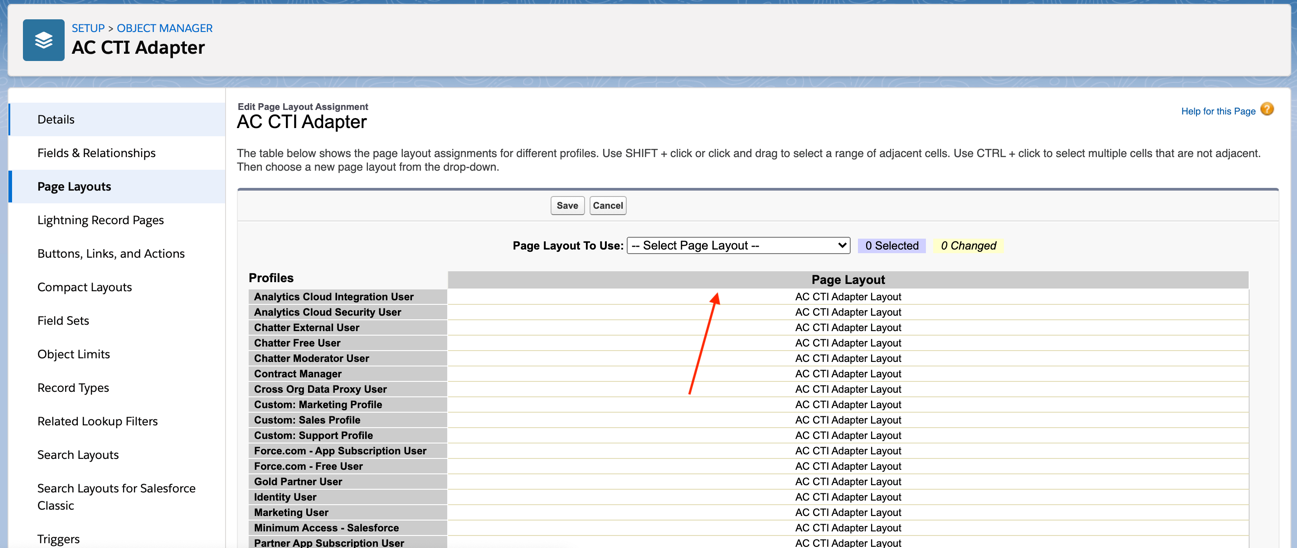
On the left sidebar, click on Page Layouts
Click on Page Layout Assignment
On the next page, click on Edit Assignments
Click on the grey bar at the top of the table to select all rows.
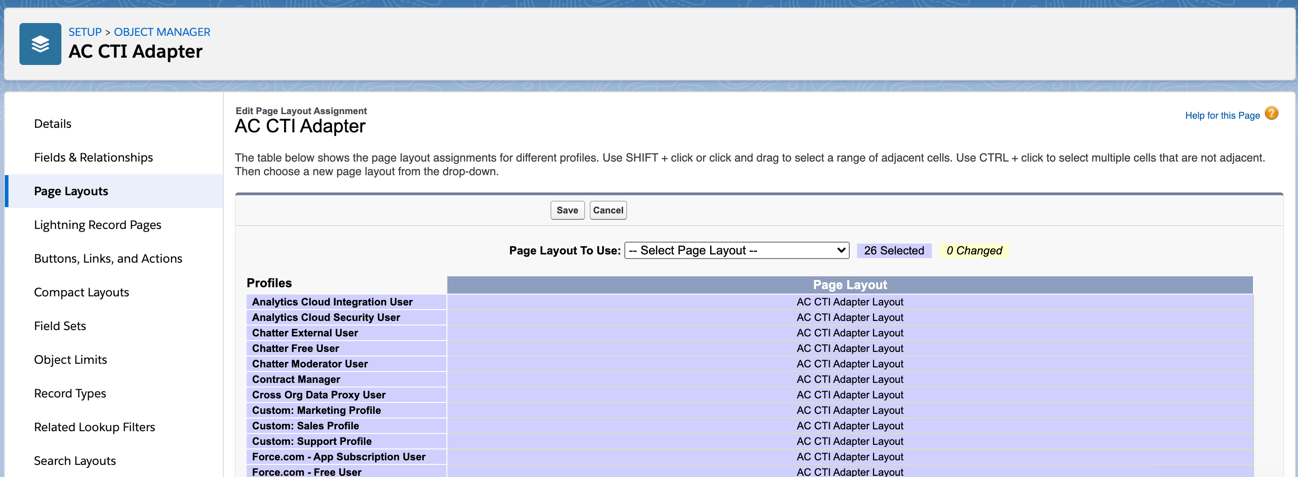
Open the Page Layout to Use dropdown and select AC CTI Adapter Layout -- August 2020.
Click Save and go back to Page Layouts.
Click on the dropdown next to the item labelled AC CTI Adapter Layout and click Delete.
Confirm Yes in the next dialogue where you will be asked "Are you sure?"
If you see a screen titled Deletion Problems, find and click Delete.
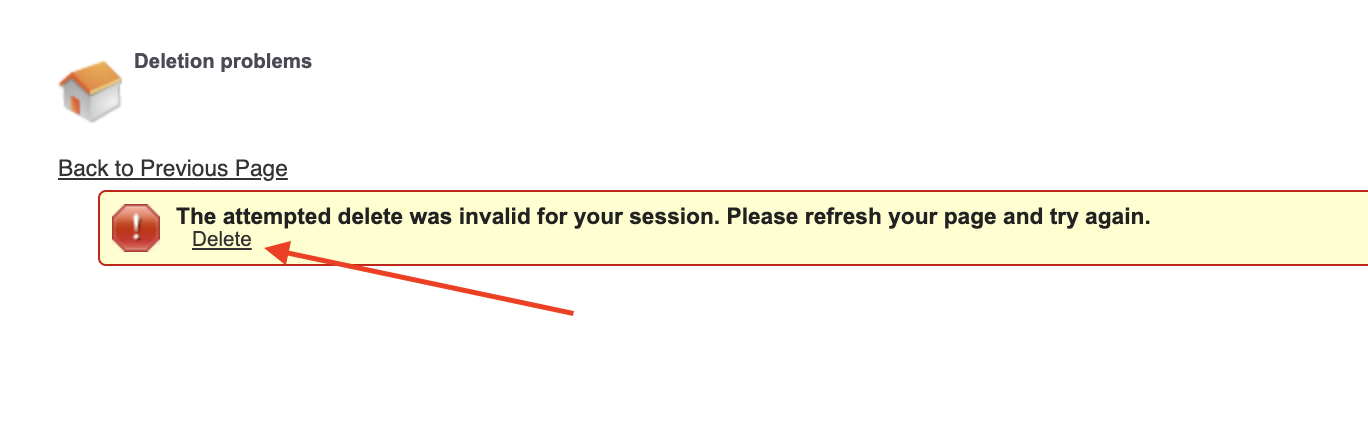
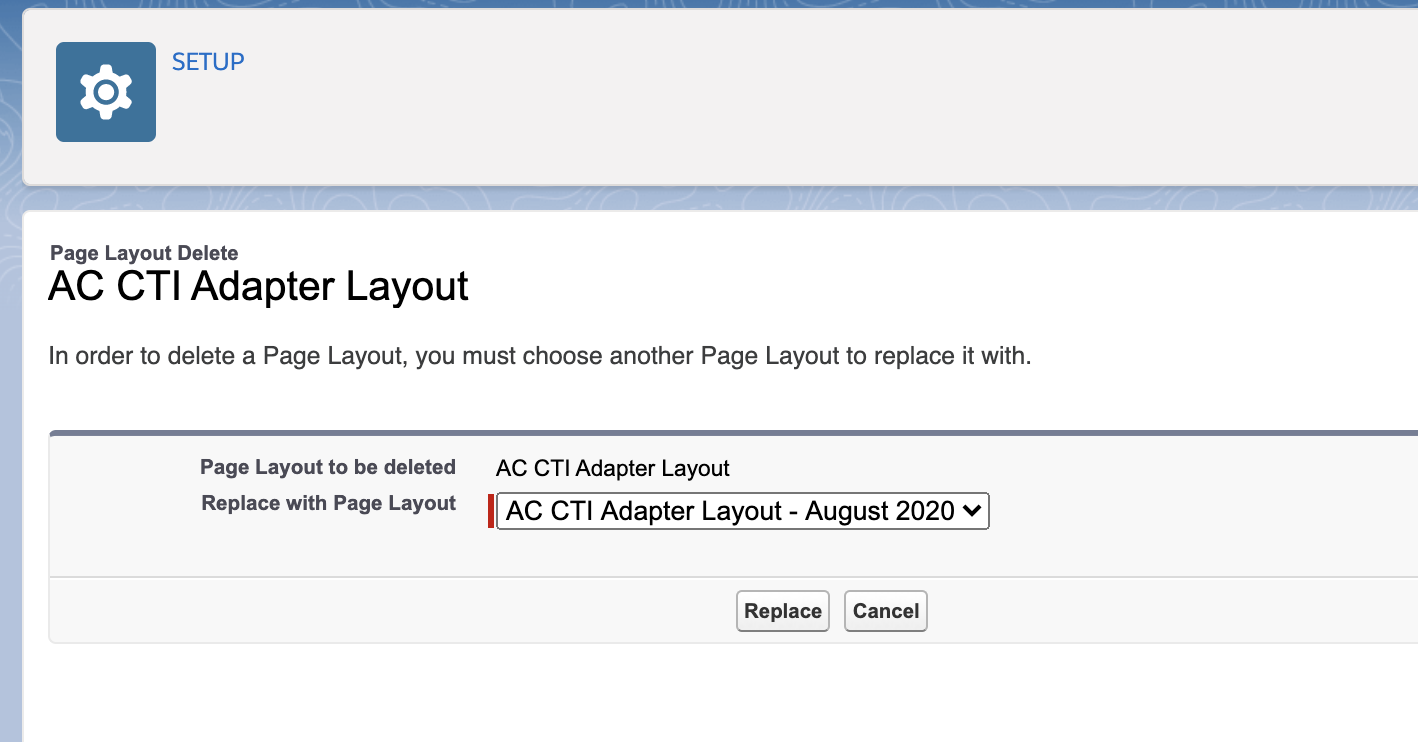
- You will be asked which layout you want to replace it with. Select AC CTI Adapter Layout -- August 2020 and click Replace.
AC CTI Script
We will now change the layout for AC CTI Script Layout.
Open up AC CTI Script Layout
On the left sidebar, click on Page Layouts
Click on Page Layout Assignment
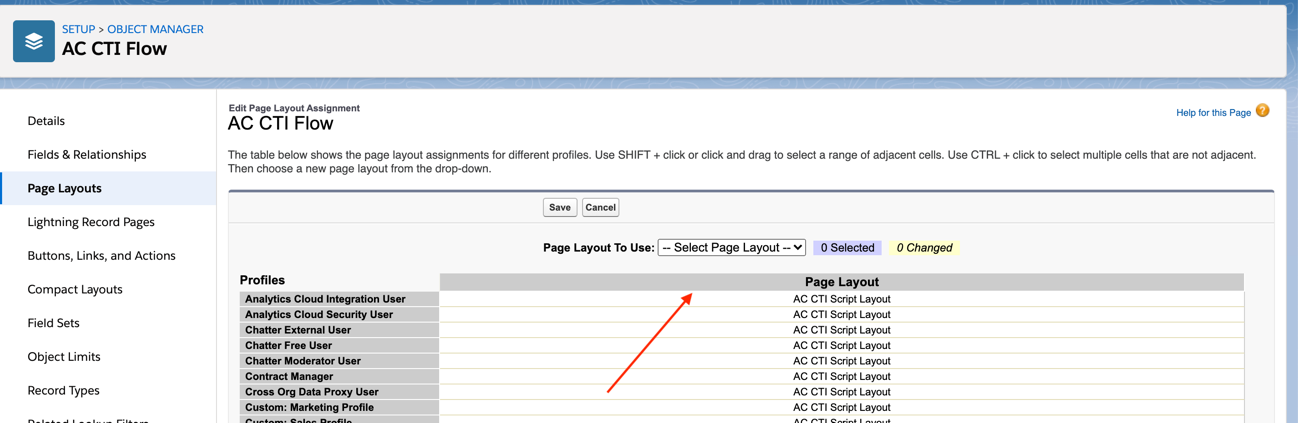
On the next page, click on Edit Assignments
Click on the grey bar at the top of the table to select all rows.
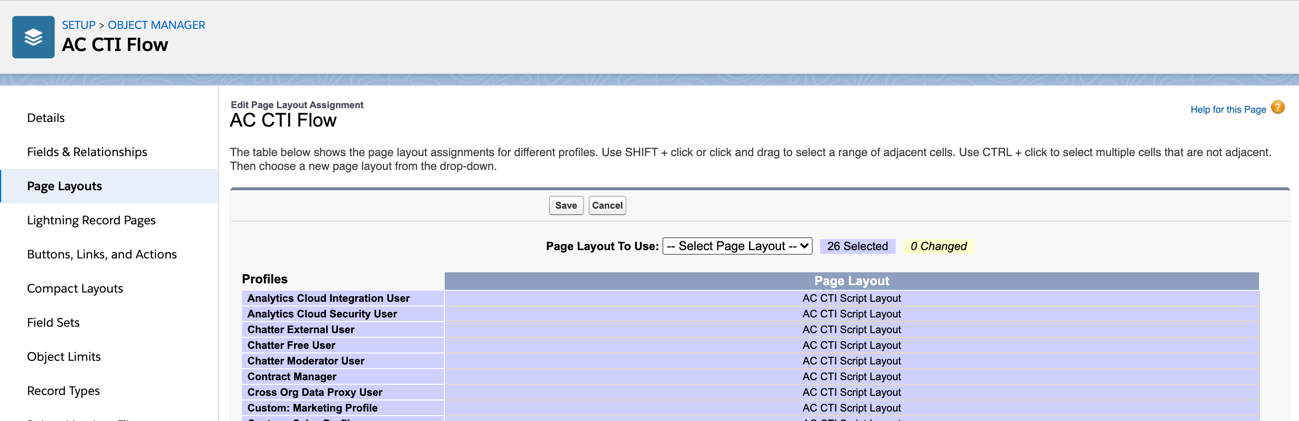
Open the Page Layout to Use dropdown and select AC CTI Flow Layout.
Click Save and go back to Page Layouts.
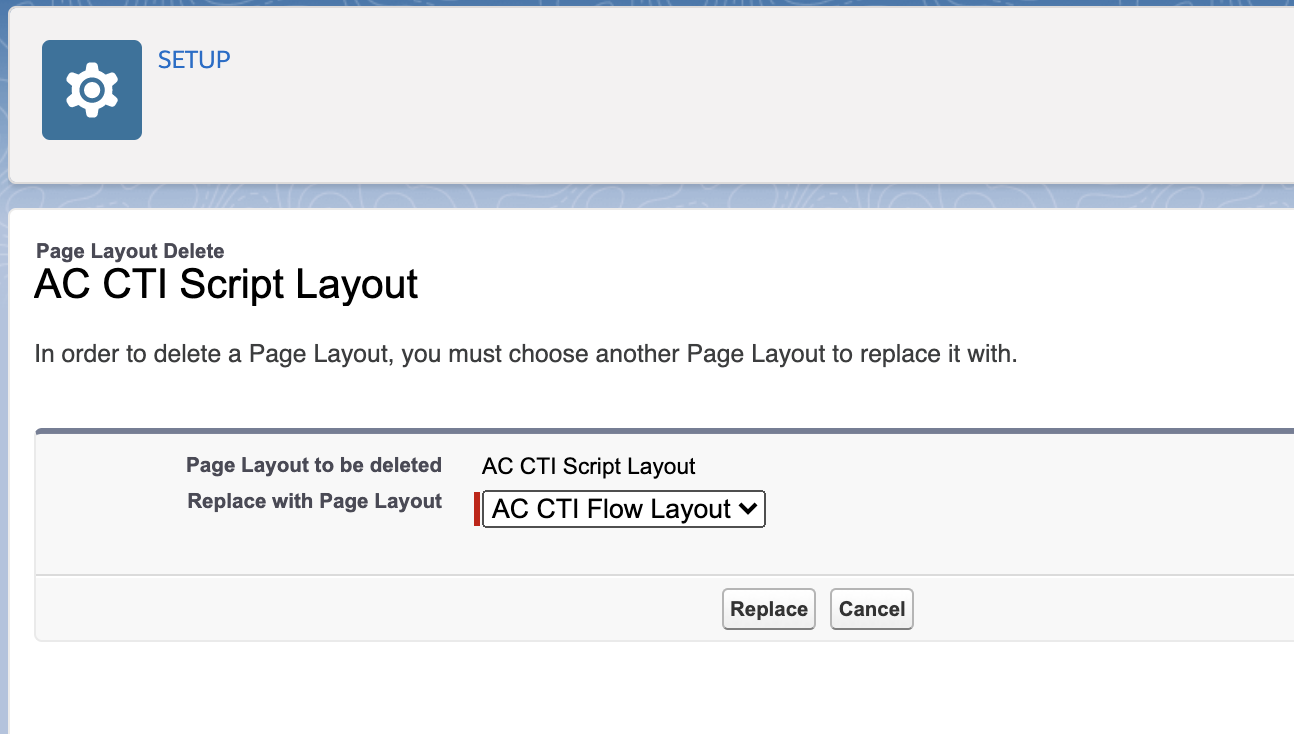
Click on the dropdown next to the item labelled AC CTI Script Layout and click Delete.
Confirm Yes in the next dialogue where you will be asked "Are you sure?"
If you see a screen titled Deletion Problems, find and click Delete.
- You will be asked which layout you want to replace it with. Select AC CTI Flow Layout and click Replace.
Go to your CTI Adapter.
Click on any of the CTI Flows and scroll down to the section labeled CTI Flow. You should see something like this:
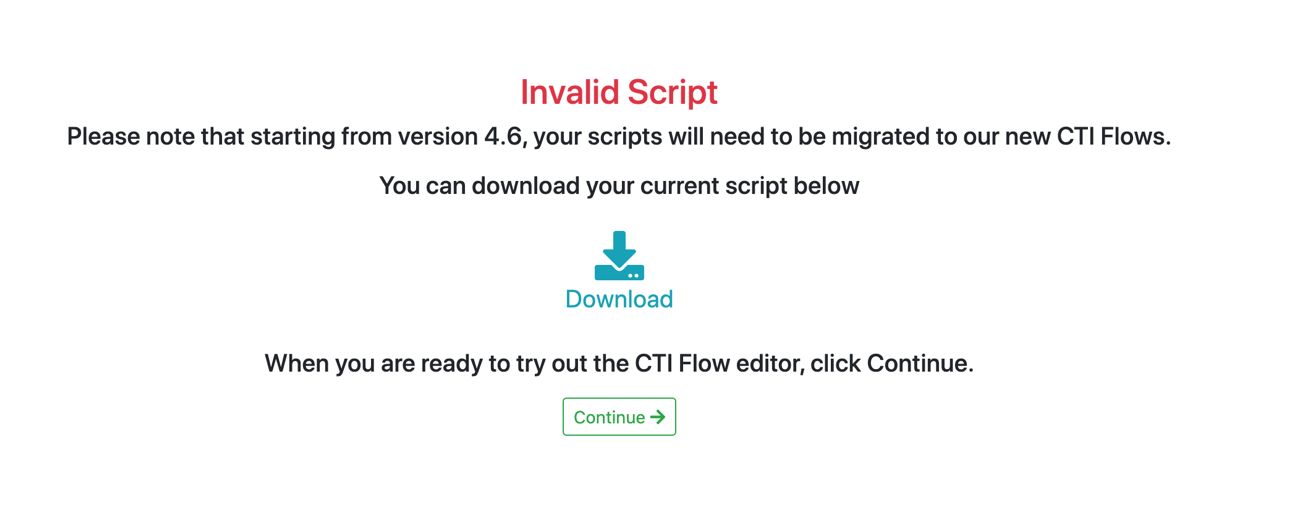
Click Download and save your script before clicking Continue.
Use the CTI Block primitives in the editor to re-create your script as a CTI Flow.
Refer to the Sample Flows in the Appendix of this manual.